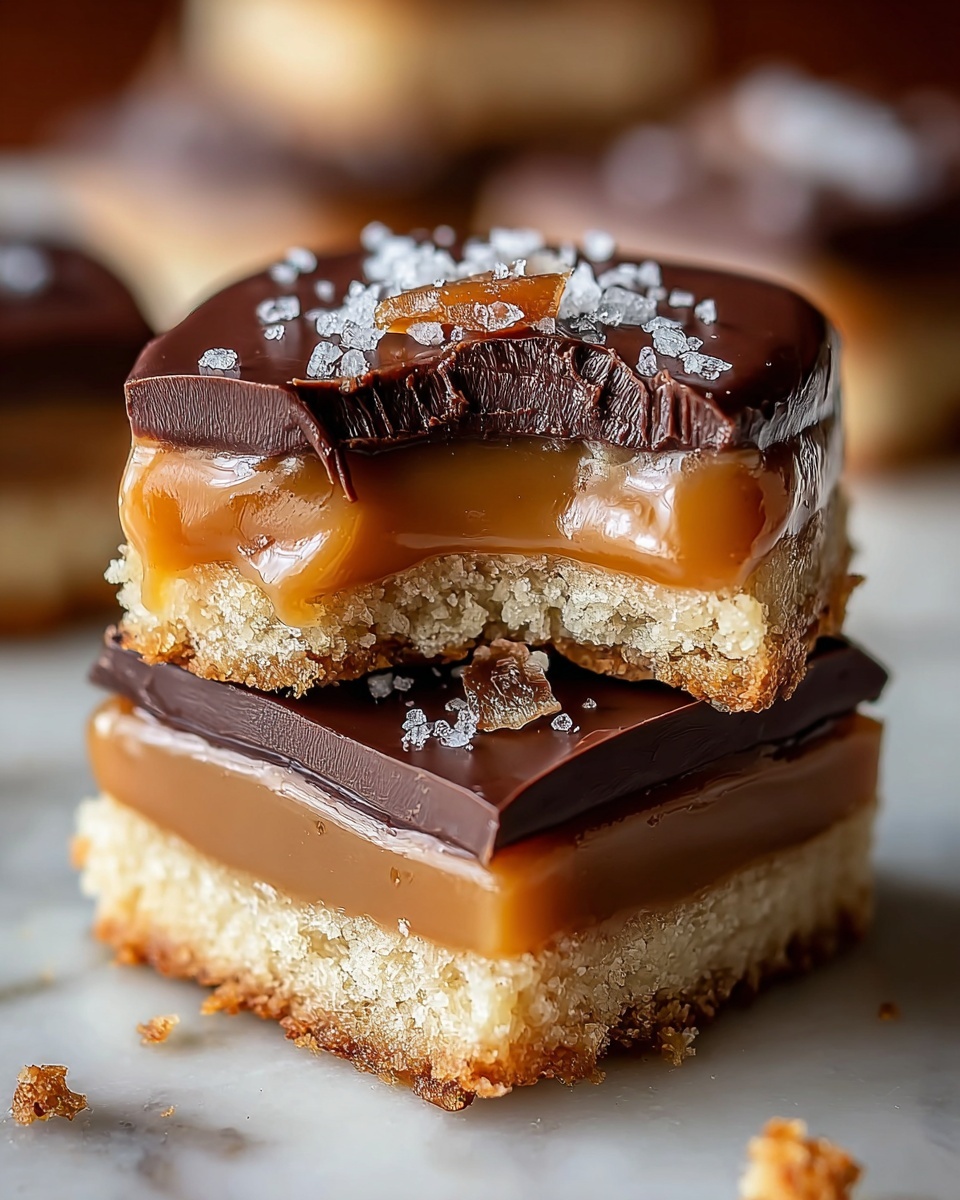
If you have a sweet tooth that’s always begging for a treat with layers of buttery cookie, rich caramel, and luscious chocolate, then you’ve got to try this Ultimate Twix Style Cookies Recipe. This homemade delight captures everything you love about the classic candy bar in a soft, chewy cookie form—you get the buttery cookie base, a generous layer of gooey caramel, and a silky chocolate topping. It’s the perfect blend of textures and flavors that will have you hooked from the first bite and craving more with every crumb.
Ingredients You’ll Need
These ingredients may look simple, but each one plays a crucial role in creating the perfect harmony of flavor and texture in your Ultimate Twix Style Cookies Recipe. From the creamy butter that makes the cookie base tender, to the sweet caramel that adds that gooey magic, every component is essential.
- Unsalted butter: Provides a rich, creamy base and keeps the cookie tender and moist.
- Granulated sugar: Adds sweetness and helps create a slight crispness to the cookie edges.
- Brown sugar: Gives depth of flavor and moisture for a chewy texture.
- Large eggs: Bind everything together and contribute to the cookie’s structure.
- All-purpose flour: The foundation of the cookie dough, delivering structure and bite.
- Baking powder: Helps the cookie rise just enough without becoming cakey.
- Salt: Enhances all the sweet flavors and balances the richness.
- Caramel sauce: The star layer of sticky, buttery sweetness—store-bought or homemade.
- Chocolate chips: Melt into a glossy, indulgent topping that seals in all the goodness beneath.
How to Make Ultimate Twix Style Cookies Recipe
Step 1: Prepare to Bake
Start by heating your oven to 350°F (175°C). Then, line a 9×13 inch baking pan with parchment paper, making sure to leave an overhang on the sides. This overhang acts like a little hammock for your cookie bar, making it a breeze to lift out once it’s all baked and set.
Step 2: Cream the Butters and Sugars
In a large mixing bowl, beat your softened butter with granulated sugar and brown sugar until the mixture is light and fluffy. This step is key to getting a tender and slightly crumbly base. Add the eggs one at a time, mixing each in thoroughly. These eggs are what help the dough come together perfectly.
Step 3: Mix in the Dry Ingredients
In a separate bowl, whisk together the flour, baking powder, and salt. Gradually add this to the wet ingredients, mixing gently on low speed until everything just combines into a soft dough. Be careful not to overmix; you want tender cookies, not tough ones!
Step 4: Bake the Cookie Base
Press your cookie dough evenly into the prepared pan. Bake it for about 12 to 15 minutes, until the edges are golden and a toothpick inserted in the middle comes out clean. Patience here is key—let the cookie base cool completely before moving to the next step to ensure your layers don’t mix.
Step 5: Layer on the Caramel
Spread the caramel sauce over the cooled cookie base. If your caramel feels too thick and stubborn, warm it up gently in the microwave for a few seconds. This makes spreading it a dream and guarantees every bit of cookie gets covered with gooey caramel goodness.
Step 6: Add the Chocolate Topping
Melt your chocolate chips in a microwave-safe bowl by heating in 30-second bursts, stirring between each until smooth. Pour the melted chocolate evenly over the caramel layer, spreading it out to the edges. This chocolate seal is what transforms this cookie into a classic Twix experience!
Step 7: Chill and Cut
Pop the entire pan in the refrigerator for at least an hour, letting the chocolate harden into a firm finish. Then, using the parchment paper overhang, lift the slab out of the pan, trim any uneven edges, and slice into bars or squares. Store your Ultimate Twix Style Cookies in an airtight container and prepare to be amazed with every bite.
How to Serve Ultimate Twix Style Cookies Recipe
Garnishes
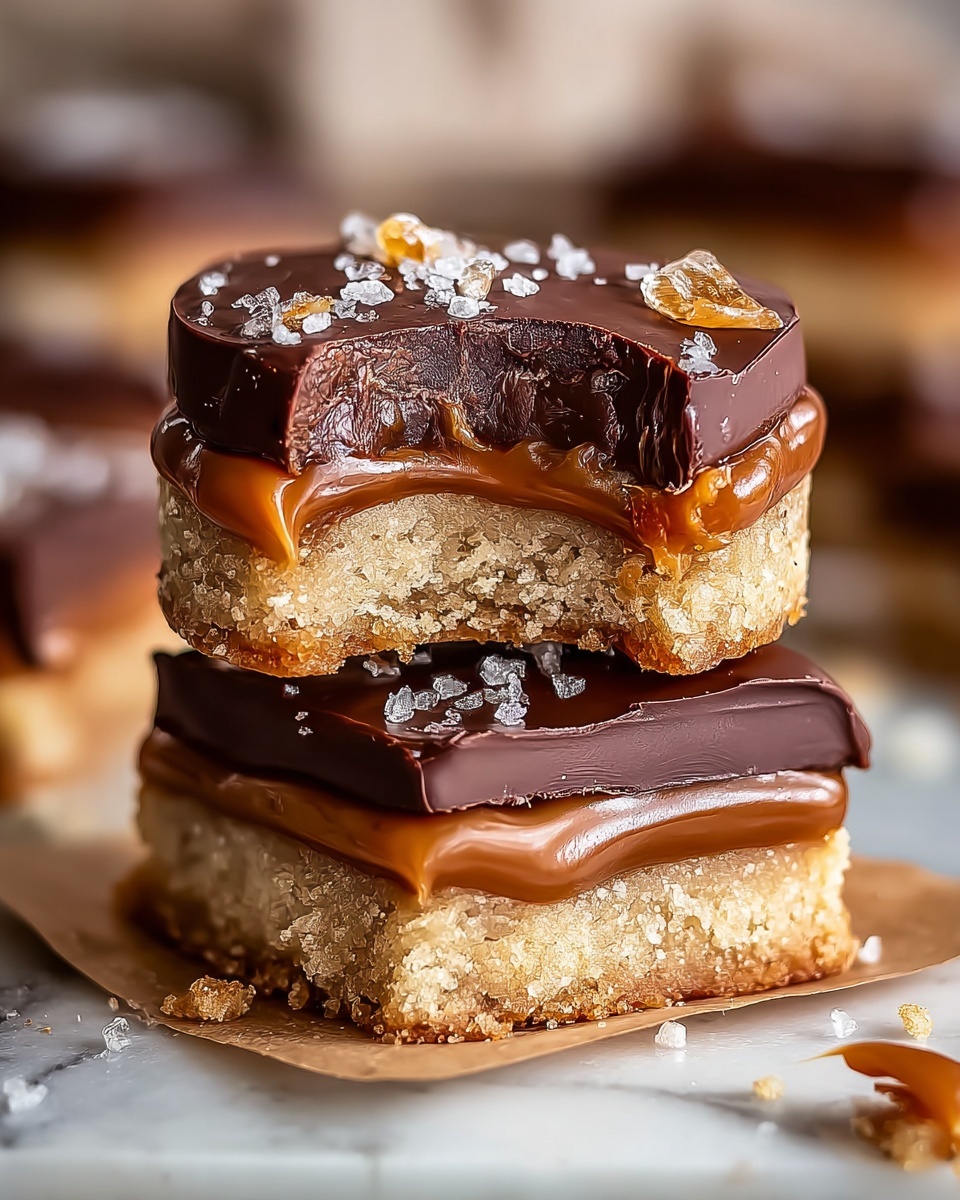
If you want to get fancy, sprinkle a pinch of flaky sea salt over the chocolate layer once you’ve spread it. The salt balances the sweetness and adds a delightful crunch that’s utterly addictive.
Side Dishes
These cookies pair beautifully with a tall glass of cold milk, a scoop of vanilla ice cream, or even a cup of rich espresso for those who want a sweet and bittersweet balance. They bring out the best in any drink, making snack time feel like a treat.
Creative Ways to Present
For parties or gifts, place cookies in a decorative box layered with parchment paper. You can also drizzle some extra melted chocolate or caramel on top just before serving for an eye-catching finish that your guests will adore.
Make Ahead and Storage
Storing Leftovers
Keep leftover cookies in an airtight container at room temperature for up to 3 days. They stay soft and chewy with that signature caramel layer intact, perfect for snacking anytime.
Freezing
You can freeze the cookie bars by wrapping them tightly in plastic wrap and placing them inside a freezer-safe bag or container. They’ll last for up to 3 months. When you want a treat, just thaw them overnight in the fridge.
Reheating
If you prefer a warm, melty treat, gently reheat the cookies in the microwave for 10 to 15 seconds. This softens the chocolate and caramel layers to give you that freshly baked feeling all over again.
FAQs
Can I use homemade caramel sauce in this recipe?
Absolutely! Homemade caramel adds a special touch with rich, buttery sweetness. Just make sure it’s cool enough to spread without running off the cookie base.
What type of chocolate works best for the topping?
You can use either semi-sweet or milk chocolate chips depending on your preference. Semi-sweet gives a nice balance to the caramel’s sweetness, while milk chocolate offers a creamier, sweeter finish.
Is it possible to make these cookies gluten-free?
Yes, you can substitute the all-purpose flour with a gluten-free baking blend that measures cup-for-cup. Just be mindful that texture might vary slightly depending on the blend.
How thick should the cookie base be before baking?
Press the dough evenly into the pan so it’s about half an inch thick. This thickness ensures a sturdy base that bakes evenly and holds up well under the caramel and chocolate layers.
Can I double this recipe for a larger batch?
Definitely! Just use a larger pan or two 9×13 inch pans. Keep a close eye on the baking time since it might vary slightly depending on pan size and dough thickness.
Final Thoughts
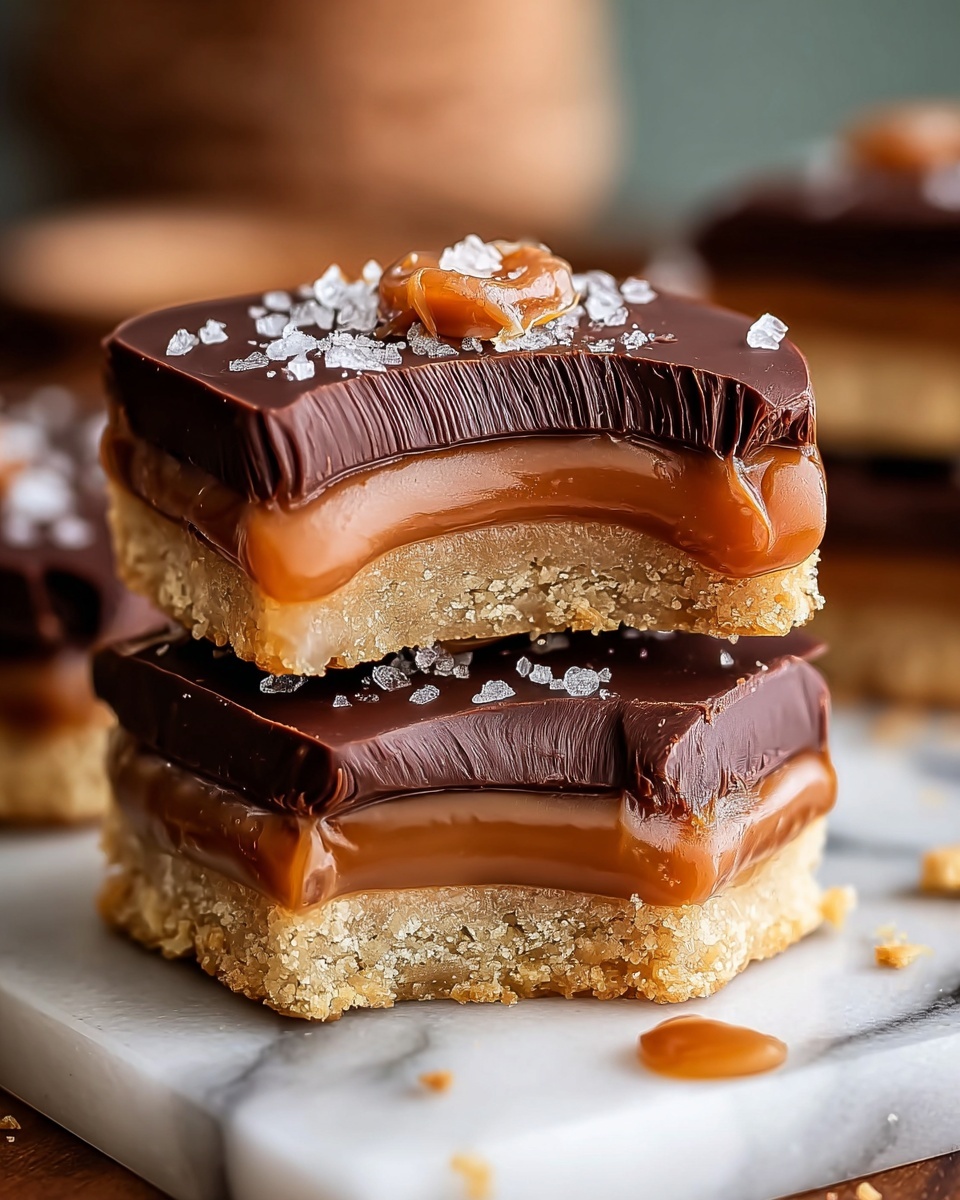
This Ultimate Twix Style Cookies Recipe is a surefire way to bring joy to your kitchen and brighten up any dessert platter. It’s that perfect combination of buttery cookie, luscious caramel, and silky chocolate that feels indulgent but is so easy to make at home. I promise, once you try these, they’ll quickly become a beloved staple in your baking rotation—deliciously addictive and thoroughly satisfying. Happy baking!
Print
Ultimate Twix Style Cookies Recipe
- Prep Time: 30 minutes
- Cook Time: 15 minutes
- Total Time: 1 hour 45 minutes (including chilling time)
- Yield: 24 servings
- Category: Dessert
- Method: Baking
- Cuisine: American
Description
These Ultimate Twix Style Cookies feature a buttery cookie base topped with a luscious caramel layer and finished with a smooth chocolate coating, delivering a homemade twist on the classic Twix candy bar. Perfectly balanced with sweet, chewy, and crunchy textures, they make a delightful treat for any occasion.
Ingredients
Cookie Base
- 1 cup unsalted butter, room temperature
- 3/4 cup granulated sugar
- 3/4 cup brown sugar, packed
- 2 large eggs
- 2 1/4 cups all-purpose flour
- 1 tsp baking powder
- 1/2 tsp salt
Topping
- 1 cup caramel sauce (store-bought or homemade)
- 1 cup chocolate chips (semi-sweet or milk chocolate)
Instructions
- Preheat and Prepare Pan: Preheat the oven to 350°F (175°C). Line a 9×13 inch baking pan with parchment paper, allowing for an overhang to easily lift the cookie slab out later.
- Cream Butter and Sugars: In a large mixing bowl, cream together the softened butter, granulated sugar, and brown sugar until the mixture is light and fluffy. Beat in the eggs one at a time until fully combined.
- Combine Dry Ingredients: In a separate bowl, whisk together the all-purpose flour, baking powder, and salt. Gradually add these dry ingredients into the wet mixture on low speed, mixing just until a soft cookie dough forms. Avoid overmixing to keep the texture tender.
- Form Cookie Base and Bake: Press the cookie dough evenly into the prepared baking pan. Bake for 12-15 minutes, or until the edges turn lightly golden and a toothpick inserted into the center comes out clean. Let the cookie base cool completely in the pan on a wire rack.
- Spread Caramel Layer: Once cooled, spread the caramel sauce evenly over the entire cookie base. If the caramel is too thick or stiff, gently warm it in the microwave for a few seconds to make it easier to spread.
- Melt and Pour Chocolate: Melt the chocolate chips in a microwave-safe bowl using 30-second intervals, stirring well between each, until smooth. Pour and spread the melted chocolate evenly over the caramel layer, making sure to cover to the edges.
- Chill and Cut: Refrigerate the pan for at least 1 hour to allow the chocolate layer to harden completely. Use the parchment paper overhang to lift the entire cookie slab out of the pan. Trim edges if desired, then cut into 24 individual bars or squares. Store in an airtight container and enjoy!
Notes
- Use parchment paper for easy removal of the cookie slab.
- If homemade caramel is preferred, ensure it’s thick enough to spread but not runny.
- For a firmer base, chill the cookie dough slightly before pressing into the pan.
- Choose semi-sweet chocolate chips for a balanced sweetness; milk chocolate will add extra creaminess.
- Store cookies in an airtight container at room temperature for up to 3 days or refrigerate for longer freshness.


