
If you’re looking for a fresh, fun twist on a classic sandwich, you’re going to adore this Turkey Club Skewer Lunchbox Idea Recipe. It takes all the flavors we love in a traditional turkey club—savory turkey, crispy bacon, creamy avocado, crisp lettuce, ripe tomato, and melty cheese—and stacks them up on skewers instead of bread. This playful presentation not only makes lunchtime more exciting but also keeps everything neat and portable, perfect for busy days or packing a delightful, balanced meal for your loved ones. Trust me, once you try this, it will become a go-to recipe for quick lunches that don’t compromise on taste or nutrition.
Ingredients You’ll Need
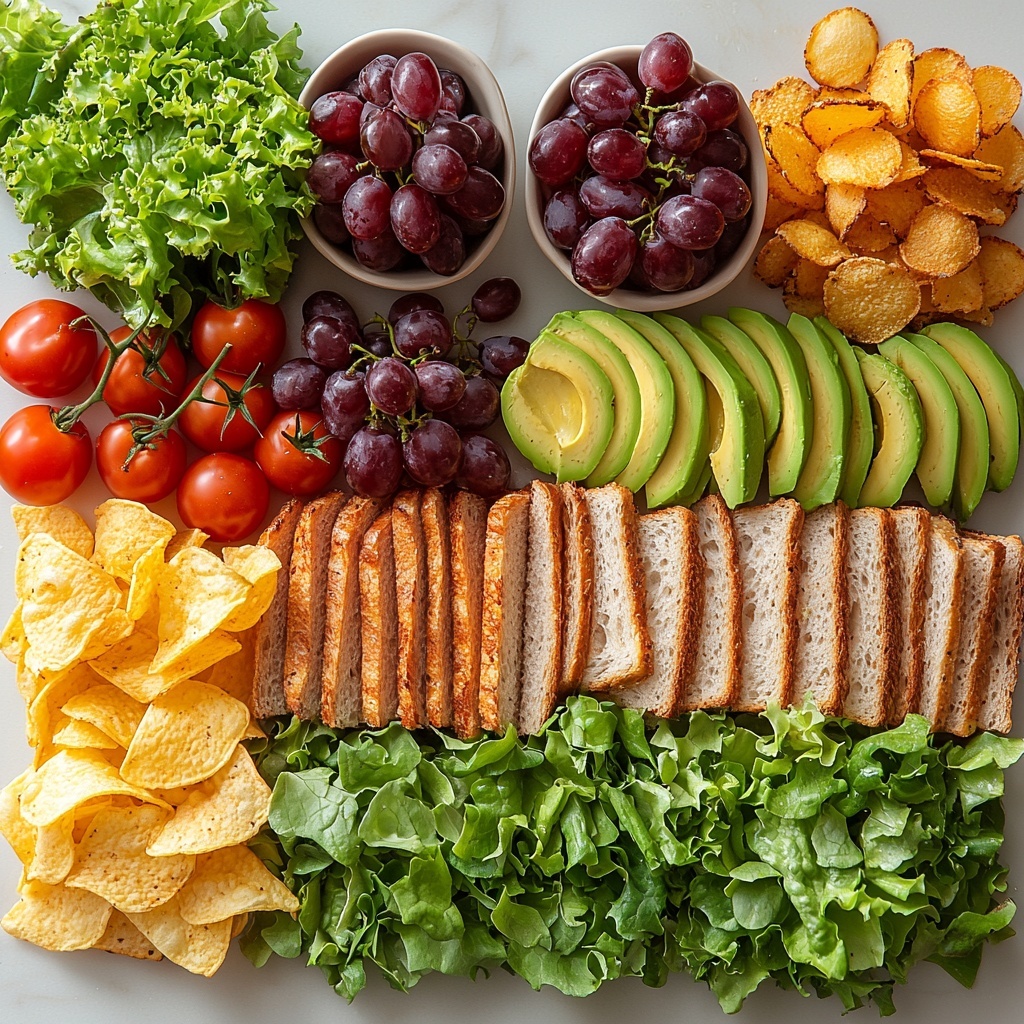
Gathering the right ingredients is half the fun and the magic behind this recipe. Each element adds its own unique texture and flavor, creating a perfect balance that makes the Turkey Club Skewer Lunchbox Idea Recipe so irresistible.
- Deli Turkey slices: Go for freshly sliced turkey for a tender, protein-packed base.
- Bacon: Cook until slightly crispy to add a smoky crunch that holds up well on the skewer.
- Toasted bread: Choose your favorite type and toast it to add a little crunch and hold everything together.
- Cheese slices: A melty, creamy layer like cheddar or Swiss brings richness to the skewer.
- Lettuce (½ cup): Provides a refreshing crunch and vibrant green color.
- Cherry tomatoes (1 cup): Sweet and juicy bursts that lighten every bite.
- Avocado: Creamy and smooth, avocado pairs perfectly with the crisp ingredients.
- 4-inch skewers: Essential for assembling the layers neatly and keeping all ingredients together.
- Potato chips (4 cups): A classic side that’ll add a satisfying salty crunch to your lunchbox.
- Grapes (2 cups): Fresh, sweet grapes provide a juicy contrast and healthy dessert option.
How to Make Turkey Club Skewer Lunchbox Idea Recipe
Step 1: Preparing the Bacon
Start by cooking the bacon until it’s just slightly crispy—perfect for adding that smoky crunch without it turning brittle. This ensures it will slide nicely onto the skewer without breaking apart, keeping your lunchbox neat and tasty.
Step 2: Assembling the Skewers
Now the fun part! Thread your skewer by alternating pieces of toasted bread, turkey, slices of creamy avocado, fresh lettuce, cheese slices, crispy bacon, and cherry tomatoes. Keep layering until your skewer is full and colorful, creating a beautiful, stacked version of the classic turkey club.
Step 3: Dividing into Lunchboxes
Once your skewers are perfectly assembled, divide them evenly between four lunchboxes. Add a hearty handful of potato chips and a cup of grapes alongside each skewer for a well-rounded, satisfying meal that’s ready to go.
Step 4: Refrigerate Until Ready to Serve
Cover your lunchboxes and refrigerate. This Turkey Club Skewer Lunchbox Idea Recipe can be made up to 2-3 days in advance, making it a fantastic option for meal prepping or busy weekdays when you want a fresh, delicious lunch without the fuss.
How to Serve Turkey Club Skewer Lunchbox Idea Recipe
Garnishes
Sprinkle a little freshly cracked black pepper on the avocado or add a few fresh herb leaves like basil or parsley alongside the skewers to brighten up the flavors and add color. A small dollop of your favorite mustard or mayo on the side is always a nice touch for dipping.
Side Dishes
Potato chips provide a perfect crunchy companion to the skewers, but fresh fruit like grapes or apple slices lighten the meal and balance the saltiness. For something different, try a crisp pickle spear or a small mixed green salad—it’s all about keeping the lunchbox vibrant and satisfying.
Creative Ways to Present
For a playful twist, serve the skewers standing upright in mason jars or on mini cutting boards. You can also swap the traditional skewer for fun-shaped sandwich picks to add personality and make the lunchbox extra inviting, especially for kids.
Make Ahead and Storage
Storing Leftovers
Any leftover turkey club skewers can be stored upright in an airtight container in the refrigerator for up to 3 days. Keep the chips and grapes separate to avoid sogginess and maintain freshness.
Freezing
This recipe is best enjoyed fresh, so freezing is not recommended, especially because of the fresh vegetables and bread. However, you can freeze cooked turkey and bacon separately and assemble skewers fresh when ready.
Reheating
If you prefer a warm version, carefully remove the skewer ingredients and reheat the turkey and bacon in the microwave or on the stovetop, then reassemble with fresh bread and veggies. Enjoy immediately for best taste.
FAQs
Can I use other types of meat besides turkey?
Absolutely! Ham, chicken, or even roast beef can work wonderfully in this skewer recipe. Feel free to customize according to your favorites or what you have on hand.
How do I keep the bread from getting soggy?
To prevent sogginess, use toasted bread and assemble your skewers shortly before eating if possible. Storing the bread separately and adding it during assembly is a good trick too.
Can this recipe be made vegetarian?
Yes! Swap the turkey and bacon for grilled tofu or tempeh, and add extra layers of veggies like cucumber or bell peppers for a delicious vegetarian take.
What’s the best way to pack these skewers for travel?
Use a sturdy lunchbox with compartments to keep the skewers upright and prevent them from rolling around. Wrapping the skewer ends with a small piece of parchment paper can help with grip and cleanliness.
How long can I keep the assembled skewers before eating?
They’re best eaten within 2-3 days if stored properly in the fridge. For peak freshness, avoid assembling too far in advance, especially if using fresh avocado to prevent browning.
Final Thoughts
Trust me, this Turkey Club Skewer Lunchbox Idea Recipe is a delightful way to reinvent lunch with all the classic flavors you love, neatly presented and perfectly portable. Whether you’re meal prepping for the week or packing a fun midday meal, this recipe brings together simplicity, taste, and that special “wow” factor. Give it a try—you’ll find it hard to go back to ordinary sandwiches again!
Print
Turkey Club Skewer Lunchbox Idea Recipe
- Prep Time: 5 minutes
- Cook Time: 5 minutes
- Total Time: 10 minutes
- Yield: 4 servings
- Category: Lunch
- Method: Stovetop
- Cuisine: American
Description
A quick and easy Turkey Club Skewer lunchbox idea that combines deli turkey, crispy bacon, fresh avocado, lettuce, cheese, and cherry tomatoes on skewers. Perfect for a nutritious and portable lunch option served with potato chips and grapes.
Ingredients
Protein and Dairy
- ½ pound deli turkey slices
- Bacon (quantity as needed for skewers)
- 4 slices of cheese
Produce
- 1/2 cup lettuce
- 1 cup cherry tomatoes
- 1 avocado
- 2 cups grapes
Other
- 2 pieces of toasted bread of choice
- 4 inch skewers (4 skewers)
- 4 cups potato chips
Instructions
- Cook Bacon: Cook the bacon until it is slightly crispy but still pliable enough to go onto the skewers without breaking.
- Assemble Skewers: Thread the toasted bread, deli turkey slices, sliced avocado, lettuce, cheese slices, crispy bacon, and cherry tomatoes onto the skewers until full.
- Divide Portions: Divide the assembled skewers along with the potato chips and grapes evenly between your 4 lunchboxes.
- Store: Cover the lunchboxes and refrigerate until ready to use. Consume within 2 to 3 days for best freshness.
Notes
- To keep the avocado from browning, you can lightly brush it with lemon or lime juice before skewering.
- Bacon can be cooked ahead of time and stored in the refrigerator for convenience.
- Choose sturdy bread that holds together well when skewered, such as a dense sandwich bread or ciabatta.
- These skewers make a great portable lunch and are ideal for meal prep.
- Adjust the quantity of potato chips and grapes according to personal preferences or dietary needs.


