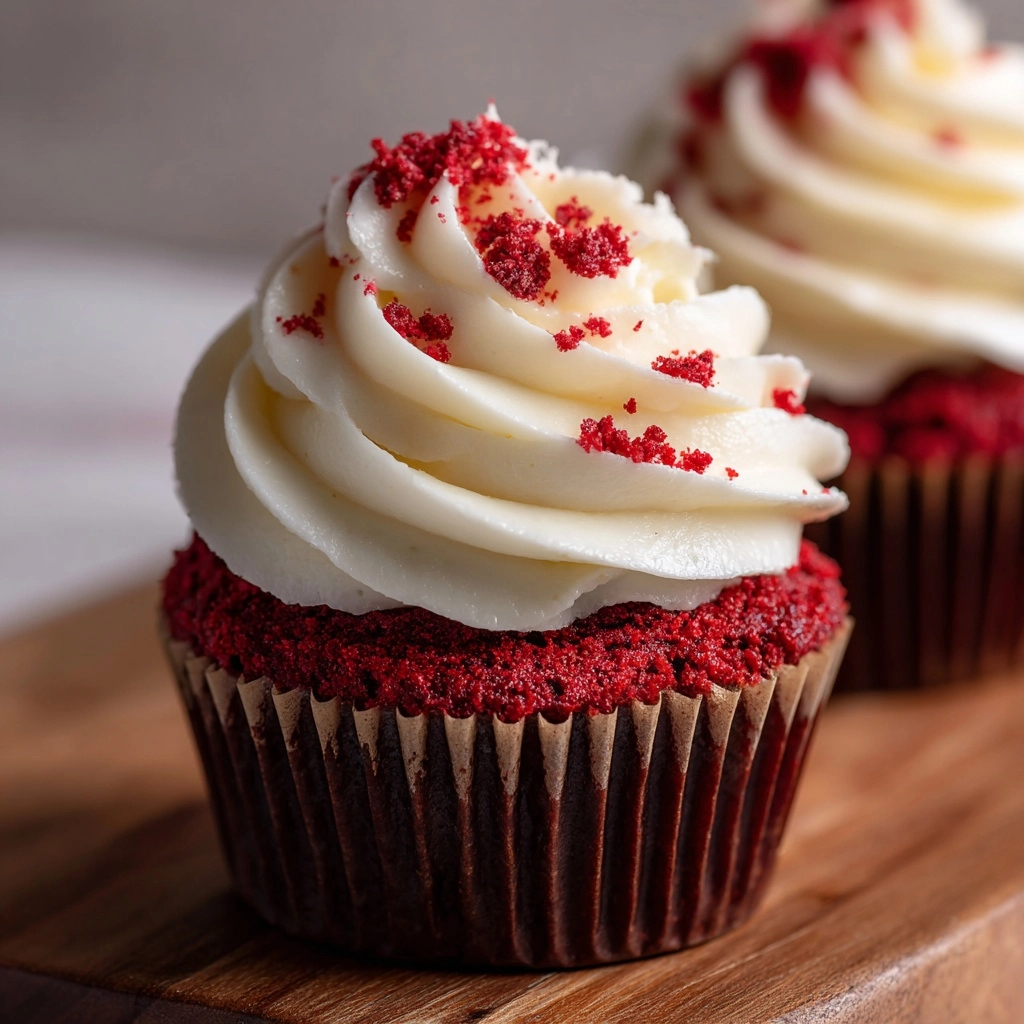
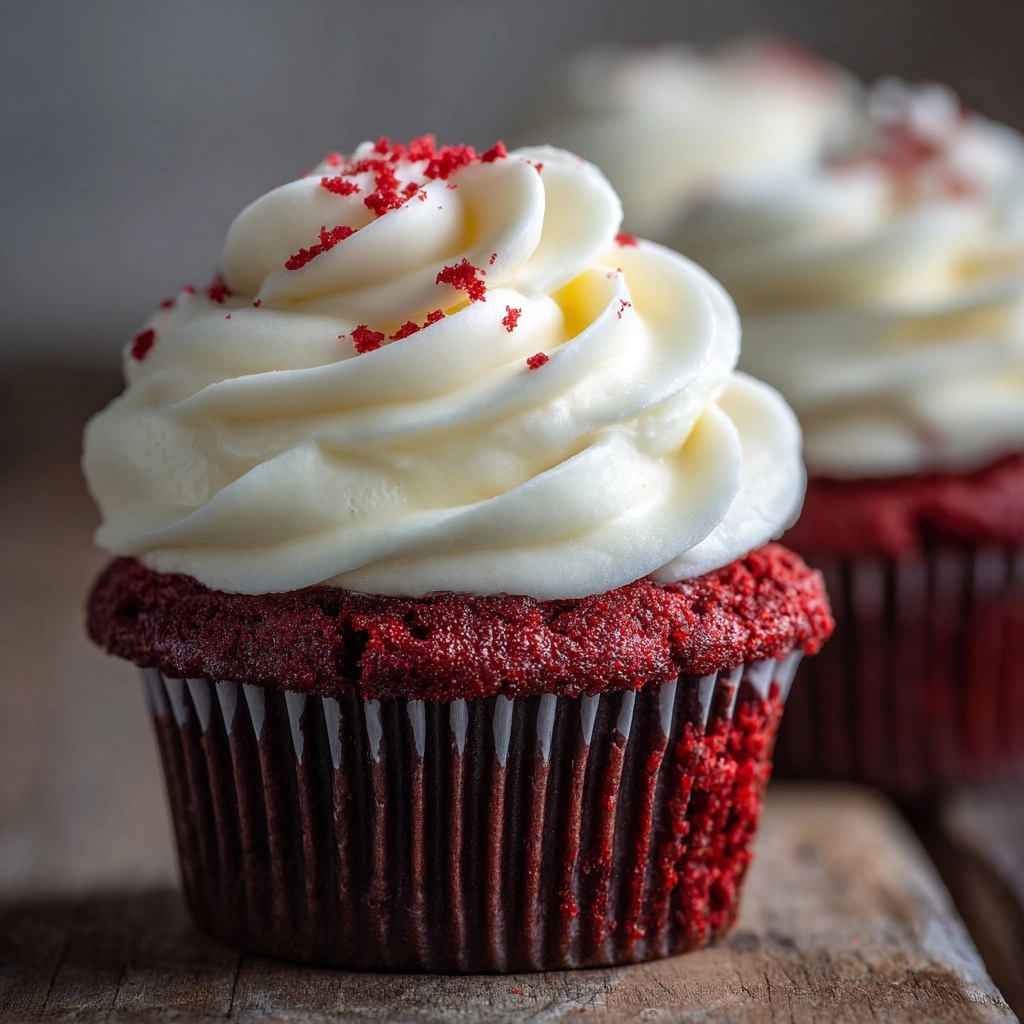
If you are looking for a delightful twist on classic desserts, this Red Velvet Cookie Cups with Cream Cheese Frosting Recipe will quickly become one of your favorites. Imagine bite-sized cookie cups with the rich, velvety flavor of red velvet cake wrapped around a luscious, creamy swirl of frosting. These little treats are perfect for holidays, parties, or whenever a special dessert craving hits. They combine the moistness and color of red velvet with a subtle chocolate cocoa hint, all encasing a tangy, smooth cream cheese frosting that truly makes each bite sing.
Ingredients You’ll Need
The magic behind this recipe lies in its simple but essential ingredients. Each one is chosen not just for taste but to create the perfect texture, vibrant color, and balance of flavors. Here’s what you’ll gather:
- 1 ¼ cups all-purpose flour: Provides the structure for the cookie cups so they hold their shape perfectly.
- ¼ cup unsweetened cocoa powder: Adds a subtle chocolate depth to the red velvet base.
- ½ teaspoon baking soda: Helps the cookie cups rise slightly for a tender crumb.
- ¼ teaspoon salt: Balances the sweetness and enhances flavor.
- ½ cup unsalted butter (softened): Brings richness and moistness to the dough.
- ½ cup granulated sugar: Provides sweetness and helps with the cookie’s texture.
- ½ cup brown sugar (packed): Adds a slight caramel note and extra moisture.
- 1 large egg: Binds the ingredients together while adding richness.
- 1 tablespoon milk: Softens the dough and keeps it tender.
- 1 ½ teaspoons vanilla extract: Enhances the flavors with its warm aroma.
- 1 tablespoon red food coloring: Creates that iconic vibrant red color that red velvet is known for.
- 4 oz cream cheese (softened): For the frosting’s creamy, tangy base.
- 2 tablespoons unsalted butter (softened): Adds smoothness and richness to the frosting.
- 1 ½ cups powdered sugar: Sweetens and balances the tanginess in the frosting.
- ½ teaspoon vanilla extract: Perfectly rounds out the frosting flavor.
How to Make Red Velvet Cookie Cups with Cream Cheese Frosting Recipe
Step 1: Prepare Your Oven and Pan
Start by preheating your oven to 350°F (175°C). Lightly grease a 12-cup muffin pan or line it with paper liners to keep the cookie cups from sticking and make cleanup easier later.
Step 2: Mix Dry Ingredients
In a medium bowl, whisk together the flour, unsweetened cocoa powder, baking soda, and salt. This ensures all the dry ingredients are evenly distributed so your cookie cups develop that perfect texture and chocolate undertones with every bite.
Step 3: Cream Butter and Sugars
In a large bowl, beat the softened butter, granulated sugar, and brown sugar together until light and fluffy. This step is key for a tender, melt-in-your-mouth cookie base, so take your time to really whip it up well.
Step 4: Add Wet Ingredients and Color
Beat in the egg, milk, vanilla extract, and red food coloring until everything is fully combined and the mixture has a gorgeous, velvety red hue. This is where the cookie dough truly begins to come alive with flavor and that classic color.
Step 5: Combine Dry with Wet
Gradually add the dry ingredients into the wet mixture, stirring until a soft dough forms. Be gentle here – overmixing can toughen your cookie cups. The dough should be soft, slightly sticky, and easy to scoop.
Step 6: Shape the Cookie Cups
Scoop about 1½ tablespoons of dough into each muffin cup. Use your fingers or the back of a spoon to gently press into each mound, creating a small well in the center. This well will hold the luscious cream cheese frosting later.
Step 7: Bake and Form Cups
Bake the muffin pan in your preheated oven for 10 to 12 minutes. You want the edges to be set with the centers puffed slightly. As soon as you pull them out, press down the centers once more with the back of a spoon to reinforce their cup shape while they’re still hot.
Step 8: Cool Completely
Allow the cookie cups to cool in the pan completely before removing. This cooling step is essential so your cups keep their shape and don’t break apart when you fill them with frosting.
Step 9: Prepare the Cream Cheese Frosting
Beat together softened cream cheese and butter until smooth and creamy. Then add powdered sugar and vanilla extract, continuing to beat until the frosting is light, fluffy, and spreadable. This frosting brings that rich, tangy sweetness that pairs perfectly with the cocoa and red velvet notes in the cookie.
Step 10: Fill and Serve
Pipe or spoon the cream cheese frosting into the cooled cookie cups just before serving. The contrast between the slightly crisp cookie edges and the silky frosting is irresistible!
How to Serve Red Velvet Cookie Cups with Cream Cheese Frosting Recipe

Garnishes
Want to amp up the presentation? Sprinkle mini chocolate chips, colorful sprinkles, or a light dusting of cocoa powder on top of the frosting. These simple touches add an extra bit of fun and texture that make these cookie cups stand out.
Side Dishes
These cookie cups shine on their own but are fantastic paired with a cold glass of milk, a cup of rich coffee, or even a scoop of vanilla ice cream. The creamy frosting and tender cookie play beautifully alongside any creamy or warm beverage.
Creative Ways to Present
Place the cookie cups on a decorative tiered stand for parties or gift them in a pretty box tied with ribbon for a thoughtful homemade gift. You can even add edible glitter or colored sugar on top of the frosting for a festive look suitable for birthdays or holidays.
Make Ahead and Storage
Storing Leftovers
If you have any leftovers, keep them refrigerated in an airtight container for up to three days. The cream cheese frosting is best enjoyed fresh but chilling the cookie cups helps maintain their texture and flavor.
Freezing
You can freeze the unfilled cookie cups in a sealed container for up to one month. When ready to serve, thaw fully before filling with your cream cheese frosting to keep the frosting fresh and creamy.
Reheating
To warm up cookie cups, let them come to room temperature or gently reheat in a low oven for a few minutes. Avoid microwaving filled cookie cups as the frosting can melt and lose its consistency.
FAQs
Can I use a different food coloring in this Red Velvet Cookie Cups with Cream Cheese Frosting Recipe?
Absolutely! You can experiment with gel or liquid food coloring, adjusting the amount to achieve the vibrant red you desire. Gel tends to be more concentrated and less likely to affect the dough’s texture.
Is it necessary to use cream cheese for the frosting?
Cream cheese gives the frosting its signature tangy flavor and creamy texture, but if you prefer, you can try a simple buttercream or mascarpone frosting instead, keeping in mind the taste and consistency will differ.
Can I make the cookie cups dairy-free?
To make this recipe dairy-free, substitute butter with a plant-based alternative and use dairy-free cream cheese. The texture might vary a bit, but it can still be delicious and enjoyable.
How do I prevent the cookie cups from sticking to the pan?
Greasing the muffin pan well or using paper liners helps tremendously. You can also let the cookie cups cool completely before attempting to remove them, which makes them less likely to break or stick.
Can this recipe be doubled?
Yes! Simply double all the ingredients and bake in two muffin pans if needed. Just keep an eye on the baking time as it may vary slightly when baking larger batches.
Final Thoughts
This Red Velvet Cookie Cups with Cream Cheese Frosting Recipe is a true crowd-pleaser that’s as fun to make as it is to eat. Whether you’re baking for a party, a holiday, or simply to treat yourself, these cookie cups bring together classic flavors in a delightful, bite-sized form. Give this recipe a try and watch how quickly these tender little cups become a new favorite in your dessert repertoire. Happy baking!
Print
Red Velvet Cookie Cups with Cream Cheese Frosting Recipe
- Prep Time: 20 minutes
- Cook Time: 12 minutes
- Total Time: 32 minutes
- Yield: 12 cookie cups
- Category: Dessert
- Method: Baking
- Cuisine: American
- Diet: Vegetarian
Description
Delight in these charming Red Velvet Cookie Cups filled with smooth and tangy cream cheese frosting. Perfectly baked to form a tender, cocoa-infused cookie base with a vibrant red hue, they bring festive elegance to any dessert table or holiday gathering.
Ingredients
Dry Ingredients
- 1 ¼ cups all-purpose flour
- ¼ cup unsweetened cocoa powder
- ½ teaspoon baking soda
- ¼ teaspoon salt
Cookie Dough
- ½ cup unsalted butter, softened
- ½ cup granulated sugar
- ½ cup brown sugar, packed
- 1 large egg
- 1 tablespoon milk
- 1 ½ teaspoons vanilla extract
- 1 tablespoon red food coloring
Cream Cheese Frosting
- 4 oz cream cheese, softened
- 2 tablespoons unsalted butter, softened
- 1 ½ cups powdered sugar
- ½ teaspoon vanilla extract
Instructions
- Preheat and Prepare Pan: Preheat your oven to 350°F (175°C). Lightly grease a 12-cup muffin pan or line it with paper liners to prevent sticking.
- Mix Dry Ingredients: In a medium bowl, whisk together the all-purpose flour, unsweetened cocoa powder, baking soda, and salt until evenly combined.
- Create Cookie Dough Base: In a large bowl, cream the softened butter, granulated sugar, and brown sugar together until the mixture becomes light and fluffy, ensuring a smooth texture.
- Add Wet Ingredients: Beat in the egg, milk, vanilla extract, and red food coloring into the creamed mixture until thoroughly incorporated and the dough turns a vibrant red color.
- Combine Dough: Gradually add the dry ingredients into the wet mixture, stirring until a soft dough forms with consistent color and texture.
- Form Cookie Cups: Scoop approximately 1½ tablespoons of dough into each muffin cup, pressing gently in the center to create a small well that will hold the frosting.
- Bake: Bake the cookie dough cups in the preheated oven for 10–12 minutes, or until the edges are set and the centers puff slightly, indicating they are done.
- Shape the Cups: Remove the pan from the oven and, while the cookies are still warm, use the back of a spoon to press down the centers again gently to reinforce the cup shape.
- Cool Completely: Allow the cookie cups to cool entirely in the pan to set their shape before removing them carefully.
- Prepare Frosting: In a bowl, beat together the softened cream cheese and butter until smooth and creamy. Gradually add the powdered sugar and vanilla extract, beating until the frosting reaches a creamy consistency.
- Fill and Serve: Pipe or spoon the cream cheese frosting into the cooled cookie cups just before serving for a delightful treat.
Notes
- Customize your cookie cups by garnishing with sprinkles, mini chocolate chips, or a light dusting of cocoa powder for extra flavor and decoration.
- Store leftovers in an airtight container in the refrigerator for up to 3 days to maintain freshness.


