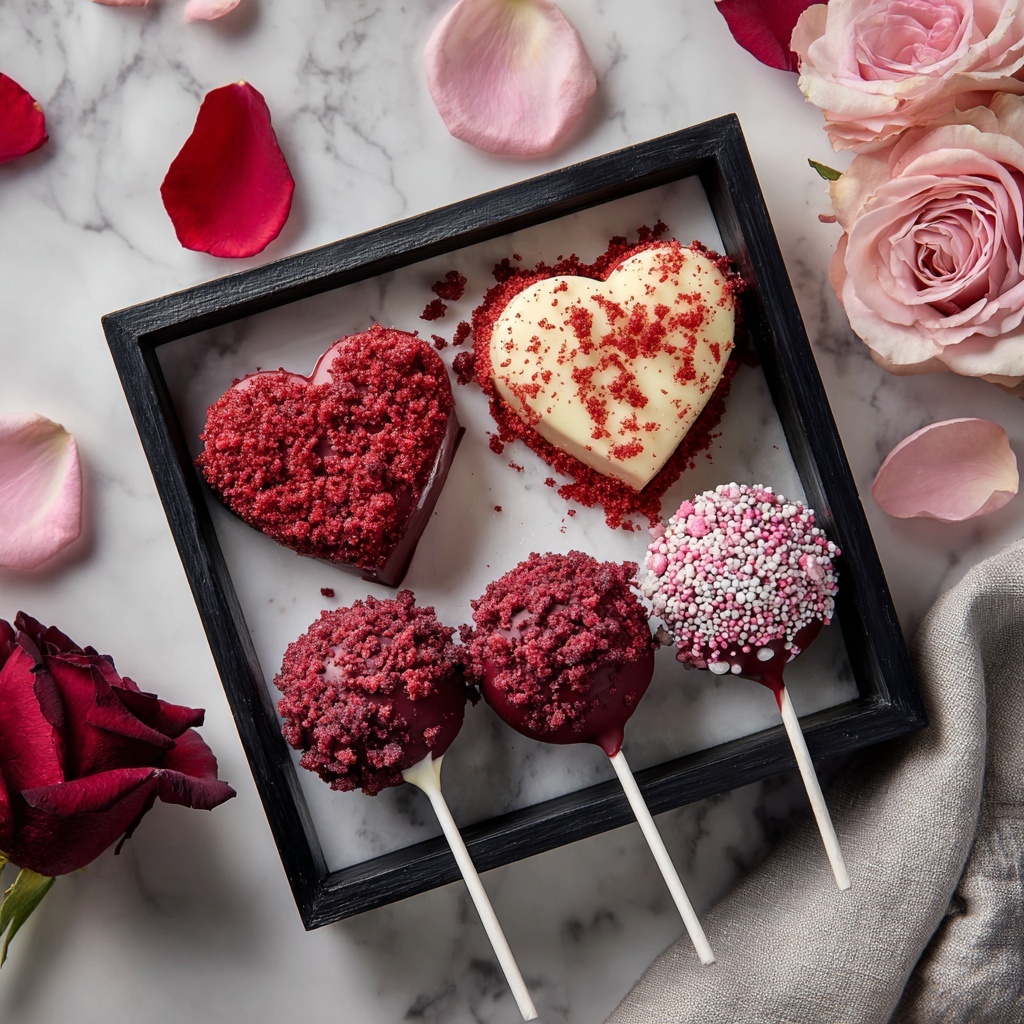
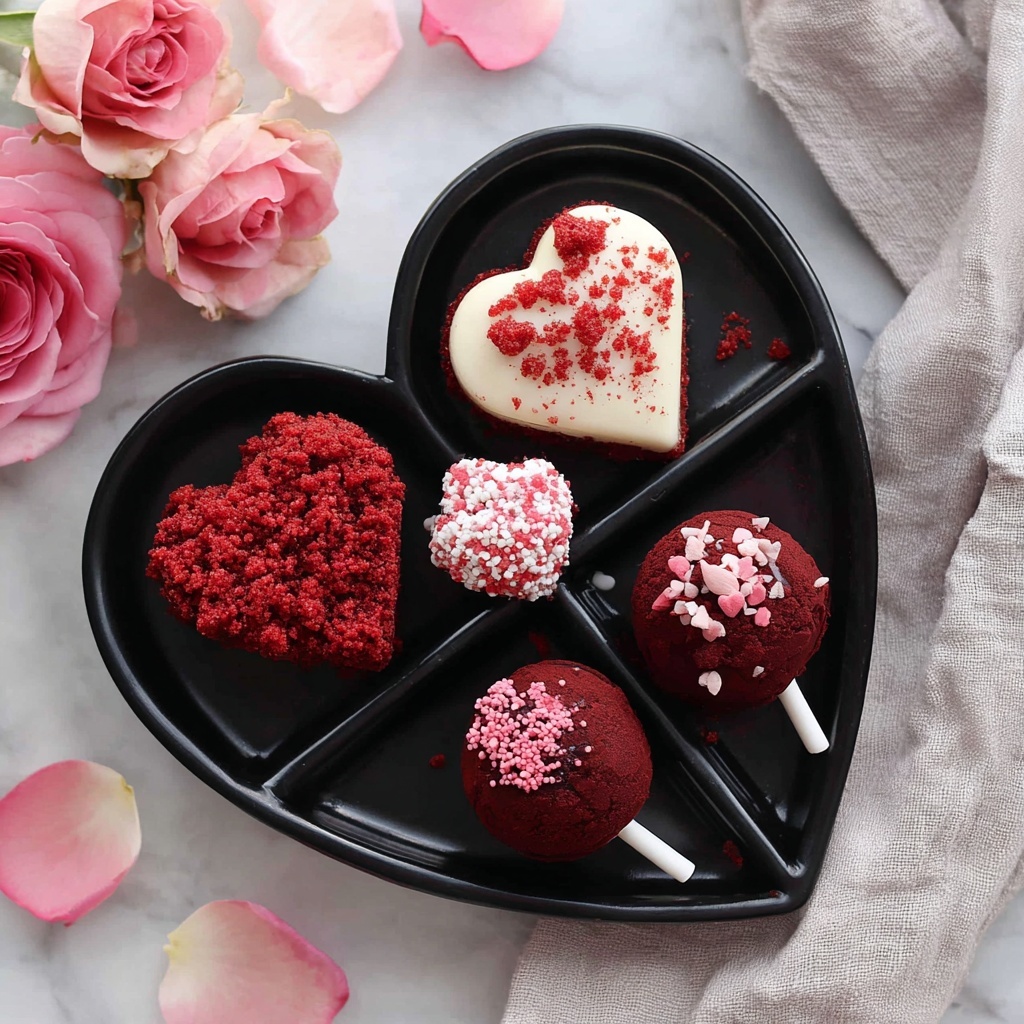
If you adore charming, bite-sized treats that bring a burst of color and flavor to any occasion, you’re going to fall head over heels for this Red Velvet Cake Pops in Heart Shape Recipe. These adorable little hearts combine the classic richness of red velvet cake with creamy frosting and a smooth, sweet coating, all shaped into irresistible hearts that are perfect for celebrations, gifts, or simply sharing a bit of love through dessert. Crafted with approachable ingredients and easy steps, these cake pops offer a playful way to enjoy red velvet with a delightful twist in both appearance and taste.
Ingredients You’ll Need
Ingredients You’ll Need
Let’s start with the essentials – each ingredient in this Red Velvet Cake Pops in Heart Shape Recipe is chosen to deliver the perfect balance of flavor, texture, and vibrant color. From the cake mix to the decorative touches, these elements come together harmoniously for that classic red velvet charm in every bite.
- Red velvet cake mix: The foundation of our pops; provides that signature cocoa flavor and stunning red color.
- Cream cheese frosting: Adds a luscious creaminess that binds the crumbs and enhances the red velvet taste.
- Pink melting wafers: These smooth coatings provide sweetness and a lovely pastel finish perfect for the heart shape; add vegetable oil if needed for dipping consistency.
- Red food coloring: Optional but helps brighten the coating to that perfect vibrant tone.
- Heart-shaped silicone mold or cookie cutter: Essential for shaping our cake mix into those adorable hearts that make these pops stand out.
- Sprinkles or edible glitter: To add that final festive sparkle and visual interest.
- Lollipop sticks: For holding and presenting your pops with ease and style.
How to Make Red Velvet Cake Pops in Heart Shape Recipe
Step 1: Prepare the Red Velvet Cake
Start by following the baking instructions on your red velvet cake mix box. Baking it fresh ensures a moist, tender crumb that’s essential for the perfect cake pop texture. Once out of the oven, set the cake aside to cool completely – this is crucial so the cake holds together well in later steps.
Step 2: Crumble the Cake
When cooled, crumble the cake into fine crumbs using your hands or a fork. The finer the crumbs, the smoother your cake pops will be, giving them that uniform, satisfying texture which is key in the Red Velvet Cake Pops in Heart Shape Recipe.
Step 3: Combine with Cream Cheese Frosting
Mix the cake crumbs with the cream cheese frosting. This step is fun because you get to see how the dry crumbs transform into a luscious dough-like mixture. You want it to be moist enough to hold its shape but not too sticky, so add frosting little by little until the consistency feels just right.
Step 4: Shape the Cake
If you have a heart-shaped silicone mold, fill each cavity with the mixture, pressing it in firmly for a clean shape. If not, roll the mixture into balls, flatten slightly, and use a heart-shaped cookie cutter to cut each piece. This step adds that charming, personal touch that makes these cake pops perfect for gifting or parties.
Step 5: Chill to Firm Up
Place your shaped cake hearts on a baking sheet and refrigerate for at least 30 minutes to an hour. This chilling step firms up the cake, making it easier to dip and preventing them from falling apart during coating.
Step 6: Prepare the Coating
Melt the pink melting wafers in a microwave-safe bowl, stirring every 30 seconds until smooth. Add a few drops of red food coloring if you want that intensified red velvet hue. If the chocolate feels too thick, a tablespoon of vegetable oil thinned it perfectly for that silky coating.
Step 7: Insert the Lollipop Sticks
Dip the tip of each lollipop stick into the melted coating, then immediately push it about halfway into each chilled cake heart. This “glue” helps secure the stick inside once the coating hardens, making them easy to hold and enjoy.
Step 8: Coat the Pops
Carefully dip each cake heart pop into the melted wafers, turning gently to coat evenly. Let the excess drip off before standing them upright in a Styrofoam block or an inverted colander. This approach prevents smudges and allows the coating to set smoothly.
Step 9: Decorate Before Setting
While the coating is still wet, sprinkle on your choice of sprinkles or edible glitter. This is where your creativity shines, transforming simple red velvet cake pops into dazzling treats that are just begging to be admired and devoured.
Step 10: Let Them Set
Allow the coated pops to firm up completely at room temperature or pop them into the fridge for quicker setting. Once set, these red velvet hearts are ready to be the star of your dessert table.
How to Serve Red Velvet Cake Pops in Heart Shape Recipe
Garnishes
Sprinkles and edible glitter are classic finishes, but you can also try drizzling contrasting chocolate or edible pearls to add elegance and texture. Fresh rose petals on the platter add a romantic vibe if you’re presenting these pops for a special occasion.
Side Dishes
Red Velvet Cake Pops in Heart Shape Recipe pairs beautifully with a light cup of coffee or tea, allowing the creamy richness to be balanced by a warm beverage. For a celebration, serve alongside vanilla or strawberry milkshakes, which complement the cake’s flavor perfectly.
Creative Ways to Present
Display your cake pops in a decorative Styrofoam block covered with colorful foil or ribbon, or embed them in a pretty bouquet vase with floral foam wrapped in tissue paper for a gift-worthy presentation. You can also arrange them on a tiered cake stand for a stunning visual centerpiece at parties.
Make Ahead and Storage
Storing Leftovers
Keep leftover Red Velvet Cake Pops in an airtight container in the refrigerator to maintain freshness. They will stay moist and delicious for up to 4 days, making them perfect to prepare in advance for an event or craving later on.
Freezing
If you want to store your cake pops longer, freezing is a great option. Place them on a baking sheet until firm, then transfer to a freezer-safe container with parchment paper separating layers. They can keep well for up to 2 months and thaw gently at room temperature before serving.
Reheating
These cake pops are best enjoyed cold or at room temperature, so reheating is generally unnecessary. However, if you prefer, let them come to room temperature naturally for about 15 minutes after chilling to enjoy the soft interior with a slightly softened coating.
FAQs
Can I use homemade red velvet cake instead of cake mix?
Absolutely! Homemade red velvet cake works wonderfully and can add a personal touch, just be sure it’s fully cooled and crumbled finely before mixing with frosting for the best texture in your pops.
What if I don’t have a heart-shaped mold or cookie cutter?
No problem! You can shape the mixture into balls and gently flatten them by hand or use other small cookie cutters you have on hand. The homemade shape adds charm, and the pops will taste just as amazing.
How do I prevent the coating from cracking on the cake pops?
Ensuring your cake pops are well chilled before dipping helps the coating set smoothly. Also, avoid double-dipping or handling them too much while the coating is still wet.
Can I substitute the cream cheese frosting with something else?
While cream cheese frosting is traditional and gives that signature flavor, you can use buttercream or even mascarpone mixed with a little powdered sugar for a different but still delicious binder.
What’s the best way to transport these cake pops without damaging them?
Keep the pops upright in a container lined with floral foam or a sturdy cake pop stand, and refrigerate them until serving to keep the coating firm and prevent breakage during transport.
Final Thoughts
There’s something truly magical about making Red Velvet Cake Pops in Heart Shape Recipe – from mixing the luscious cake crumbs with rich frosting to dipping and decorating each charming heart. They’re not only fun to make but irresistible to share, perfect for spreading sweetness to friends, family, or anyone lucky enough to receive one. Go ahead, give this recipe a try and watch how these colorful little hearts become instant favorites at your next gathering!
Print
Red Velvet Cake Pops in Heart Shape Recipe
- Prep Time: 1h 0m
- Cook Time: 0h 30m
- Total Time: 1h 30m
- Yield: About 20-25 cake pops depending on size
- Category: Dessert
- Method: No-Cook
- Cuisine: American
Description
Delightful red velvet cake pops shaped like hearts, coated in pink melting chocolate and decorated with sprinkles or edible glitter. These charming treats combine the rich flavor of red velvet cake with creamy frosting, making them perfect for special occasions like Valentine’s Day or parties.
Ingredients
Cake
- 1 box of red velvet cake mix (plus ingredients required by the mix)
- 1 cup cream cheese frosting
Coating and Decoration
- 2 cups pink melting wafers (or any color of your choice)
- Red food coloring (optional, for brighter color)
- Sprinkles or edible glitter for decoration
- 1 tablespoon vegetable oil (optional, for thinning chocolate)
- Lollipop sticks
- Heart-shaped silicone mold (or cookie cutter for shaping)
Instructions
- Prepare Cake: Prepare the red velvet cake according to the instructions on the box. Once baked, allow it to cool completely.
- Crumble Cake: Once cooled, crumble the cake into fine crumbs in a large mixing bowl.
- Mix with Frosting: Add the cream cheese frosting to the cake crumbs and mix until the mixture is smooth and holds together.
- Shape Cake Pops: If you have a heart-shaped mold, press the mixture into the mold. If not, roll the mixture into balls and then flatten them; use a heart-shaped cookie cutter to shape them.
- Chill Shapes: Place the shaped cake on a baking sheet and refrigerate for about 30 minutes to 1 hour, allowing them to firm up.
- Melt Coating: Melt the pink melting wafers in a microwave-safe bowl, stirring every 30 seconds until they are completely smooth. Add a bit of red food coloring for a deeper shade if desired. If too thick, stir in a tablespoon of vegetable oil for a smoother consistency.
- Insert Sticks: Dip the tip of a lollipop stick into the melted chocolate, then insert the stick into a firm cake heart. Repeat this process for all cake hearts.
- Coat Cake Pops: Once all the sticks are inserted, carefully dip each pop into the melted chocolate to coat. Let the excess drip off before placing them upright in a Styrofoam block or an inverted colander until the coating hardens.
- Decorate: Before the coating sets, decorate your cake pops with sprinkles or edible glitter.
- Set Completely: Allow them to set completely at room temperature or refrigerate for faster setting.
Notes
- Make sure the cake is completely cooled before crumbling to ensure the crumbs combine well with the frosting.
- If the coating chocolate is too thick, adding vegetable oil will help achieve a smooth dipping consistency.
- Use a Styrofoam block or inverted colander to hold the pops upright while drying to prevent mess and uneven coating.
- For extra vibrant colors, add a few drops of red food coloring to the melted wafers.
- Store cake pops in an airtight container at room temperature or refrigerated for up to 3 days for best freshness.


