“`html
There is something undeniably magical about a warm slice of cherry pie fresh from the oven, and this Perfect Homemade Cherry Pie Recipe brings that magic right into your kitchen. With its juicy, tart cherry filling and flaky golden crust, this pie strikes the perfect balance of sweet and tangy, making it an all-time favorite that feels like a big, comforting hug on a plate. Whether you’re baking for a special occasion or just to satisfy a sudden craving, this recipe is straightforward and rewarding, delivering a dessert that’s bursting with flavor and soul.
Ingredients You’ll Need
These ingredients are simple yet essential, each playing a crucial role in creating the irresistible taste, texture, and vibrant color of your cherry pie. From the fresh juicy cherries to the buttery crust, you’ll see just how uncomplicated but powerful this recipe truly is.
- 4 cups Fresh Cherries, pitted: The star ingredient, providing natural sweetness and a beautiful ruby-red color.
- 1 cup Granulated Sugar: Balances the tartness of the cherries with the right level of sweetness.
- 2 tablespoons All-Purpose Flour: Acts as a thickener to keep your filling perfectly set and not runny.
- 1 tablespoon Fresh Lemon Juice: Adds brightness and depth, enhancing the cherry flavor.
- 2 tablespoons Unsalted Butter: Dots of butter on top of the filling lend a rich, silky finish.
- 1 prepared Pie Crust: Whether you choose store-bought or homemade, the crust gives you the signature flaky base and lid.
How to Make Perfect Homemade Cherry Pie Recipe
Step 1: Preheat Your Oven
The first step is to set your oven to 425°F (220°C). This high heat jumpstarts the baking process, ensuring a crisp, golden crust that locks in the cherry juices beautifully. Starting with the oven hot is key to an evenly baked pie.
Step 2: Prepare the Cherry Filling
In a large bowl, mix your pitted cherries with sugar, flour, and lemon juice. Toss everything gently to combine and then let it sit for 10 to 15 minutes so the flavors meld together and the cherries release some of their natural juices, creating a luscious filling.
Step 3: Roll Out the Bottom Crust
Roll out one half of your pie dough and fit it into your pie dish, trimming any excess dough around the edges. This will be the sturdy foundation for your cherry filling, so make sure it’s evenly spread and pressed gently to avoid air bubbles.
Step 4: Add the Cherry Filling and Butter
Pour the rich cherry mixture into the crust, spreading it evenly. Then, dot the top with small chunks of unsalted butter. These butter bits will melt during baking, adding richness and a glossy finish to your filling.
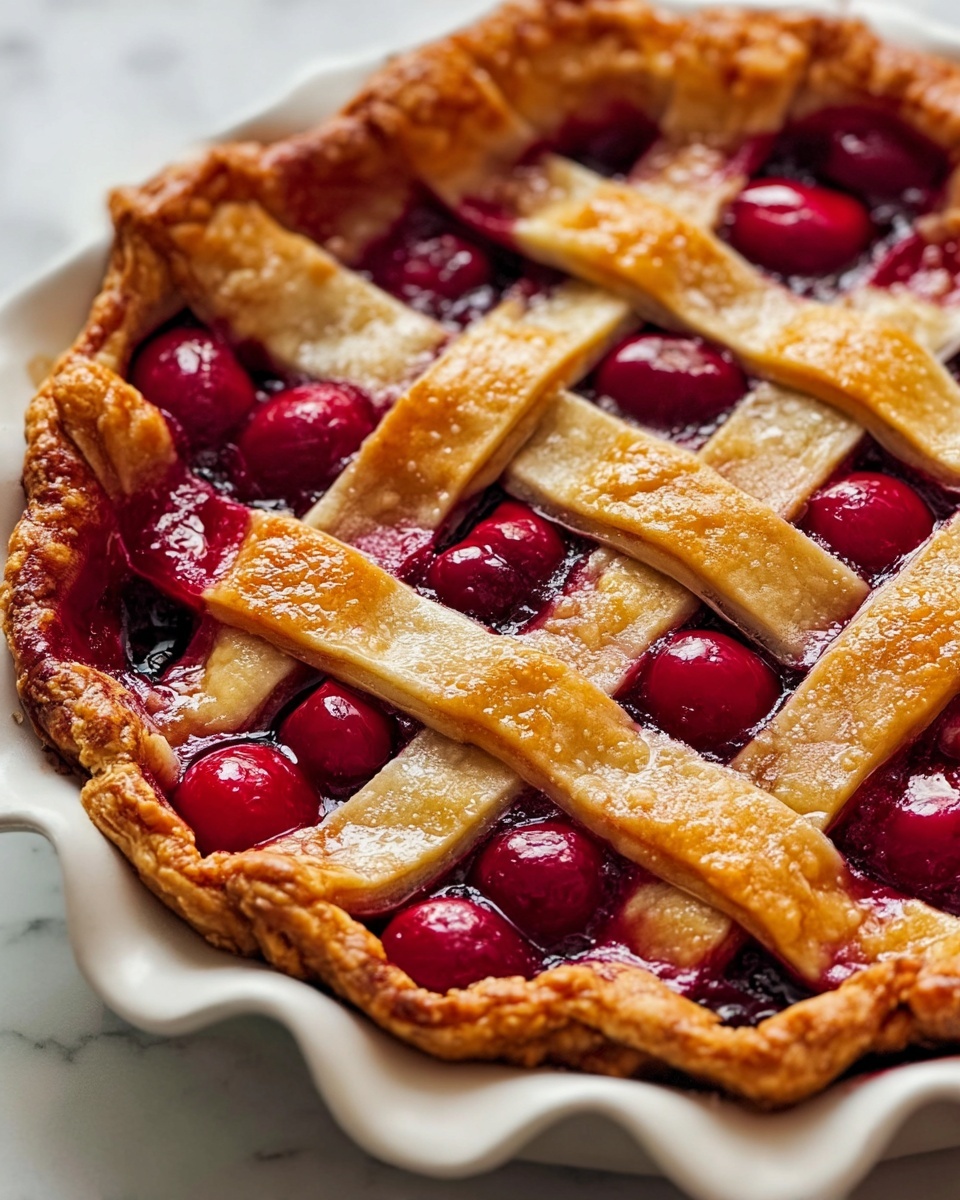
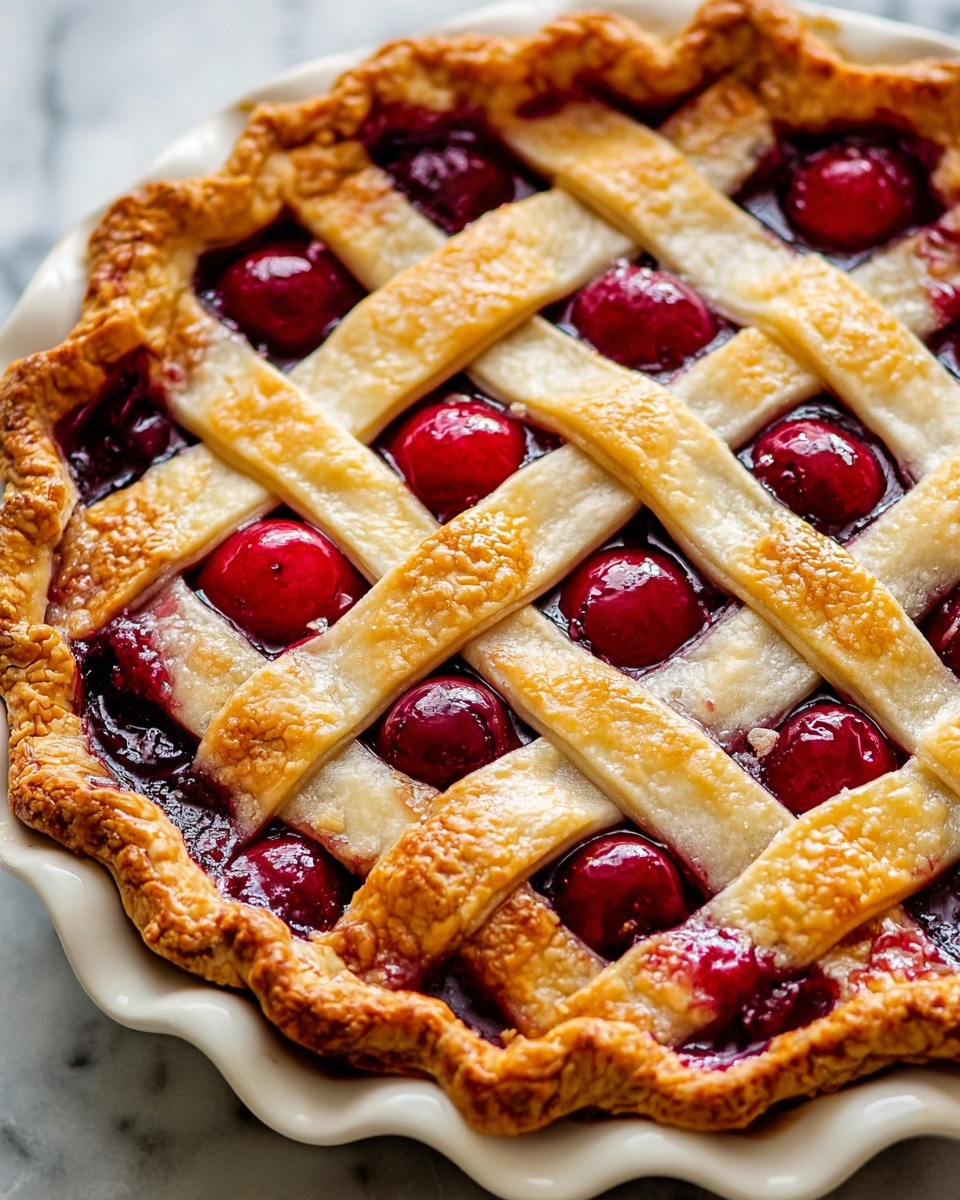
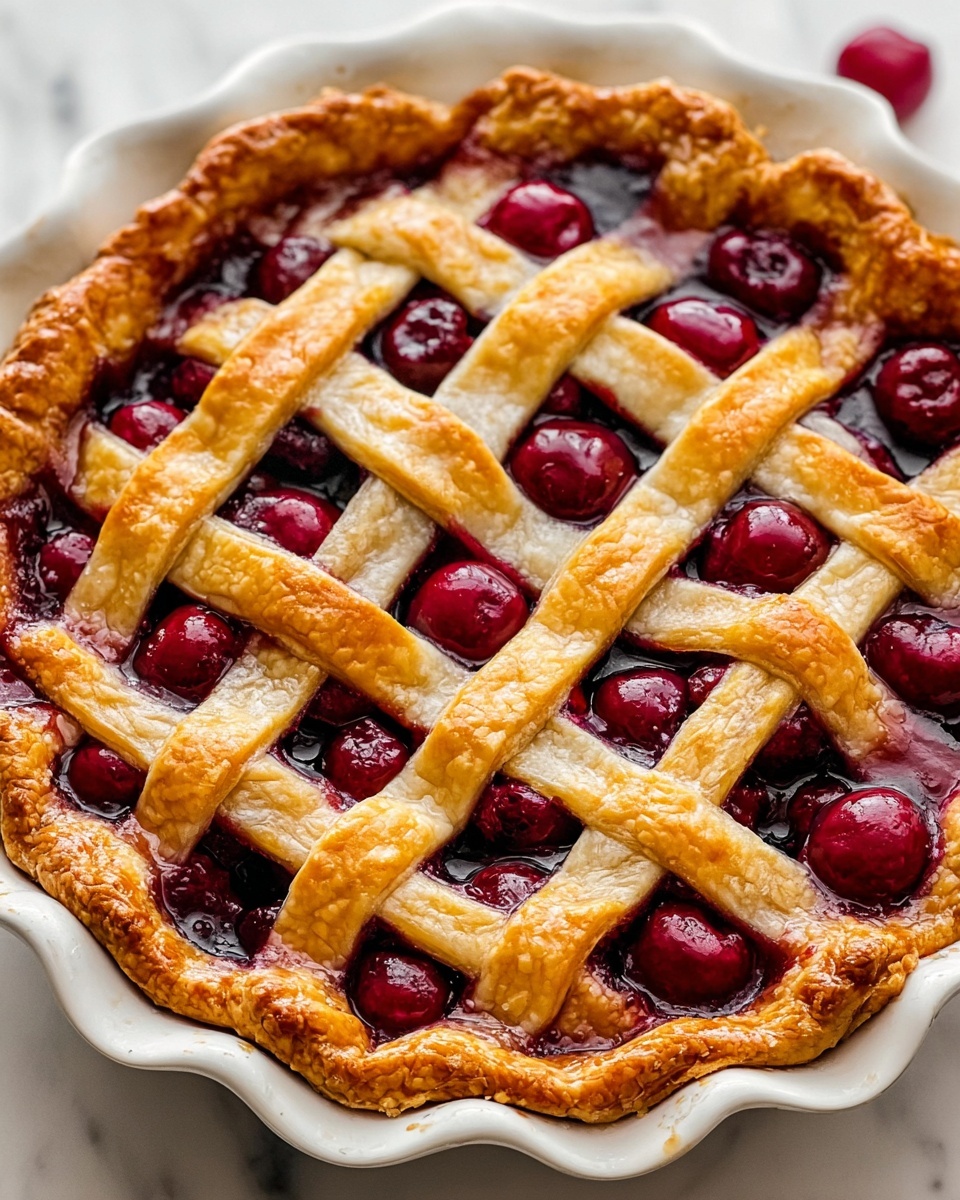
Step 5: Create the Top Crust
Roll the remaining dough half out to cover the pie. You can choose to make a full cover with slits cut for steam to escape, or take a creative turn with a lattice pattern by slicing strips and weaving them on top. Both options add a beautiful, classic look to the pie.
Step 6: Seal and Crimp the Edges
Trim the dough edges so they’re even, then crimp them to seal in all those juicy cherries. This seals the filling and gives your pie an inviting, polished edge. Don’t forget to press firmly so the crust doesn’t separate during baking.
Step 7: Bake Your Pie
Place the pie on a baking sheet to catch any drips and bake at 425°F (220°C) for 15 minutes to get the crust going. Then reduce the oven temperature to 350°F (175°C) and continue baking for an additional 30 to 35 minutes. The lower temperature lets the filling bubble gently while the crust finishes baking to a perfect golden brown.
Step 8: Cool Before Serving
Once baked, remove your pie from the oven and let it cool for at least an hour. This resting time is crucial, allowing the filling to set properly so each slice holds together beautifully without losing any of that juicy charm.
How to Serve Perfect Homemade Cherry Pie Recipe
Garnishes
A scoop of vanilla bean ice cream or a dollop of freshly whipped cream turns your cherry pie into a dreamy indulgence. Fresh mint leaves or a light dusting of powdered sugar can add a pretty touch and an extra hint of flavor, making the presentation just as special as the taste.
Side Dishes
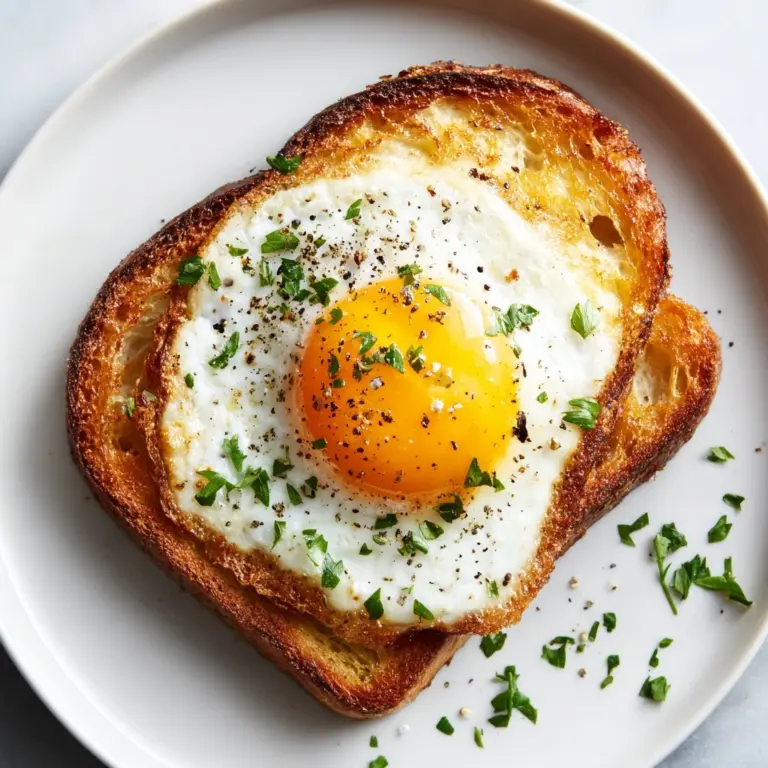
Cherry pie pairs wonderfully with simple sides like coffee or a light herbal tea to balance the sweetness. For a brunch setting, serve alongside savory dishes such as scrambled eggs or a mild cheese platter for a delightful contrast.
Creative Ways to Present
Slice your cherry pie into individual portions and serve on rustic wooden boards or elegant dessert plates with a drizzle of warm chocolate or caramel sauce. For festive occasions, topple slices with a sprinkle of toasted almonds or edible flowers for a unique visual and flavor twist.
Make Ahead and Storage
Storing Leftovers
Once your Perfect Homemade Cherry Pie Recipe has been enjoyed, cover any leftovers tightly with plastic wrap or foil and store in the refrigerator. Cherries keep well chilled, and your pie will taste just as delicious the next day or two, with flavors continuing to meld.
Freezing
You can freeze leftover pie by wrapping it securely in plastic wrap and then foil to prevent freezer burn. When you’re ready to enjoy it, thaw overnight in the refrigerator for the best texture and flavor. Freezing lets you savor this cherry pie recipe whenever the craving strikes.
Reheating
To warm your pie slices, pop them in a preheated oven at 350°F (175°C) for about 10 minutes or until heated through. Reheating restores that fresh-baked warmth and refreshes the flaky crust as if it just came out of the oven.
FAQs
Can I use frozen cherries for this pie?
Absolutely! Just be sure to thaw and drain the cherries well to avoid excess water making the filling too runny. You might want to add a little extra flour to help thicken the filling when using frozen fruit.
Is it better to use store-bought or homemade pie crust?
Both options work beautifully. Store-bought crusts save time and still deliver great flavor, but homemade crusts can add a personal touch and extra flakiness if you have the time and enjoy baking from scratch.
What if I don’t have fresh lemon juice?
Fresh lemon juice brightens the cherry flavor splendidly, but if you don’t have fresh lemons on hand, a small splash of bottled lemon juice works fine. Just be sure not to add too much or it could overpower the filling.
How can I tell when the cherry pie is fully baked?
Look for a crust that is golden brown and cherry filling that is bubbling gently through the vents or lattice. The bubbling is a perfect sign that the filling has thickened and cooked through.
Can I make this Perfect Homemade Cherry Pie Recipe in advance?
Yes! You can assemble the pie and keep it refrigerated for a few hours before baking. Just cover it tightly to prevent the crust from drying out, then bake as directed when ready to serve.
Final Thoughts
There’s nothing quite like the smell of a homemade cherry pie baking in the oven, and this Perfect Homemade Cherry Pie Recipe captures all the warmth and joy that comes with sharing a classic dessert. I encourage you to give it a try—it’s a simple, heartfelt recipe that delivers incredible taste and memories in every bite.
“`
Print
Perfect Homemade Cherry Pie Recipe
- Prep Time: 15 minutes
- Cook Time: 45 minutes
- Total Time: 1 hour 0 minutes
- Yield: 8 servings
- Category: Dessert
- Method: Baking
- Cuisine: American
Description
This Perfect Homemade Cherry Pie recipe delivers a classic dessert experience featuring a flaky pie crust filled with sweet and tangy fresh cherry filling, perfectly baked to golden perfection. Ideal for gatherings or a comforting treat, this pie balances the natural tartness of cherries with a beautifully tender crust.
Ingredients
Filling
- 4 cups Fresh Cherries, pitted
- 1 cup Granulated Sugar
- 2 tablespoons All-Purpose Flour (to thicken the filling)
- 1 tablespoon Fresh Lemon Juice (to brighten flavors)
- 2 tablespoons Unsalted Butter (to dot on top of filling)
Crust
- 1 prepared crust Pie Crust (store-bought or homemade, enough for top and bottom)
Instructions
- Preheat oven: Preheat your oven to 425°F (220°C) to prepare for baking the pie.
- Prepare filling: In a large mixing bowl, combine the pitted cherries, granulated sugar, flour, and fresh lemon juice. Toss gently until evenly mixed and let the mixture sit for 10 to 15 minutes to allow the juices to combine and the flour to thicken the filling.
- Prepare bottom crust: Roll out one half of your pie crust and carefully transfer it to a pie dish. Trim any excess dough hanging over the edges.
- Add cherry filling: Pour the cherry filling into the bottom crust evenly, then dot the filling with small pieces of unsalted butter to enhance richness and flavor during baking.
- Prepare top crust: Roll out the second half of the pie crust. You can create a lattice pattern by cutting into strips or cover the pie entirely with the crust. If covering fully, cut slits on the top crust to allow steam to escape while baking.
- Seal edges: Trim and crimp the edges of the top and bottom crusts together to form a tight seal, preventing the filling from leaking out.
- Initial bake: Place the pie on a baking sheet to catch any drips and bake in the preheated oven at 425°F (220°C) for 15 minutes. This high heat helps set the crust.
- Continue baking: Reduce the oven temperature to 350°F (175°C) and bake for an additional 30 to 35 minutes until the crust is golden brown and the filling is bubbling.
- Cool: Remove the pie from the oven and allow it to cool for at least one hour to let the filling set properly before slicing and serving.
Notes
- Using fresh, ripe cherries is key for the best flavor and texture.
- If fresh cherries are not available, frozen can be used but thaw and drain excess liquid before using.
- For a flakier crust, keep the butter and dough cold during preparation.
- Cover the edges with foil if they brown too quickly during baking.
- Serve warm or at room temperature. Vanilla ice cream pairs wonderfully.

