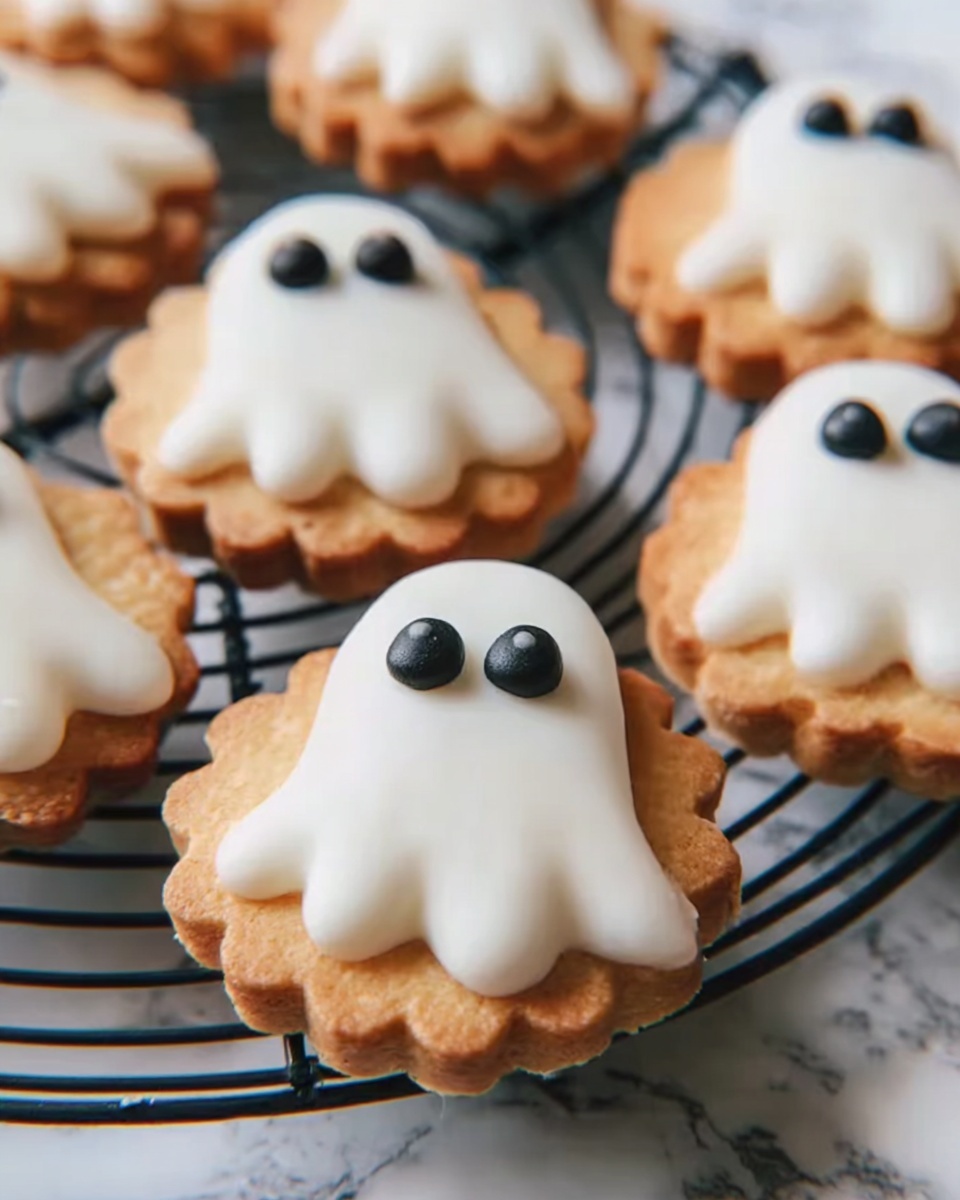
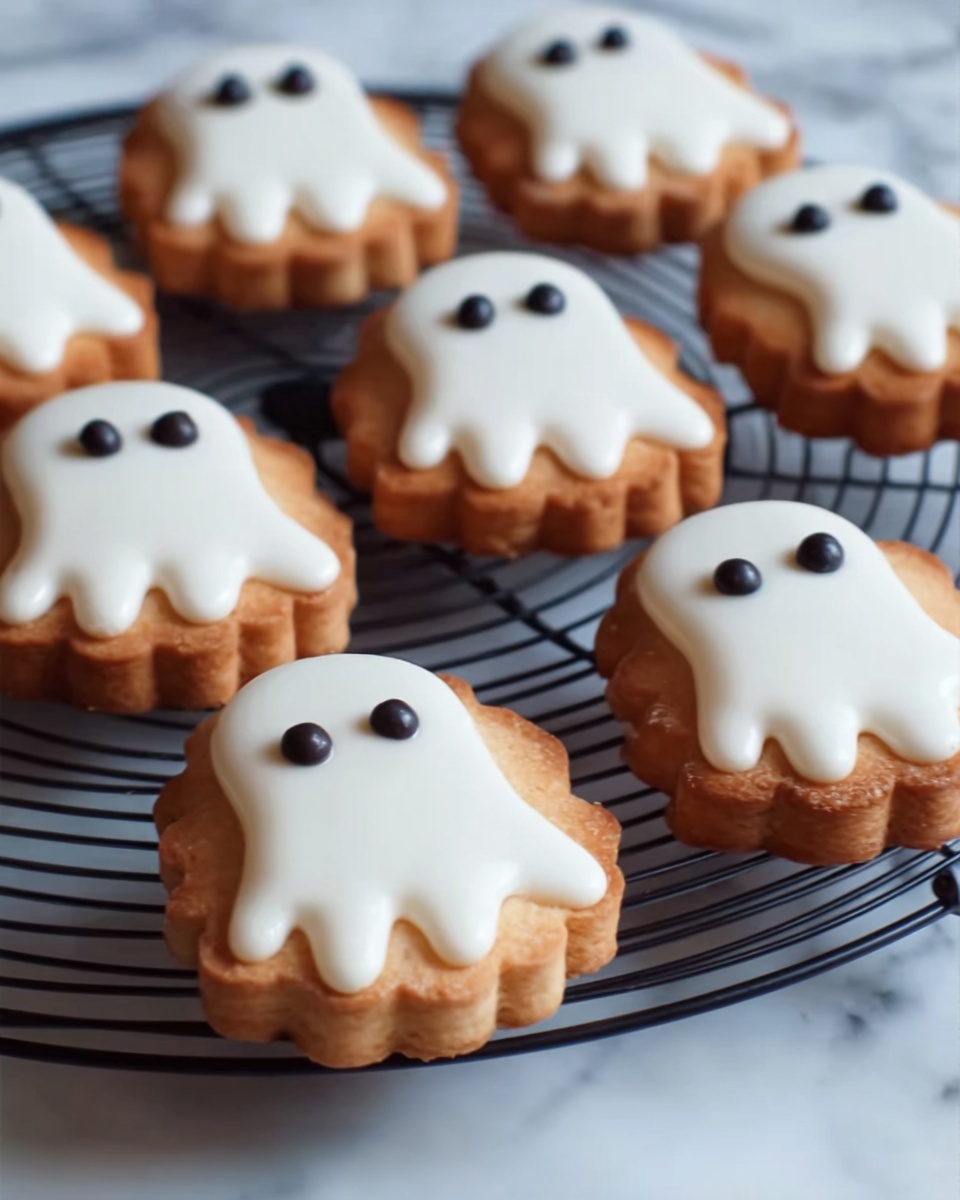
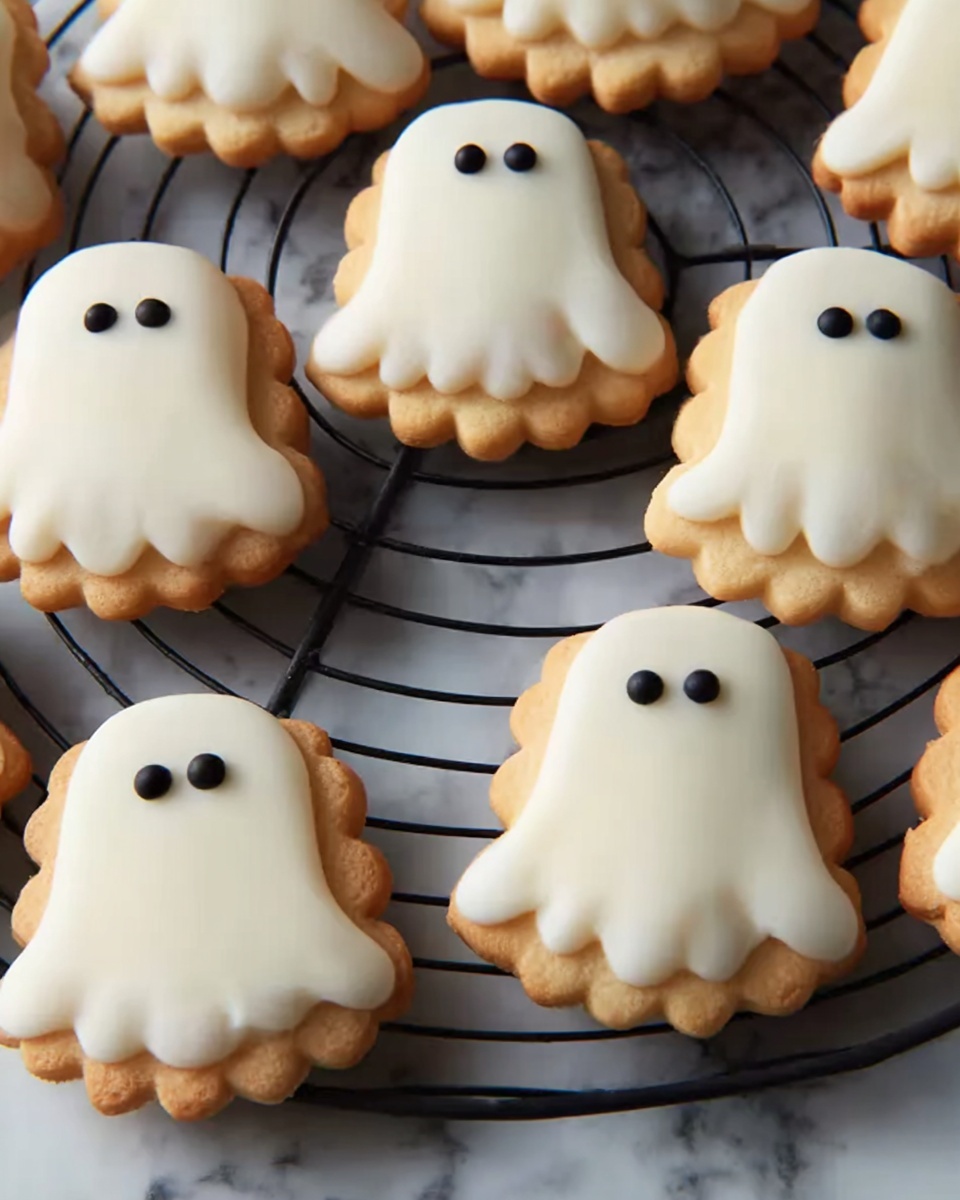
If you’re in the mood for a spooky treat that’s as fun to make as it is to eat, then the Nutter Butter Ghost Cookies Recipe is your new go-to. These delightfully colorful, ghost-shaped cookies are perfect for adding a playful Halloween twist to your baking lineup. With just a handful of simple ingredients like all-purpose flour, softened butter, and gel food coloring, you’ll create cookies that are tender, buttery, and packed with vibrant hues that make every bite a little celebration. Trust me, once you try this recipe, these charming ghost cookies will become a seasonal favorite you’ll love sharing with friends and family.
Ingredients You’ll Need
This recipe relies on straightforward ingredients that work together beautifully to deliver great texture, flavor, and a pop of spooky color. Each item plays a crucial role so that your Nutter Butter Ghost Cookies come out just right.
- All-purpose flour: The foundation for a tender yet sturdy cookie dough that holds its shape during baking.
- Baking powder: Adds just the right lift to keep the cookies soft without spreading too much.
- Salt: Balances sweetness and enhances the overall flavor of the cookies.
- Unsalted butter, softened: Gives the dough richness and a smooth, melt-in-your-mouth texture.
- Granulated sugar: Sweetens the dough and helps create that slight crisp edge on the cookies.
- Eggs: Binds all the ingredients together while adding moisture for perfect chewiness.
- Vanilla extract: Infuses warmth and depth of flavor that makes these cookies irresistible.
- Gel food coloring (green and purple recommended): Brings those ghostly colors to life without watering down the dough.
How to Make Nutter Butter Ghost Cookies Recipe
Step 1: Prepare the Butter Mixture
Start by creaming your softened unsalted butter and granulated sugar together until the mixture is light and fluffy. This step is key for creating that melt-in-your-mouth texture everyone loves.
Step 2: Add Eggs and Vanilla
Next, beat in the eggs and vanilla extract until everything is fully combined. These ingredients add richness and help the dough come together smoothly.
Step 3: Mix Dry Ingredients
In a separate bowl, whisk together the all-purpose flour, baking powder, and salt. This ensures the leavening agent and seasoning are evenly distributed throughout the dough.
Step 4: Combine Dry and Wet Ingredients
Gradually add your dry ingredients to the butter mixture, mixing gently until just combined. Overmixing is the enemy here, so stop as soon as you see a cohesive dough forming.
Step 5: Divide and Color the Dough
Split your dough into two portions. Add green gel food coloring to one and purple to the other, kneading each until the colors are fully incorporated and vibrant.
Step 6: Chill the Dough
Wrap each colored dough portion in plastic wrap and refrigerate for at least one hour. This chilling step helps the dough firm up, making it easier to handle and slice later.
Step 7: Layer and Roll the Dough
On a clean surface, layer the green dough on top of the purple dough. Lightly roll them together to create a marbled effect. Trim the edges to straighten your dough layers, then carefully roll everything into a tight log.
Step 8: Refrigerate Again
Wrap your dough log in plastic wrap and pop it back in the fridge for another hour. This extra chill time solidifies the log for clean, neat slicing.
Step 9: Slice and Bake
Slice the log into 1/4 to 1/2-inch thick rounds and place these on a baking sheet lined with parchment paper. Bake at 350°F (175°C) for 13-15 minutes until the cookies are set but still soft in the center. Let them cool on the sheet briefly before transferring to a wire rack.
How to Serve Nutter Butter Ghost Cookies Recipe
Garnishes
For that extra spooky flair, decorate your ghost cookies with edible googly eyes or a thin drizzle of white icing to highlight the ghostly shapes. Adding a little sprinkle of edible glitter can also bring a magical sparkle that kids and adults alike will adore.
Side Dishes
These cookies pair wonderfully with a tall glass of cold milk or a cozy cup of hot cocoa. For a Halloween party, consider serving them alongside pumpkin spice lattes or apple cider to enhance the festive vibe.
Creative Ways to Present
Present your Nutter Butter Ghost Cookies Recipe on a black platter with scattered autumn leaves or small jack-o’-lanterns to create a fun and seasonal display. You can also stack them in a spooky cookie tower or package them individually in cellophane bags with orange and black ribbons for gifting.
Make Ahead and Storage
Storing Leftovers
Keep your leftover Nutter Butter Ghost Cookies in an airtight container at room temperature for up to a week. This helps maintain their softness while preventing them from drying out.
Freezing
If you want to save these ghosts for later, wrap the dough log tightly before baking and freeze it for up to three months. When ready, thaw in the fridge overnight, slice, and bake as usual for fresh-from-the-oven goodness.
Reheating
To revive that just-baked warmth, pop cookies in the microwave for about 10-15 seconds or warm them in a low oven for 5 minutes. Reheated, they taste just like they came out of the oven.
FAQs
Can I substitute other colors for the gel food coloring?
Absolutely! While green and purple are festive and spooky, you can experiment with orange, black, or any colors you love to customize your ghost cookies for different occasions.
What if I don’t have gel food coloring?
You can use liquid food coloring, but gel is preferred because it doesn’t affect the dough’s texture or moisture. If using liquid, add it sparingly to avoid a sticky dough.
Can I make this recipe gluten-free?
Yes, you can swap all-purpose flour for a gluten-free blend that’s suitable for baking. Just make sure your blend contains xanthan gum or another binder to achieve the right texture.
How can I make my cookies more crispy?
For crisper cookies, bake an additional 2-3 minutes and let them cool completely on a wire rack. However, the charm of this recipe is its tender, soft bite!
Can I prepare the dough ahead and bake later?
Definitely! The dough keeps well in the fridge for up to 48 hours before baking, allowing you to prep in advance for busy days or holiday gatherings.
Final Thoughts
Creating the Nutter Butter Ghost Cookies Recipe is a delightful way to bring joyful colors and flavors to your baking station, especially during festive seasons. These cookies are not just delicious but a lot of fun to make and share. Give this recipe a try and watch your friends and family light up with each ghostly bite!
Print
Nutter Butter Ghost Cookies Recipe
- Prep Time: 20 minutes
- Cook Time: 15 minutes
- Total Time: 1 hour 35 minutes
- Yield: 24-30 cookies
- Category: Dessert
- Method: Baking
- Cuisine: American
Description
Nutter Butter Ghost Cookies are a fun and festive treat featuring colorful, swirled dough in green and purple hues. These soft, buttery cookies combine classic flavors of vanilla and sugar with a playful ghostly twist. Perfect for Halloween or any spooky celebration, they are made with basic pantry ingredients and gel food coloring to create a visually striking cookie log that’s sliced and baked to perfection.
Ingredients
Dry Ingredients
- 2 1/2 cups all-purpose flour
- 1 teaspoon baking powder
- 1/2 teaspoon salt
Wet Ingredients
- 1 cup unsalted butter, softened
- 1 cup granulated sugar
- 2 large eggs
- 2 teaspoons vanilla extract
Coloring
- Gel food coloring (green and purple, recommended)
Instructions
- Cream Butter and Sugar: In a large mixing bowl, beat the softened unsalted butter together with the granulated sugar until the mixture is light and fluffy. This step creates a smooth base for the dough and incorporates air for a tender cookie texture.
- Add Eggs and Vanilla: Add the eggs one at a time along with the vanilla extract, mixing thoroughly until all ingredients are well combined and smooth.
- Mix Dry Ingredients: In a separate bowl, whisk together the all-purpose flour, baking powder, and salt to ensure even distribution of the leavening agent and salt for balanced flavor.
- Combine Wet and Dry: Gradually incorporate the flour mixture into the butter mixture, mixing until a uniform cookie dough forms. Be sure not to overmix to keep the dough tender.
- Divide Dough: Split the dough into two equal portions to prepare for coloring.
- Add Food Coloring: Add green gel food coloring to one portion and purple gel food coloring to the other. Knead each dough portion gently until the colors are evenly distributed throughout the dough.
- Chill Dough: Wrap each colored dough portion tightly in plastic wrap and refrigerate for at least 1 hour. This firms up the dough for easier handling and shaping.
- Prepare to Assemble: Remove the chilled dough from the refrigerator and unwrap.
- Layer and Roll Dough: Place the green dough on top of the purple dough and gently roll them together to create a marbled effect.
- Shape Log: Trim the edges of the layered dough to create clean, straight lines, then carefully roll the layered dough into a tight log shape, creating a spiral pattern inside.
- Chill Log: Wrap the dough log in plastic wrap and refrigerate for another hour to firm up for clean slicing.
- Preheat Oven: Preheat your oven to 350°F (175°C) and prepare baking sheets by lining them with parchment paper.
- Slice Cookies: Remove the dough log from the refrigerator, unwrap, and slice into 1/4 to 1/2-inch thick rounds. Place the rounds on the prepared baking sheets, spacing them evenly.
- Bake Cookies: Bake the cookies in the preheated oven for 13 to 15 minutes, or until they are set and just beginning to firm at the edges. Remove from oven and allow to cool on the baking sheet for 5 minutes before transferring to a wire rack to cool completely.
Notes
- Use gel food coloring instead of liquid to avoid altering the dough consistency.
- Chilling the dough is essential for easy handling and to prevent spreading during baking.
- Trim edges carefully to maintain clean, professional-looking cookie logs and slices.
- Cookies can be stored in an airtight container at room temperature for up to 5 days.
- For more vibrant colors, add food coloring gradually and knead well.

