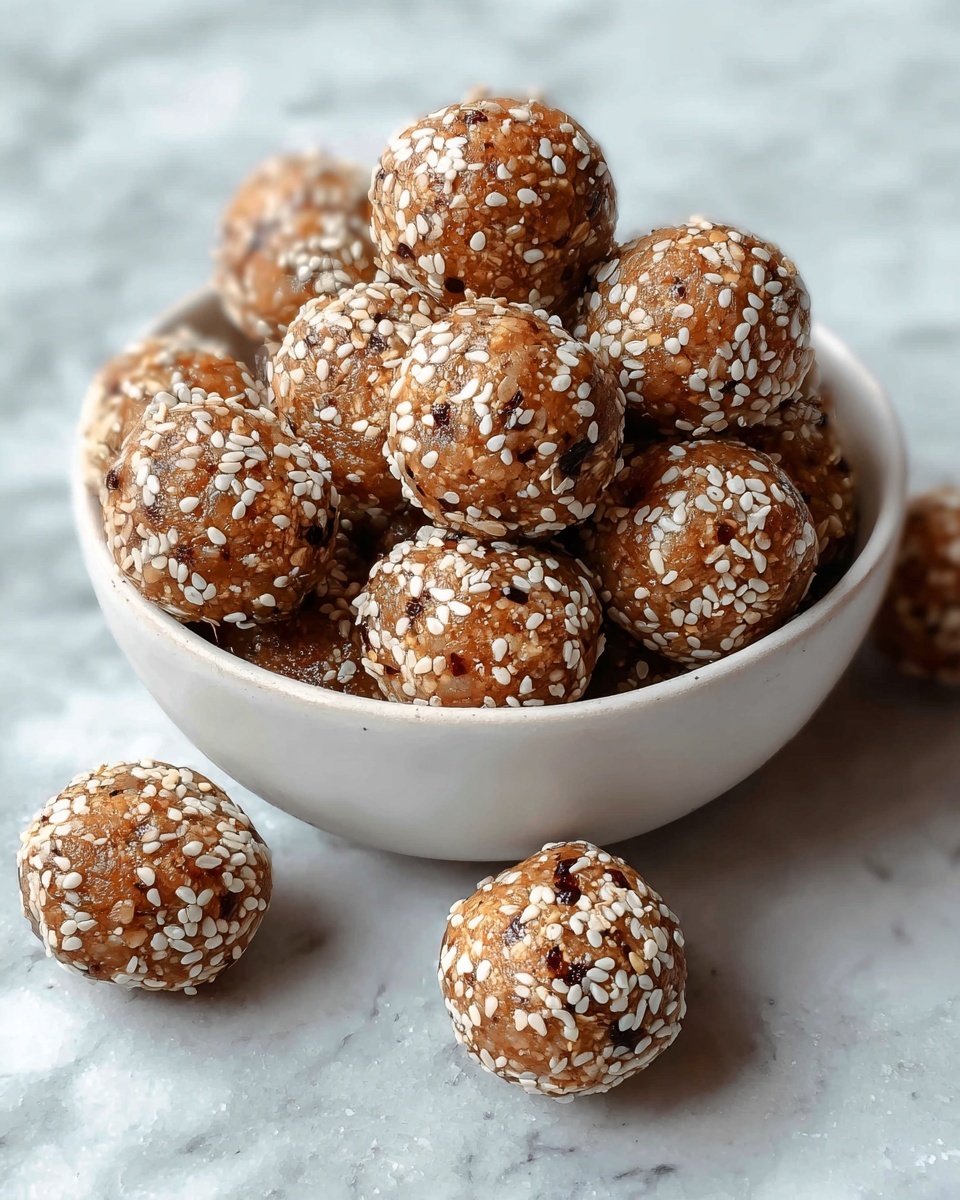
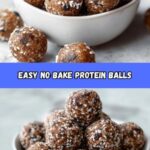
If you’re looking for a quick, healthy snack that packs a punch of energy and flavor, then this No Bake Protein Balls Recipe is your new best friend. Perfect for busy mornings, midday boosts, or post-workout refueling, these little bites are loaded with wholesome ingredients that come together effortlessly. They are chewy, slightly sweet, and totally customizable, making them an absolute must-have in your snack rotation.

Ingredients You’ll Need
Gathering simple, crowd-pleasing ingredients is the first step to making this No Bake Protein Balls Recipe a winner. Each ingredient plays an essential role from adding texture and protein to giving natural sweetness and a bit of crunch.
- 1 cup oats: Use old-fashioned or quick oats for a chewy base that holds everything together perfectly.
- 1/2 cup peanut butter: Adds creaminess and a rich, nutty flavor; almond butter works great too!
- 1/3 cup honey: Provides natural sweetness and a sticky consistency that helps the balls bind.
- 1/2 cup protein powder: Choose vanilla or chocolate flavor to boost the protein content and complement the overall taste.
- 1/4 cup chia seeds (optional): A little crunch and a healthy dose of omega-3 fatty acids.
- 1/4 cup flaxseed meal (optional): Adds fiber and a subtle nutty taste, plus a nutritional boost.
- 1/4 cup mini chocolate chips (optional): A fun, melty burst of chocolate in every bite.
- 1 tsp vanilla extract: Enhances all the flavors with its warm sweetness.
How to Make No Bake Protein Balls Recipe
Step 1: Mix the Dry Ingredients
Start by grabbing a large bowl and combine your oats, protein powder, chia seeds, flaxseed meal, and chocolate chips. Mixing the dry ingredients first ensures that every bite will have an even distribution of flavor and texture.
Step 2: Add the Wet Ingredients
Next, pour in the peanut butter, honey, and vanilla extract. Use a sturdy spoon or your hands to stir everything together until the mixture becomes sticky and holds together well. This is where the magic happens—the sticky honey and creamy peanut butter bind all those dry ingredients into one delicious mass.
Step 3: Roll into Balls
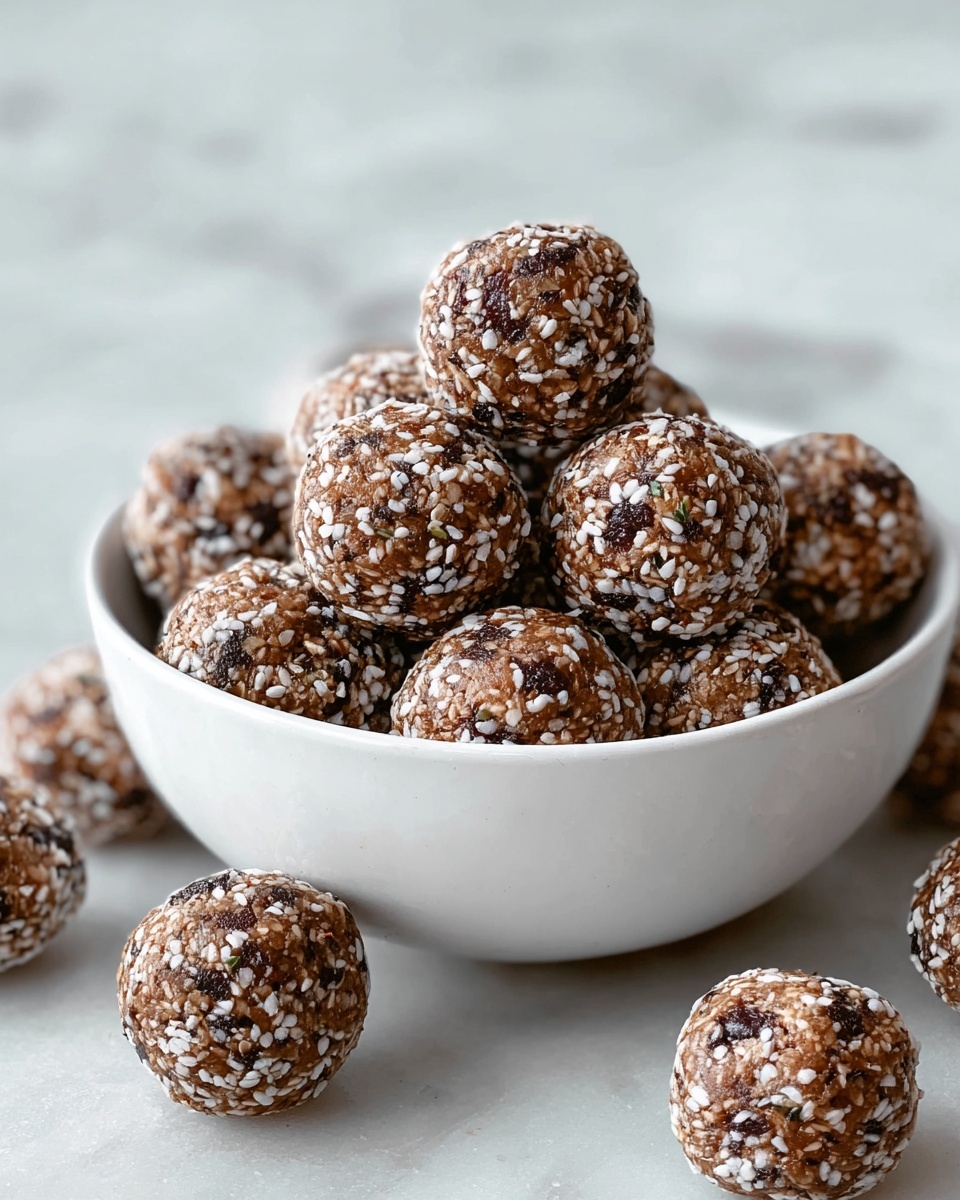
Now for the fun part! Scoop out about 1 to 2 tablespoons of the mixture and roll it between your palms into small balls. Don’t worry if they’re not perfectly round—rustic is charming!
Step 4: Chill to Firm Up
Place the formed balls on a baking sheet lined with parchment paper and pop them in the refrigerator. At least 30 minutes of chilling will help them solidify, making them easy to grab and go.
Step 5: Store and Enjoy
Once chilled, these protein balls are ready to fuel your day. Store them in an airtight container in your fridge to keep fresh and chewy.
How to Serve No Bake Protein Balls Recipe
Garnishes
Want to make your protein balls even more irresistible? Roll them in shredded coconut, crushed nuts, or a sprinkle of cinnamon before chilling. These garnishes add a layered texture and extra burst of flavor that will excite your taste buds.
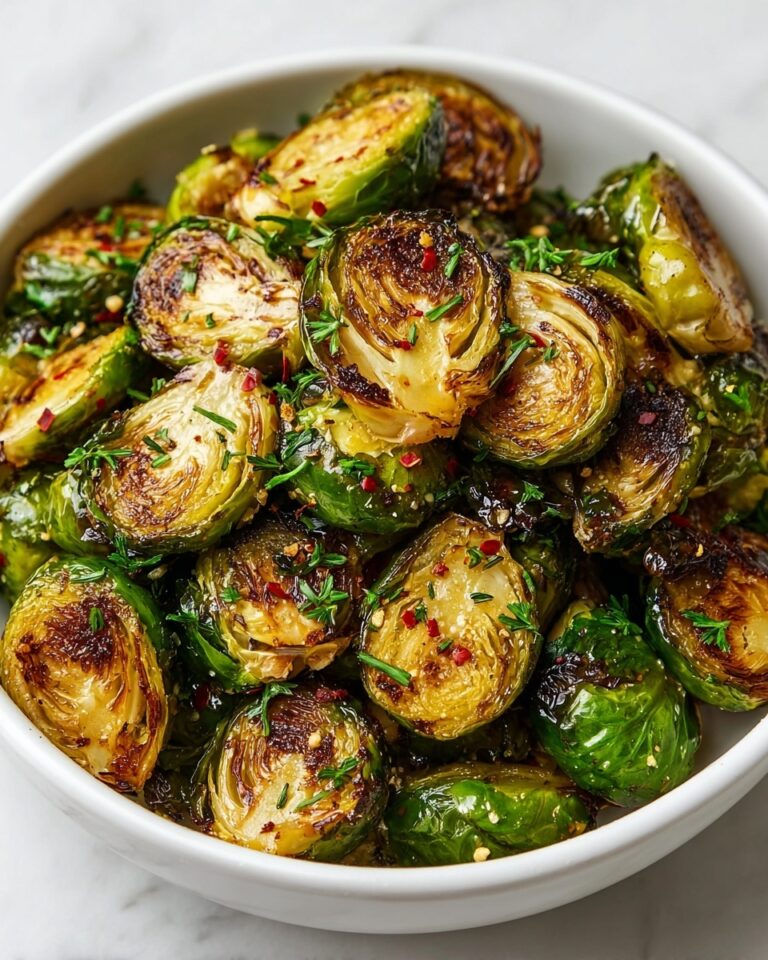
Side Dishes
No Bake Protein Balls are versatile enough to pair with a smoothie, a cup of yogurt, or fresh fruit. Together, they create a balanced snack or mini-meal that’s both satisfying and nutritious.
Creative Ways to Present
Try stacking your protein balls in a colorful glass jar or arranging them on a decorative platter for parties or packed lunches. You can even spear a couple with fun toothpicks for an easy-to-eat, mess-free treat.
Make Ahead and Storage
Storing Leftovers
These protein balls keep incredibly well in the refrigerator for up to a week. Just store them in an airtight container to maintain their freshness and chewiness.
Freezing
If you want to save time and always have a healthy snack on hand, freeze the protein balls in a single layer on a baking sheet, then transfer to a freezer-safe container. They can last up to 3 months and thaw quickly at room temperature.
Reheating
Since these are no bake and naturally enjoyed chilled, reheating isn’t necessary. However, if you like them softer, just let them sit out for a few minutes or pop them in a warm spot before eating.
FAQs
Can I substitute peanut butter with another nut butter?
Absolutely! Almond butter, cashew butter, or even sunflower seed butter work wonderfully and can cater to dietary preferences or allergies.
Do I have to use protein powder?
While protein powder boosts the protein content, you can omit it if you prefer. The texture will change slightly, and you might want to add a bit more oats or nut butter to compensate.
Are these protein balls suitable for kids?
Yes! They’re a fantastic snack for kids as they’re naturally sweet, bite-sized, and packed with nutrients. Just watch for any allergies before serving.
Can I make the recipe vegan?
Definitely. Replace honey with maple syrup or agave nectar and use vegan protein powder to make the recipe plant-based and cruelty-free.
What’s the best way to customize this No Bake Protein Balls Recipe?
Mix in your favorite nuts, seeds, dried fruits, or even spices like cinnamon or nutmeg. Experimenting keeps this snack exciting and tailored to your taste.
Final Thoughts
I can’t recommend this No Bake Protein Balls Recipe enough as an everyday snack or quick energy fix. It’s simple, nutritious, and absolutely delicious—a true crowd-pleaser. So grab your ingredients and start rolling because once you try these, they’ll be a staple you’ll reach for again and again!
Print
No Bake Protein Balls Recipe
- Prep Time: 15 minutes
- Cook Time: 0 minutes
- Total Time: 45 minutes (including chilling time)
- Yield: 20 servings
- Category: Snack
- Method: No-Cook
- Cuisine: American
- Diet: Low Fat
Description
These No Bake Protein Balls are a quick and healthy snack packed with protein and wholesome ingredients. Perfect for a post-workout boost or a convenient on-the-go treat, they combine oats, peanut butter, protein powder, and optional superfoods like chia seeds and flaxseed meal. Ready in just 45 minutes with no baking required, these protein balls are easy to make and customizable to your taste.
Ingredients
Dry Ingredients
- 1 cup oats (old-fashioned or quick oats)
- 1/2 cup protein powder (vanilla or chocolate)
- 1/4 cup chia seeds (optional)
- 1/4 cup flaxseed meal (optional)
- 1/4 cup mini chocolate chips (optional)
Wet Ingredients
- 1/2 cup peanut butter (or almond butter)
- 1/3 cup honey (or maple syrup)
- 1 tsp vanilla extract
Instructions
- Mix Dry Ingredients: In a large bowl, combine the oats, protein powder, chia seeds, flaxseed meal, and chocolate chips until evenly mixed.
- Add Wet Ingredients: Add the peanut butter, honey, and vanilla extract to the dry mixture. Stir thoroughly until the ingredients are well combined, using your hands if necessary to achieve a uniform mixture.
- Form Balls: Shape the mixture into small balls, about 1-2 tablespoons each, and place them evenly spaced on a baking sheet lined with parchment paper.
- Chill: Refrigerate the formed protein balls for at least 30 minutes to allow them to firm up and hold their shape.
- Store: Transfer the protein balls to an airtight container and keep them refrigerated for up to one week, or freeze them for longer storage.
Notes
- You can substitute almond butter for peanut butter for a different flavor or if you have allergies.
- Maple syrup can be used instead of honey for a vegan-friendly option.
- Adding chia seeds and flaxseed meal boosts fiber and omega-3 content, but they can be omitted if preferred.
- Mini chocolate chips add sweetness and texture but are optional.
- Store chilled to maintain texture and freshness.