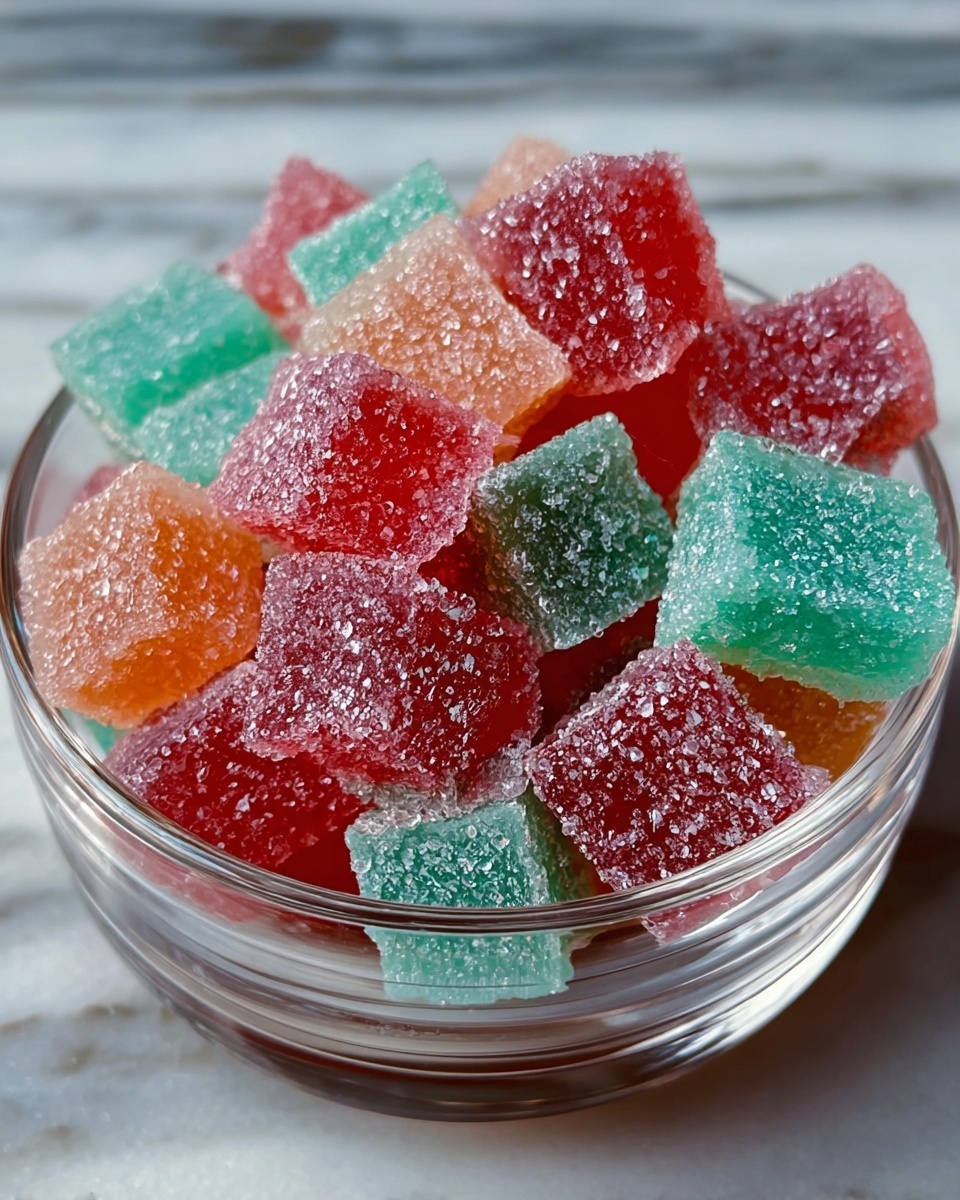
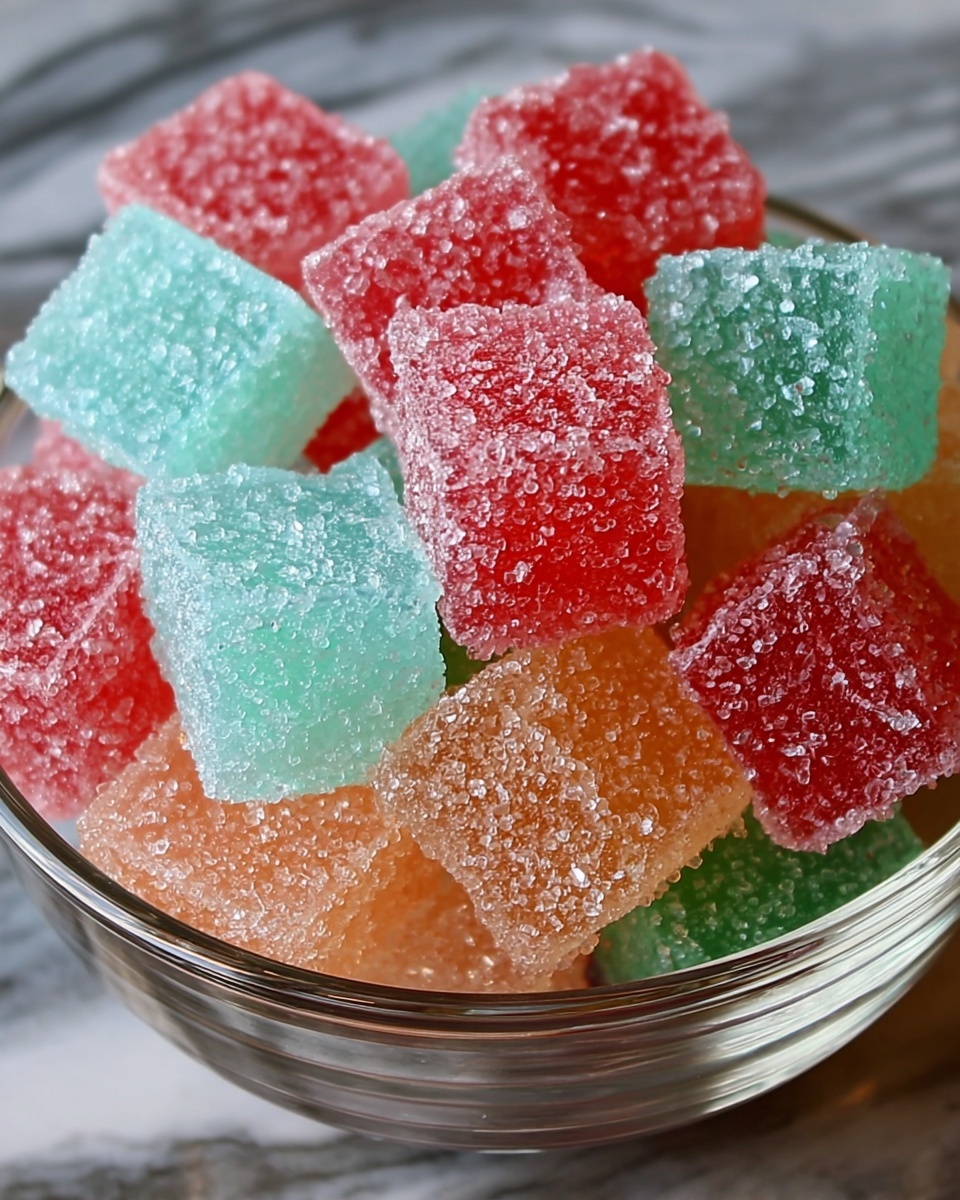
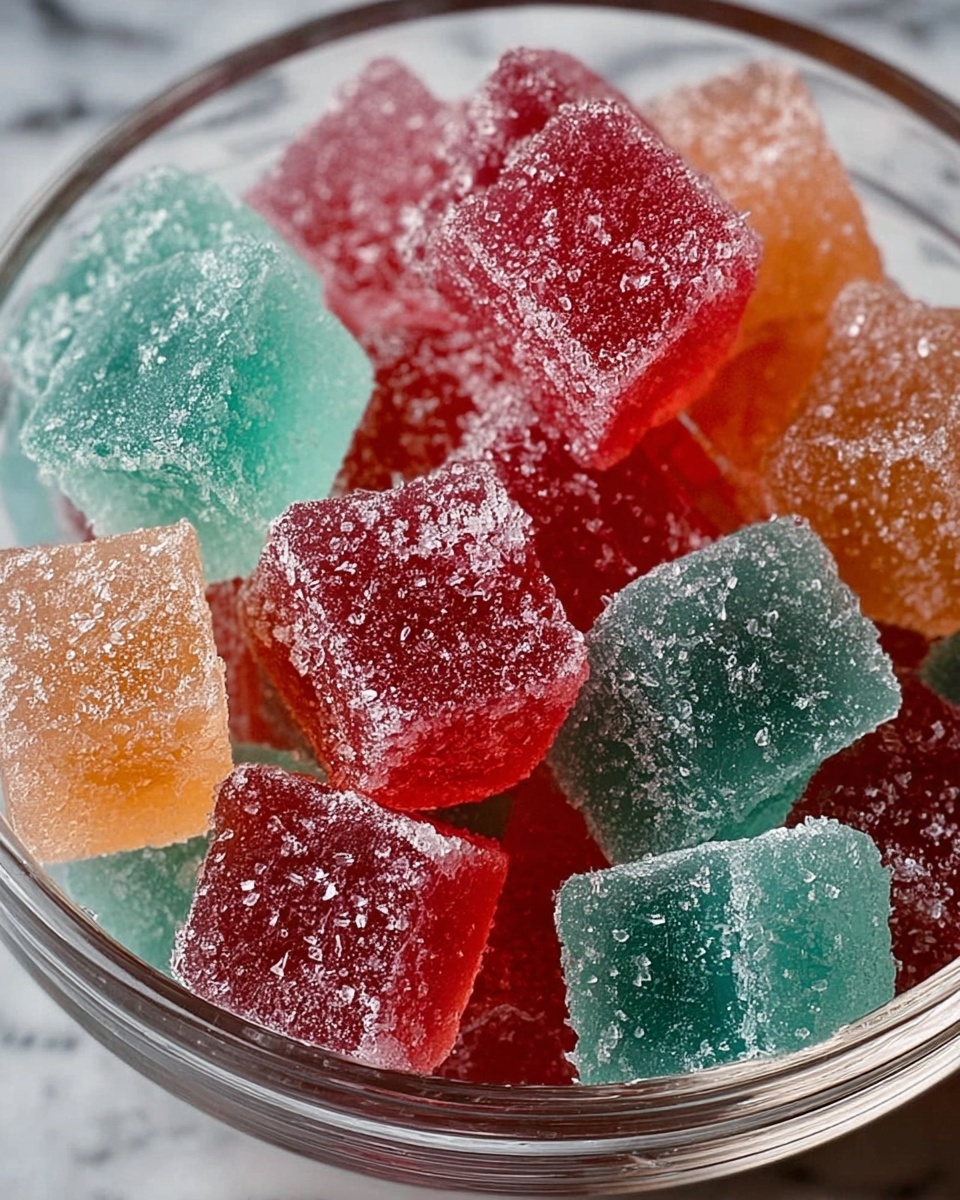
If you have ever wished you could make those iconic crackling candies right in your own kitchen, this Homemade Pop Rocks Recipe is going to be your new favorite culinary adventure. Bursting with fizzy excitement and packed with vibrant flavors, these crunchy sweet treats offer that magical popping sensation that kids and adults alike adore. Plus, crafting your very own batch means you can customize everything from color to flavor making each pop a truly personal delight. Trust me, once you try making Pop Rocks at home, store-bought versions will never quite compare.
Ingredients You’ll Need
These ingredients might seem simple, but each one plays a pivotal role in creating the magical texture, taste, and snap of your Homemade Pop Rocks Recipe. From the basic sweetness to the fizzy pop, every component matters in making sure your candy pops just right.
- 2 cups granulated sugar: The main sweetener and base for your candy’s structure and crunch.
- 1/4 cup light corn syrup: Helps prevent crystallization and keeps the candy smooth yet firm.
- 1/4 cup water: Dissolves the sugar and creates the right consistency when heated.
- 1 tsp baking soda: Essential for creating bubbles that contribute to the popping effect.
- 1 tsp citric acid: Adds the signature tang and enhances the popping sensation.
- Flavoring extracts (optional): Strawberry, raspberry, or your favorite flavor to infuse personality into your Pop Rocks.
- Food coloring (optional): Brighten your candy to make it as colorful as you want.
- Cornstarch (for dusting): Keeps the candy pieces from sticking together once cooled.
How to Make Homemade Pop Rocks Recipe
Step 1: Prepare Your Work Surface
Start by lining a baking sheet with parchment paper and dusting it lightly with cornstarch. This setup ensures that when you pour the hot candy mixture out, it won’t stick and will be easy to break into delightful popping pieces later.
Step 2: Combine and Heat Ingredients
In a medium saucepan, mix together the granulated sugar, light corn syrup, and water. Stir over medium heat just until the sugar dissolves completely. Then attach a candy thermometer and stop stirring as soon as the mixture comes to a boil. This step creates the perfect syrupy foundation for your Homemade Pop Rocks Recipe.
Step 3: Reach the Hard-Crack Stage
Allow the syrup to boil until it hits 300°F on your candy thermometer. This critical hard-crack stage guarantees the candy will harden crisply with the right snap and pop—perfect for that classic texture.
Step 4: Add the Magical Ingredients
Remove the saucepan from heat immediately and quickly stir in the baking soda and citric acid. Expect an exciting bubble and foam reaction here—this is where the fizzy magic starts to develop that defines Homemade Pop Rocks Recipe.
Step 5: Flavor and Color Your Candy
Now is the fun part: stir in a few drops of your chosen flavor extract and food coloring if you want to brighten your candy’s appearance. This personalizes your Pop Rocks and makes each bite a vibrant, tasty pop of joy.
Step 6: Spread and Cool
Pour the bubbling mixture onto your prepared baking sheet and spread it out evenly to cool. Let it harden completely, which usually takes about 30 minutes. Patience here rewards you with perfect texture for popping.
Step 7: Break Into Bite-Sized Pieces
Once your candy is fully cooled and set, use a mallet or rolling pin to break it into small pieces. These are your very own Homemade Pop Rocks, ready to amaze and delight with every crackle.
Step 8: Store Thoughtfully
Keep your candy in an airtight container to preserve the fizz and popping fun. Humidity is the enemy of Pop Rocks, so storing them well ensures every crunch bursts with flavor and excitement.
How to Serve Homemade Pop Rocks Recipe
Garnishes
Sprinkle your Homemade Pop Rocks on top of ice cream, cupcakes, or even cocktails to add a playful crackling surprise. Their vibrant colors and fizzy texture make them an irresistible garnish that instantly elevates any dessert or drink.
Side Dishes
Serve alongside rich, creamy desserts like cheesecake or mousse where the Pop Rocks provide a fun contrast of texture and flavor. Their tart fizz beautifully balances heaviness, giving your palate a refreshing burst.
Creative Ways to Present
Fill clear cellophane bags with colorful Homemade Pop Rocks and tie them with ribbons as unique party favors. Or layer them inside glass jars for an eye-catching candy display that makes for great gifts or party table décor.
Make Ahead and Storage
Storing Leftovers
Because Homemade Pop Rocks are sensitive to moisture, store any leftovers in an airtight container at room temperature, away from humidity. This keeps them crunchy and bursting with that signature pop.
Freezing
Freezing is not recommended for Pop Rocks as condensation can dampen the candy and kill the popping bubbles. It’s best to enjoy them fresh or carefully stored at room temperature.
Reheating
Reheating homemade Pop Rocks is tricky since heat will dissolve the bubbles causing the pop effect to disappear. Instead, enjoy them as is or make a fresh batch whenever the craving hits.
FAQs
What makes the Pop Rocks pop?
The popping sensation comes from the tiny air bubbles created when baking soda reacts with citric acid in the hot syrup. These trapped bubbles burst when they touch moisture, like your tongue, creating that signature crackle.
Can I use other flavors besides strawberry or raspberry?
Absolutely! Your Homemade Pop Rocks Recipe is a blank canvas. Experiment with peppermint, lemon, cherry, or any extract you love to customize your candy to your taste.
How long do homemade Pop Rocks last?
Stored in an airtight container and kept dry, your Homemade Pop Rocks should maintain their fizz and flavor for several weeks. Just keep them away from humidity to preserve their magic.
Can I make this recipe without food coloring?
Yes, food coloring is completely optional. Your Pop Rocks will still taste fantastic without color, but adding a drop or two makes the candy more playful and visually appealing.
Is it safe to make Pop Rocks at home?
With careful handling of hot sugar syrup and following the recipe steps, making your own Pop Rocks is safe and rewarding. Just use caution when working with boiling sugar to avoid burns.
Final Thoughts
Making your own Homemade Pop Rocks Recipe is not only a fun kitchen project but also an amazing way to bring a bit of nostalgic magic home. Whether you want a unique treat for a party or a DIY gift that’s sure to wow, these popping candies deliver excitement with every bite. So grab your ingredients, get cozy in the kitchen, and prepare to delight your taste buds with a fizzy, flavorful adventure you won’t forget!
Print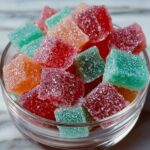
Homemade Pop Rocks Recipe
- Prep Time: 10 minutes
- Cook Time: 10 minutes
- Total Time: 50 minutes
- Yield: About 2 cups (serves 2)
- Category: Candy
- Method: Stovetop
- Cuisine: American
Description
This Homemade Pop Rocks recipe guides you through creating your own popping candy at home using simple ingredients like sugar, corn syrup, and citric acid. By melting and combining these ingredients before quickly cooling and breaking them into pieces, you’ll enjoy fizzy, crackling candy that’s perfect for a fun treat or party favor.
Ingredients
Pop Rocks Candy Ingredients
- 2 cups granulated sugar
- 1/4 cup light corn syrup
- 1/4 cup water
- 1 tsp baking soda
- 1 tsp citric acid (for the pop)
- Flavoring extracts (optional, like strawberry or raspberry)
- Food coloring (optional)
- Cornstarch (for dusting)
Instructions
- Prepare baking sheet: Line a baking sheet with parchment paper and lightly dust it with cornstarch to prevent sticking during the cooling process.
- Combine ingredients: In a medium saucepan, combine sugar, light corn syrup, and water. Cook over medium heat, stirring continuously until the sugar fully dissolves. Attach a candy thermometer and stop stirring as the mixture begins to boil to avoid crystallization.
- Boil to hard-crack stage: Allow the mixture to boil until it reaches 300°F (hard-crack stage). This ensures proper hardening and the classic crunch of Pop Rocks.
- Add fizz agents: Remove the saucepan from the heat and quickly stir in baking soda and citric acid. The mixture will foam and bubble vigorously – this is what creates the popping effect.
- Add flavor and color: Mix in a few drops of your chosen flavor extract and food coloring if desired, quickly but thoroughly to ensure an even distribution.
- Pour and cool: Pour the bubbling mixture onto the prepared baking sheet, spreading it evenly. Let it cool completely and harden, which will take about 30 minutes.
- Break into pieces: Once cooled and hardened, use a mallet or rolling pin to break the candy into small, bite-sized pieces suitable for popping in your mouth.
- Store properly: Transfer the Pop Rocks into an airtight container to preserve the popping sensation and keep them fresh. Enjoy your homemade popping candy treat!
Notes
- Be careful when handling hot sugar syrup to avoid burns.
- Work quickly when adding baking soda and citric acid as the mixture foams and hardens fast.
- Use airtight containers for storage to maintain the candy’s popping effect.
- Optional food coloring and flavor extracts let you customize your Pop Rocks.
- If you do not have a candy thermometer, use the cold water test to check for hard-crack stage.

