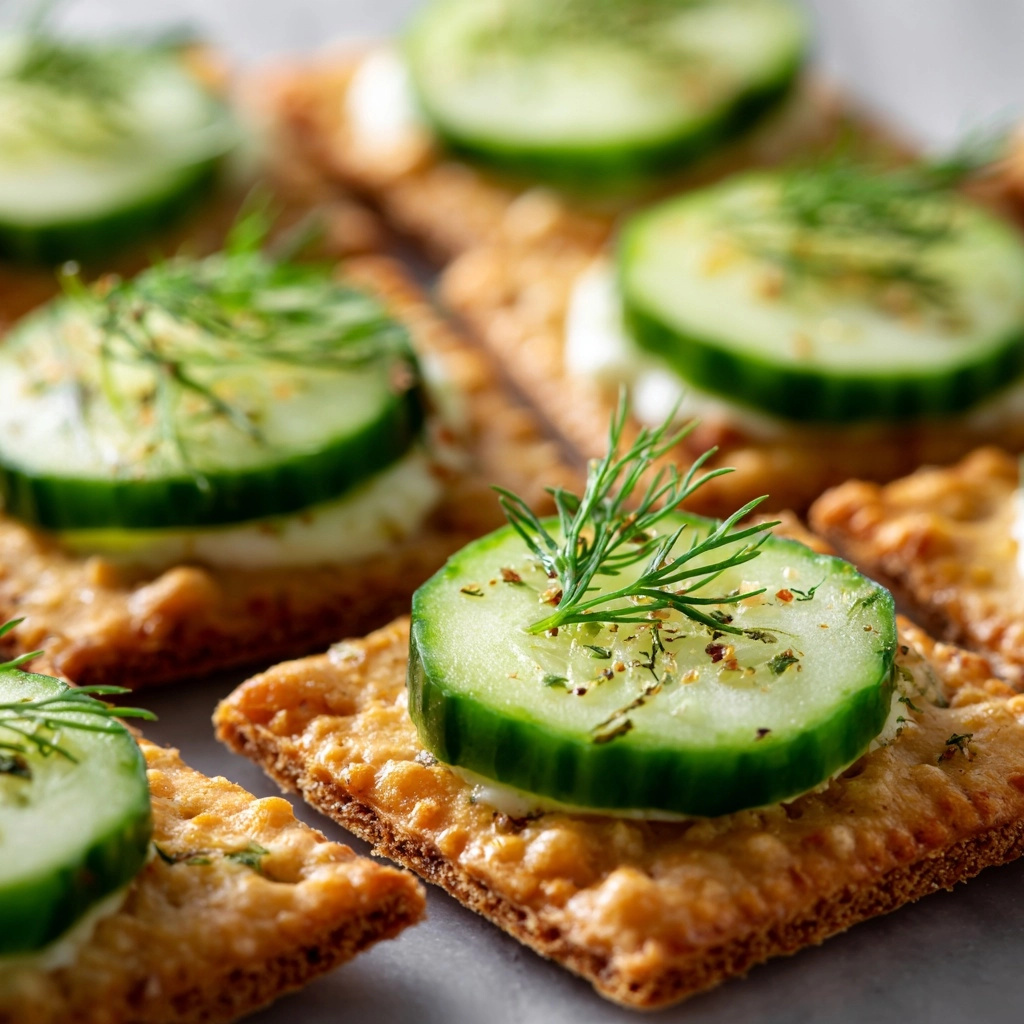
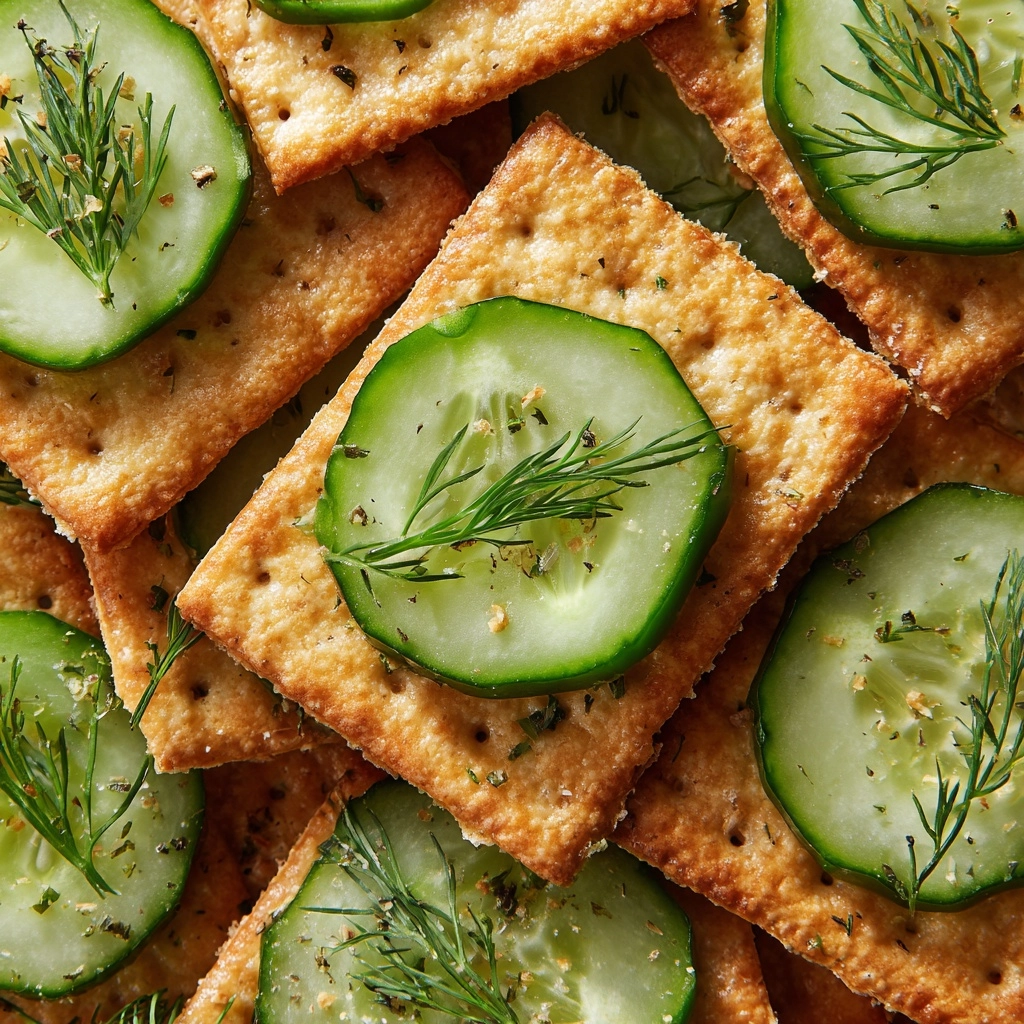
If you’re on the hunt for a snack that sends your taste buds into a frenzy of flavor, look no further than these Crunchy Dill Pickle Saltines That Elevate Snack Time. Imagine classic saltines drenched in punchy dill pickle juice, kissed by aromatic dill, and baked to a golden crunch—every bite is bursting with tangy, savory goodness. Whether you’re prepping for a party, livening up your lunch, or simply looking to treat yourself, this recipe transforms humble pantry staples into a craveable snack that’s impossible to resist.
Ingredients You’ll Need
Just a handful of kitchen basics are all you need to make these extra-special saltines. Each ingredient plays an important role in creating the signature flavor, texture, and irresistible crunch that makes Crunchy Dill Pickle Saltines That Elevate Snack Time such a standout treat.
- Saltine crackers: Choose classic, plain saltines as the perfect crispy canvas for all the zesty seasoning.
- Vegetable oil: Helps the seasonings cling to every cracker, ensuring a golden-brown, crunchy finish.
- Dill pickle juice: The secret ingredient that adds a burst of tang and real dill pickle flavor to every bite.
- Dried dill weed: Amp up that bright, herby dill taste—don’t skimp here if you love pickle flavor!
- Garlic powder: Adds a subtle, savory depth that complements the briny tang.
- Onion powder: Rounds out the flavor profile with a mellow sweetness.
- Crushed red pepper flakes (optional): Toss in a pinch for a zippy, spicy kick.
- Salt (if needed): A final touch to enhance all the other flavors—adjust to taste, especially if your pickle juice is already salty!
How to Make Crunchy Dill Pickle Saltines That Elevate Snack Time
Step 1: Prepare Your Baking Sheet
Preheat your oven to 250°F and line a large baking sheet with parchment paper—this makes cleanup a breeze and prevents the crackers from sticking. Lay the saltine crackers out in a single layer. It’s important they don’t overlap, so every cracker gets a chance to soak up all that delicious seasoning.
Step 2: Mix the Flavorful Oil Mixture
In a small bowl, whisk together the vegetable oil, dill pickle juice, dried dill weed, garlic powder, onion powder, and crushed red pepper flakes if using. The aroma alone will get your mouth watering! This blend evenly coats each cracker, infusing them with punchy dill flavor and a mouthwatering gilded edge.
Step 3: Season the Crackers
Drizzle the oil and seasoning mixture evenly over the arranged crackers. Grab a pastry brush or gently toss with clean hands to make sure every nook and cranny is coated. This step guarantees every salty, crunchy bite is packed with bold, savory goodness.
Step 4: Bake Until Extra Crunchy
Pop the sheet in your preheated oven and bake for 15–20 minutes. Flip the crackers halfway through baking to ensure both sides crisp up beautifully. Keep an eye out—the moment they turn a gorgeous golden shade and feel dry to the touch, they’re ready to cooldown (and get snacked on!).
Step 5: Cool and Finish
Let the hot crackers cool completely right on the baking sheet. Once cool, do a quick taste test—if you want a punchier bite, sprinkle over a bit more salt. Now you’ve got a tray of Crunchy Dill Pickle Saltines That Elevate Snack Time, ready to serve or stash for later!
How to Serve Crunchy Dill Pickle Saltines That Elevate Snack Time

Garnishes
A sprinkle of extra dried dill or a dash of flaky sea salt brings an extra pop of color and flavor, taking your homemade snack from simple to seriously gourmet. For a tangier twist, add a drizzle of leftover pickle juice right before serving.
Side Dishes
These crackers were made for dipping! Pair them with creamy hummus, ranch dip, or a zesty onion dip. They’re also fabulous crumbled over tomato soup, chili, or even tucked alongside a sharp cheddar cheese board for a fun flavor contrast.
Creative Ways to Present
For parties, stack them high on a rustic wooden board with assorted cheeses, olives, and fresh veggie sticks—you’ll have a snack table centerpiece that’ll be the talk of any get-together. They also look adorable nestled in small glass jars or paper cones for easy grab-and-go munching.
Make Ahead and Storage
Storing Leftovers
After the crackers have cooled, transfer them to an airtight container. They’ll keep their craveable crunch for up to a week at room temperature, making them a perfect make-ahead snack for lunches or last-minute guests.
Freezing
While these crackers are best enjoyed fresh and crunchy, you can freeze them if needed. Place fully cooled crackers in a zip-top freezer bag, removing as much air as possible, and freeze for up to one month. Allow crackers to thaw at room temperature before serving.
Reheating
If your Crunchy Dill Pickle Saltines That Elevate Snack Time lose a bit of crispiness after storing or freezing, simply spread them out on a baking sheet and warm in a 250°F oven for 5–7 minutes. They’ll come out hot and perfectly snappy!
FAQs
Can I use a different type Snack
Absolutely! While saltines provide that classic snap, you can try this recipe with buttery round crackers, mini club crackers, or gluten-free options. Just be sure to use a sturdy cracker that can hold up to the oil and flavorings.
How spicy do these get with red pepper flakes?
The crushed red pepper flakes add a subtle back-of-the-mouth heat that’s more flavorful than fiery, but you can adjust the amount up or down depending on your spice preference—or skip it entirely for pure dill pickle goodness.
Can I make these vegan or gluten-free?
The recipe is naturally vegan if your crackers are, and you can easily make them gluten-free by picking your favorite gluten-free saltine or thin-style cracker brand. Just double-check the ingredient lists to be sure!
Can I double the recipe for a crowd?
Yes! This recipe scales up beautifully. Just use additional baking sheets as needed and rotate their positions in the oven halfway through to ensure even cooking. These crackers disappear fast at parties, so making extra is always a good idea.
What’s the best way to transport these for picnics or potlucks?
Once cooled completely, pack your Crunchy Dill Pickle Saltines That Elevate Snack Time into a sturdy airtight container or zip-top bag, cushion with a paper towel to absorb any moisture, and you’re ready to go. They travel deliciously well!
Final Thoughts
There’s just something undeniably fun about snacking on these Crunchy Dill Pickle Saltines That Elevate Snack Time. They’re quick to whip up, endlessly snackable, and sure to spark flavor nostalgia for pickle lovers. Give them a try—you may never look at saltines the same way again!
Print
Crunchy Dill Pickle Saltines That Elevate Snack Time Recipe
- Prep Time: 5 minutes
- Cook Time: 20 minutes
- Total Time: 25 minutes
- Yield: 8 servings
- Category: Snack
- Method: Baking
- Cuisine: American
- Diet: Vegetarian
Description
Elevate your snack time with these crunchy dill pickle saltines that are bursting with flavor and perfect for any occasion.
Ingredients
Saltine Crackers:
- 1 sleeve (about 40) saltine crackers
Seasoning:
- ⅓ cup vegetable oil
- 1 tablespoon dill pickle juice
- 1½ teaspoons dried dill weed
- ½ teaspoon garlic powder
- ½ teaspoon onion powder
- ¼ teaspoon crushed red pepper flakes (optional)
- ½ teaspoon salt (if needed)
Instructions
- Preheat the oven: Preheat the oven to 250°F.
- Prepare crackers: Place the saltine crackers on a baking sheet and coat with a mixture of oil, dill pickle juice, herbs, and spices.
- Bake: Bake for 15–20 minutes until golden and crisp, flipping halfway through.
- Cool and serve: Let the crackers cool completely before serving. Add extra salt if desired.
Notes
- Store in an airtight container for up to a week.
- For extra tang, add a teaspoon of white vinegar to the oil mixture.
- Great for snack boards or as toppings for soups and salads.
Nutrition
- Serving Size: 5 crackers
- Calories: 120
- Sugar: 0g
- Sodium: 230mg
- Fat: 7g
- Saturated Fat: 1g
- Unsaturated Fat: 6g
- Trans Fat: 0g
- Carbohydrates: 13g
- Fiber: 0g
- Protein: 1g
- Cholesterol: 0mg
