If you are a fan of sushi but crave something with a delightful crunch and a burst of flavor, then you are going to love this Crispy Fried Sushi Rice Bites Recipe. These golden, crispy morsels take perfectly seasoned sushi rice and transform it into irresistible little bites that are crisp on the outside and tender on the inside. They make an excellent appetizer or snack that everyone will keep reaching for. With just a handful of staples, this recipe is surprisingly straightforward but delivers so much joy with every bite.
Ingredients You’ll Need
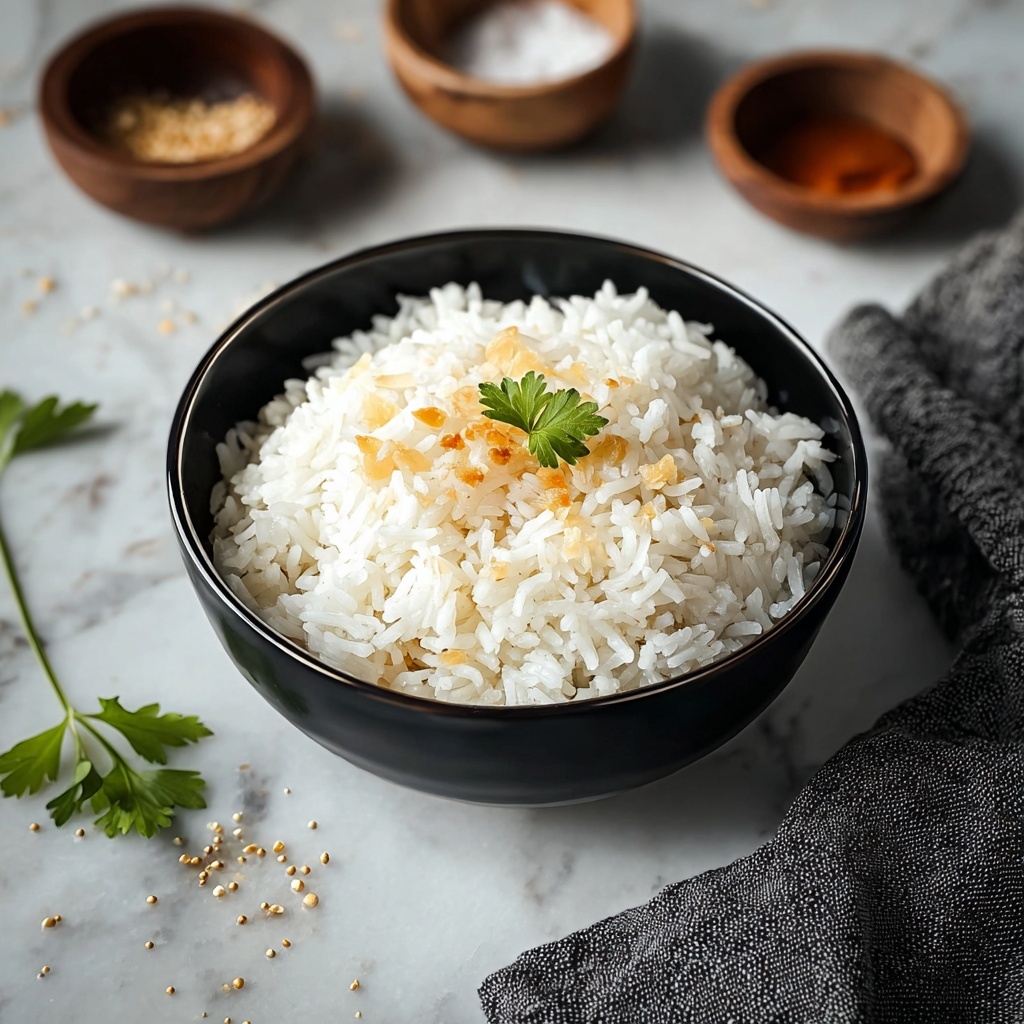
Gathering the right ingredients is key to nailing the texture and flavor of these Crispy Fried Sushi Rice Bites. Each element plays its part, from the sticky sushi rice that forms the base to the seasoning that adds that subtle zing and balance.
- Sushi rice: The essential base that becomes wonderfully sticky and perfect for shaping.
- Water: For cooking the rice to fluffy perfection without being mushy.
- Rice vinegar: Adds that signature subtle tang and enhances the rice’s flavor just right.
- Sugar: Balances the vinegar with a touch of sweetness for a harmonious taste.
- Salt: Elevates the overall flavor and rounds out the rice seasoning.
- Vegetable oil: The frying medium that creates the satisfying crunchy exterior.
- Soy sauce or dipping sauce of choice (optional): Perfect for dipping and adding extra layers of umami.
How to Make Crispy Fried Sushi Rice Bites Recipe
Step 1: Rinse and Cook the Sushi Rice
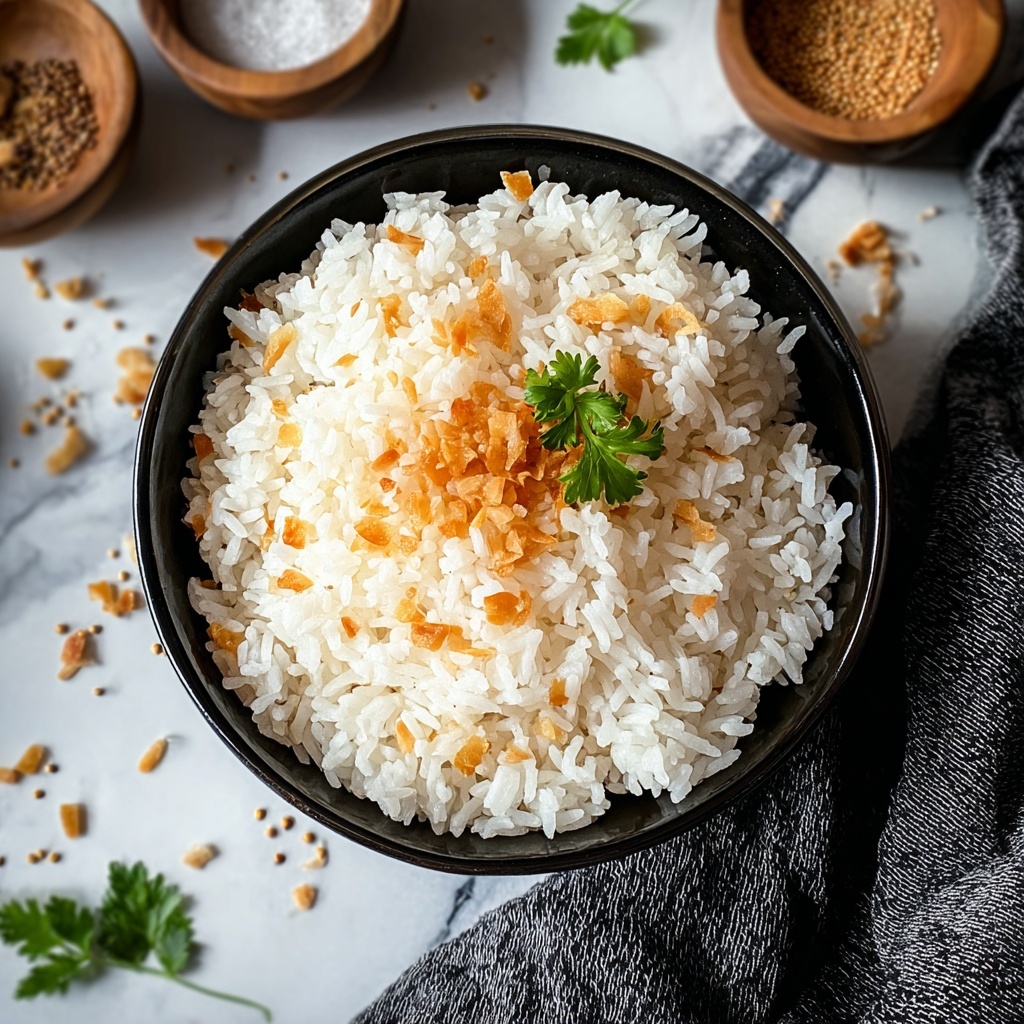
Start by rinsing the sushi rice under cold water until the water runs clear to wash away excess starch. This step ensures your bites won’t be gummy but beautifully tender and sticky. Then, combine the rinsed rice with fresh water in a saucepan and bring it to a boil.
Step 2: Simmer the Rice Until Tender
Once boiling, reduce the heat to low and cover the pan with a tight-fitting lid. Let it simmer gently for about 18 to 20 minutes, allowing the rice to absorb all the water and become tender without burning or sticking to the pan.
Step 3: Steam the Rice Off Heat
After cooking, take the pan off the heat but keep it covered, letting the rice steam for an additional 10 minutes. This step is crucial to achieving the ideal fluffy, slightly sticky sushi rice texture perfect for shaping.
Step 4: Season the Rice
While the rice steams, whisk together rice vinegar, sugar, and salt until fully dissolved. This seasoning blend is what gives sushi rice its distinctive bright and balanced flavor, and folding it in while the rice is still warm helps it absorb just right.
Step 5: Cool and Shape the Rice
Transfer the seasoned rice into a large bowl and gently fold in the vinegar mixture using a wooden spoon or rice paddle. Let the rice cool to room temperature to make it easier to handle. Once cooled, shape the rice into small, tight rectangles or disc-like bites using damp hands so the rice doesn’t stick.
Step 6: Fry the Rice Bites to Crispy Perfection
Heat vegetable oil in a non-stick skillet over medium heat. Arrange the rice bites carefully in the pan, making sure not to overcrowd them. Fry for about 3 to 4 minutes on one side until golden brown and crispy, then flip and repeat for the other side. The result is the irresistible crunchy exterior you’re aiming for.
Step 7: Drain and Serve
Remove your Crispy Fried Sushi Rice Bites from the pan and let them rest on a paper towel-lined plate to absorb any excess oil. This ensures they stay light and crispy, ready to be enjoyed.
How to Serve Crispy Fried Sushi Rice Bites Recipe

Garnishes
These bites love a little something extra on top to enhance their flavor and presentation. Try garnishing with a sprinkle of toasted sesame seeds, finely sliced green onions, or a drizzle of spicy mayo for a creamy kick. Fresh herbs like shiso or cilantro can add a vibrant pop too.
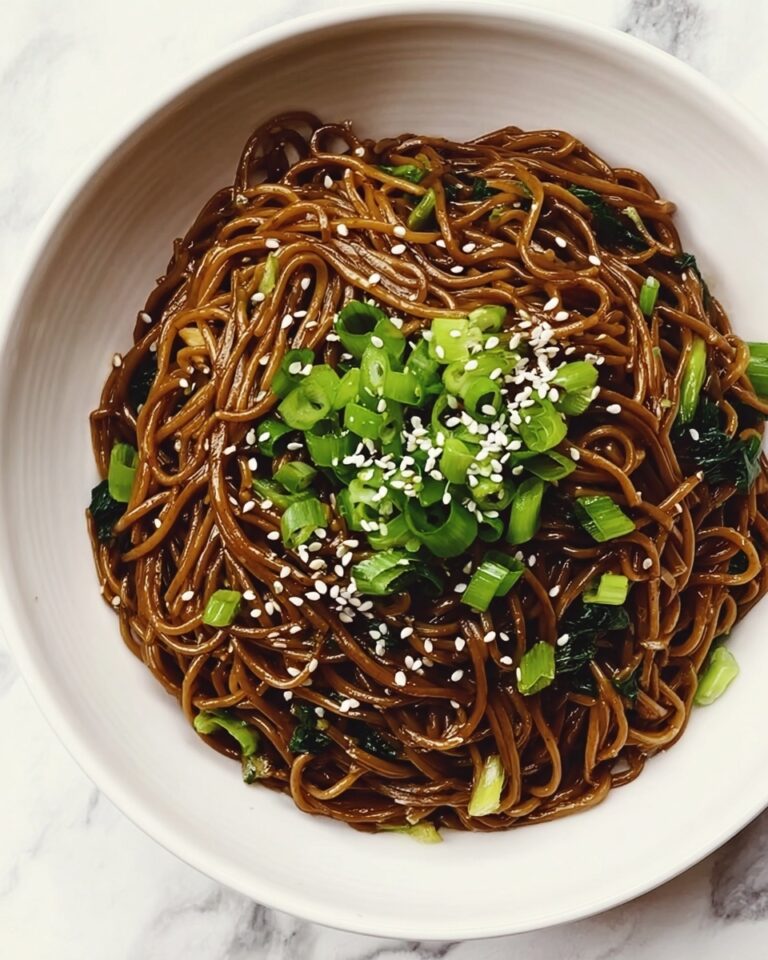
Side Dishes
Pairing your crispy bites with light, complementary sides can make the whole experience feel special. Consider serving them alongside a fresh cucumber salad, pickled ginger slices, or even a bowl of miso soup. These sides keep the meal refreshing and balanced.
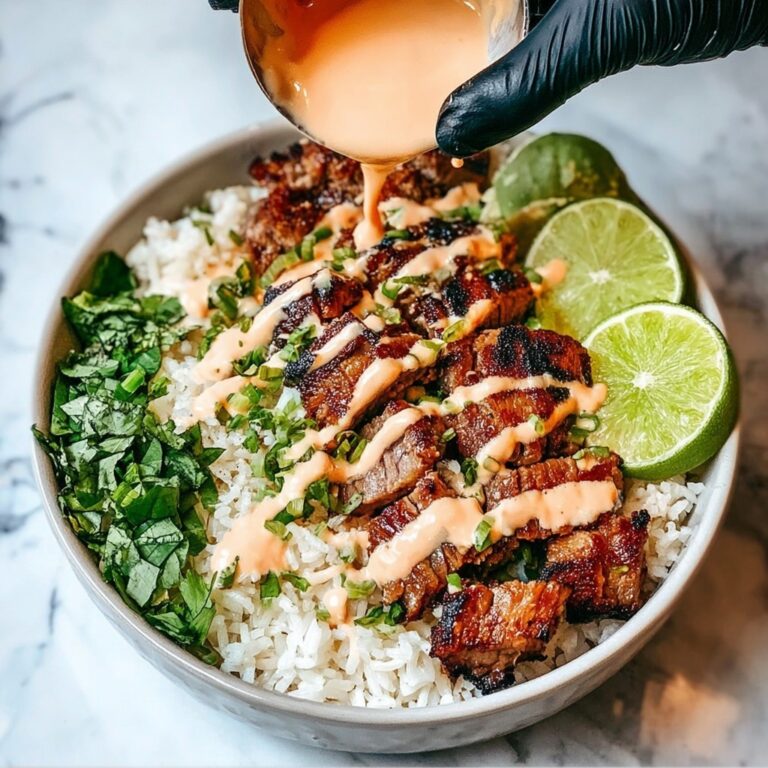
Creative Ways to Present
For an eye-catching spread, arrange the rice bites on a long platter and offer a variety of dipping sauces such as soy sauce, ponzu, or wasabi mayo. Alternatively, stack them mini-burger style with a slice of avocado and a dollop of spicy sauce to make sushi-inspired sliders that impress guests.
Make Ahead and Storage
Storing Leftovers
If you find yourself with leftover crispy fried sushi rice bites, store them in an airtight container in the refrigerator for up to two days. While the exterior crispiness may soften slightly, reheating them properly can bring back some of that delightful crunch.
Freezing
Freezing is possible but not ideal as it may affect the texture. To freeze, flash freeze the shaped rice bites on a baking sheet first, then transfer to a freezer bag. Use within one month for best quality. Thaw in the fridge overnight before reheating gently in a skillet.
Reheating
To revive the crispiness, reheat leftover rice bites in a hot non-stick skillet with a small splash of oil rather than the microwave. This helps restore their golden crust and heats them evenly without turning soggy.
FAQs
Can I use regular rice instead of sushi rice?
Sushi rice is preferred because of its stickiness and texture which hold together well when fried. Regular long-grain rice tends to be less sticky and may not form compact bites or crisp up as nicely.
Is it necessary to season the rice with vinegar?
The vinegar seasoning is traditional in sushi rice and adds a subtle tang and sweetness that balances the fried texture. You can skip it, but the bites might taste a bit flat or less vibrant.
What oil is best for frying the rice bites?
Vegetable oil or any neutral oil with a high smoke point works best. Avoid strongly flavored oils like olive oil that might overpower the delicate rice flavors.
Can I make these bites gluten-free?
Absolutely! The recipe itself is naturally gluten-free, just make sure to use gluten-free soy sauce or dipping sauces if you’re adding those.
How big should I make the rice bites?
Small, bite-sized rectangles or discs about 1.5 to 2 inches across are perfect. They cook evenly, develop a great crust, and are easy to enjoy in one or two bites.
Final Thoughts
This Crispy Fried Sushi Rice Bites Recipe is a total game changer if you love sushi textures but want a fun twist that’s easy to make at home. With a few simple ingredients and some straightforward steps, you get crunchy, flavorful bites that are perfect for sharing or snacking solo. Trust me, once you try these, they’ll quickly become a favorite go-to for entertaining or whenever you want a delicious, crispy treat. So roll up your sleeves, gather your ingredients, and dive into making your own irresistible crispy fried sushi rice bites today!
Print
Crispy Fried Sushi Rice Bites Recipe
- Prep Time: 0h 30m
- Cook Time: 0h 40m
- Total Time: 1h 10m
- Yield: 6 servings
- Category: Side Dish
- Method: Frying
- Cuisine: Japanese
Description
This Crispy Rice recipe transforms plain sushi rice into a golden, crunchy delight that’s perfect as a snack or side dish. Using simple ingredients and a stovetop frying method, the rice is first cooked to tender perfection, seasoned with a vinegar mixture, shaped into compact forms, and then pan-fried to achieve a crispy texture on the outside while remaining soft inside. Serve it with soy sauce or your favorite dipping sauce for an irresistible treat.
Ingredients
Rice and Seasoning
- 2 cups sushi rice
- 2 1/4 cups water
- 1 tablespoon rice vinegar
- 1 teaspoon sugar
- 1/2 teaspoon salt
For Frying and Serving
- 2 tablespoons vegetable oil (for frying)
- Soy sauce or dipping sauce of choice (optional)
Instructions
- Rinse the rice: Rinse the sushi rice under cold water until the water runs clear to remove excess starch, ensuring the rice cooks to the right texture.
- Cook the rice: In a medium saucepan, combine the rinsed rice and 2 1/4 cups of water. Bring to a boil over medium-high heat.
- Simmer the rice: Once boiling, reduce the heat to low, cover the pan with a tight-fitting lid, and let it simmer for about 18-20 minutes, or until the water is absorbed and the rice is tender.
- Steam the rice: Remove the pan from heat and let it sit, covered, for an additional 10 minutes to allow the rice to steam and finish cooking evenly.
- Prepare the seasoning: In a small bowl, mix together the rice vinegar, sugar, and salt until the sugar and salt are dissolved.
- Season the rice: Transfer the cooked rice to a large bowl and gently fold in the vinegar mixture using a wooden spoon or rice paddle. Ensure the rice is well-coated and let it cool to room temperature.
- Shape the rice: Once cooled, shape the rice into small, tight rectangles or discs using damp hands to prevent sticking.
- Heat oil: Heat the vegetable oil in a non-stick skillet over medium heat.
- Fry the rice: Place the rice shapes into the skillet, ensuring not to overcrowd the pan. Fry for 3-4 minutes until golden brown and crispy on one side, then carefully flip and fry the other side until crispy.
- Drain excess oil: Remove the crispy rice from the pan and place on a paper towel-lined plate to drain any excess oil.
- Serve: Serve the crispy rice warm with soy sauce or your favorite dipping sauce.
Notes
- Use sushi rice for best texture and stickiness.
- Be gentle when folding in the vinegar mixture to avoid mashing the rice.
- Shaping the rice tightly helps it hold together during frying.
- Do not overcrowd the skillet to ensure even frying and crispiness.
- Leftover crispy rice can be reheated in a pan to restore crunchiness.


