
If you are looking for a delightful twist on a classic snack, the Chocolate Hummus Recipe is an absolute must-try. This surprisingly luscious and creamy spread combines the rich, nutty flavors of peanut butter with the subtle sweetness of maple syrup and the deep, indulgent taste of cocoa powder. It’s not only easy to make but also packed with protein and fiber from the great northern beans, making it a wholesome treat that satisfies your sweet tooth while feeling a little less guilty. Once you try this versatile chocolate hummus, you’ll find it hard to go back to ordinary dips.
Ingredients You’ll Need
These ingredients are straightforward yet essential to create the perfect balance of flavor, texture, and color in your chocolate hummus. Each one plays a vital role—whether it’s the creaminess of the beans, the rich depth of peanut butter, or the subtle sweetness from maple syrup.
- Great northern beans: Their mild flavor and silky texture form the perfect creamy base for this chocolatey treat.
- Peanut butter: Adds richness, a nutty hint, and helps with the spreadable consistency.
- Cocoa powder: Brings that unmistakable chocolate flavor without extra sweetness.
- Maple syrup: A natural sweetener that balances the cocoa’s bitterness with a warm sweetness.
- Sea salt: Enhances all the flavors and prevents the dip from tasting flat.
- Water: Used gradually to achieve the perfect spreadable texture.
How to Make Chocolate Hummus Recipe
Step 1: Gather and Blend the Main Ingredients
Start by draining and rinsing your canned great northern beans thoroughly. This step is crucial for removing any excess salt or canning liquids that might alter the flavor. Add the beans, peanut butter, cocoa powder, maple syrup, and a dash of sea salt into your food processor. Having all these ingredients together sets the stage for blending them into a smooth, decadent spread.
Step 2: Blend Until Smooth and Adjust Consistency
Turn on your food processor and watch the magic happen. As the ingredients begin to combine, the mixture will thicken and get creamy. At this point, add water slowly, one tablespoon at a time. This gradual addition is key—it allows you to control the texture to make the hummus perfectly spreadable without being too runny. Blend until no lumps remain and the chocolate hummus is silky smooth.
Step 3: Transfer and Serve
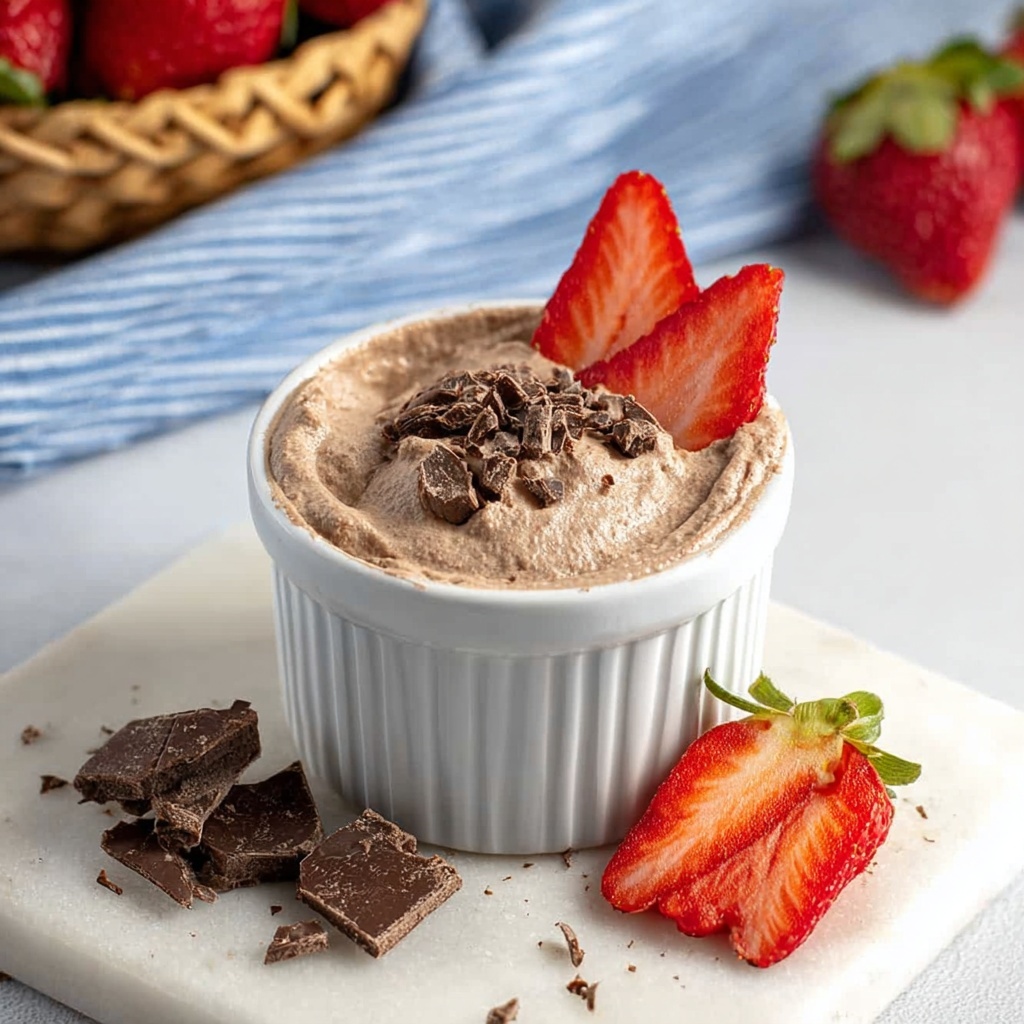
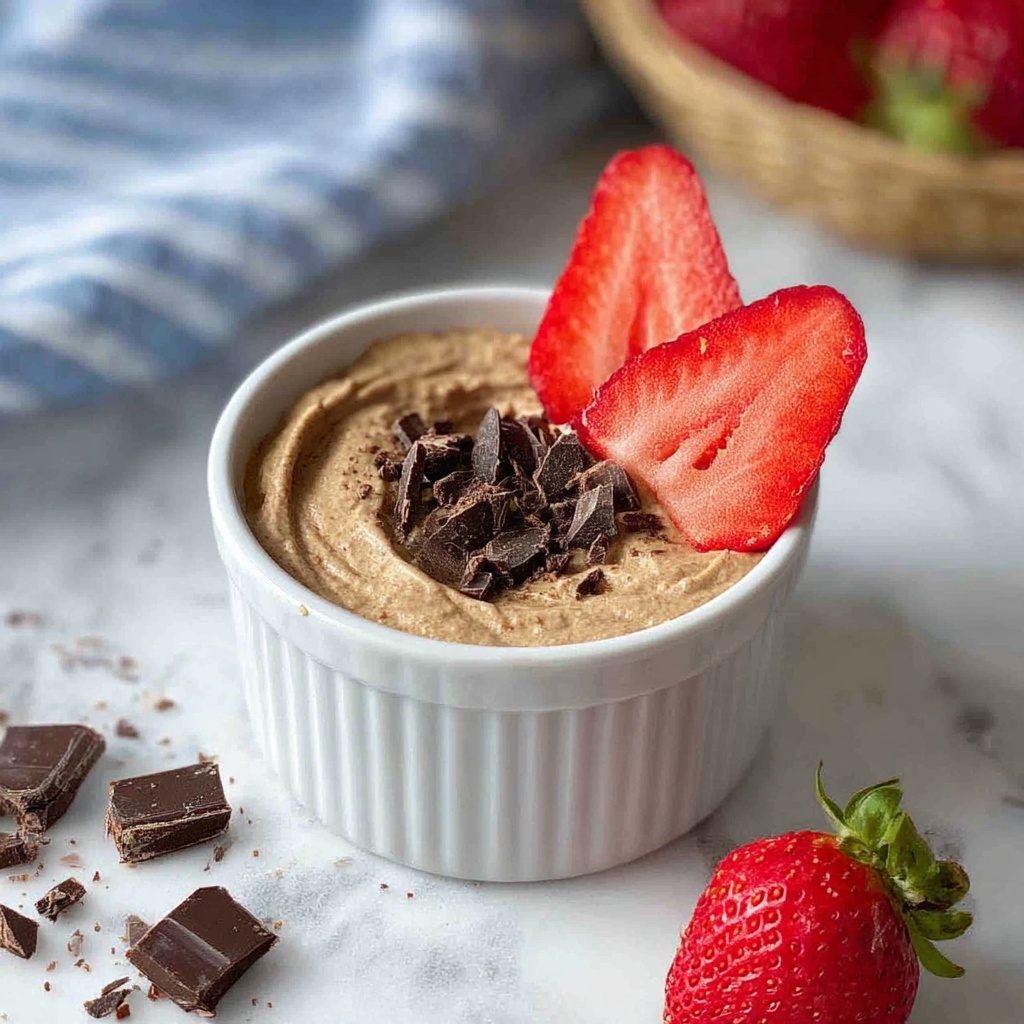
Once your chocolate hummus has reached that ideal creamy texture, scoop it out of the food processor and into a serving bowl. Now comes the fun part—deciding how to enjoy this delicious creation. Whether you’re dipping fruit or spreading on toast, your homemade chocolate hummus is ready to impress.
How to Serve Chocolate Hummus Recipe
Garnishes
A little garnish can elevate your chocolate hummus to an eye-catching treat. Try adding a sprinkle of cocoa nibs for some crunch, a handful of chopped nuts for added texture, or even a few fresh mint leaves for a refreshing contrast. These simple touches add visual appeal and extra layers of flavor that will wow anyone you share this with.
Side Dishes
This chocolate hummus pairs beautifully with an array of sides. Fresh fruits like strawberries, apples, and bananas complement the chocolate’s richness perfectly. Graham crackers make an excellent crunchy vehicle for dipping, and a warm slice of toasted bread offers a comforting base that absorbs the creamy spread just right. Feel free to get creative with what you serve alongside it—your taste buds will thank you.
Creative Ways to Present
You can dress up this Chocolate Hummus Recipe by serving it in a hollowed-out fruit shell, such as an orange or apple bowl, for an inviting presentation. Another fun idea is to layer it with Greek yogurt and granola for a decadent parfait that’s great for breakfast or dessert. Garnish with a drizzle of maple syrup or a few chocolate shavings to make it extra special.
Make Ahead and Storage
Storing Leftovers
If you make extra chocolate hummus, no worries—it keeps well in an airtight container in the refrigerator for up to 4-5 days. This makes it a handy, ready-to-go snack that you can grab anytime you want a quick, wholesome chocolate fix.
Freezing
You can freeze chocolate hummus, but it’s best to portion it out first. Store it in a freezer-safe container for up to one month. When thawing, be sure to let it come to refrigerator temperature slowly and give it a good stir to bring that silky texture back.
Reheating
Since chocolate hummus is typically enjoyed cold or at room temperature, reheating isn’t necessary. However, if you prefer it a bit warmer—say, as a spread on toasted bread—simply allow it to come to room temperature and gently warm your bread separately. This keeps the flavors and texture perfect without drying it out.
FAQs
Can I use other beans instead of great northern beans?
Absolutely! Cannellini or navy beans are great substitutes as they offer a similar mild flavor and creamy texture that won’t overpower the chocolate.
Is this Chocolate Hummus Recipe vegan or gluten-free?
Yes! It’s naturally vegan and gluten-free, making it a wonderful option for those with dietary restrictions while still tasting indulgent.
How can I adjust the sweetness?
If you prefer a sweeter dip, simply add a bit more maple syrup to taste. Conversely, reduce it or omit it for a more intense cocoa flavor with a hint of natural bean sweetness.
Can I substitute peanut butter with another nut or seed butter?
Definitely! Almond, cashew, or sunflower seed butter all work well and bring their unique flavors, so feel free to experiment.
What are other creative ways to use chocolate hummus?
Try spreading it on pancakes or waffles, swirling it into smoothies for extra creaminess, or using it as a decadent filling for crepes or pastries.
Final Thoughts
There is something incredibly fun and satisfying about making your own Chocolate Hummus Recipe at home. It’s a unique, delicious treat that sneaks in some good-for-you ingredients without sacrificing any of the indulgence. Whether you’re sharing it with friends or enjoying it as a personal snack, this chocolate hummus is guaranteed to become one of your favorite unexpected desserts or snacks. Give it a whirl—you might just find a new favorite!
Print
Chocolate Hummus Recipe
- Prep Time: 5 minutes
- Cook Time: 0 minutes
- Total Time: 5 minutes
- Yield: 1 cup
- Category: Snack
- Method: Blending
- Cuisine: American
- Diet: Vegetarian
Description
This Chocolate Hummus recipe offers a deliciously creamy and healthy twist on traditional hummus by combining great northern beans with rich cocoa and peanut butter. It’s a quick, no-cook treat perfect for dipping fruits, spreading on toast, or enjoying as a sweet snack.
Ingredients
Ingredients
- 1 (15oz) can great northern beans, drained & rinsed well
- 3 tablespoons 100% peanut butter
- 1 tablespoon cocoa powder
- 1 tablespoon maple syrup
- Dash of sea salt
- 2–3 tablespoons water
Instructions
- Combine Ingredients: Add great northern beans, peanut butter, cocoa powder, maple syrup, and a dash of sea salt to a food processor.
- Process to Smooth: Start the food processor. As the mixture begins to blend smoothly, drizzle in water one tablespoon at a time until you reach a smooth, spreadable consistency.
- Serve: Once fully blended and smooth, transfer the chocolate hummus to a serving bowl. It pairs wonderfully with fruits such as strawberries and apples, can be spread on bananas, used as a dip for graham crackers, or enjoyed on warm toasted bread.
Notes
- You can adjust the sweetness by adding more or less maple syrup according to taste.
- Use 100% natural peanut butter to ensure the best flavor and texture.
- If you prefer a thinner consistency, add water gradually until desired texture is achieved.
- Store leftovers in an airtight container in the refrigerator for up to 3 days.
- Experiment with other nut butters like almond or cashew for variations.


