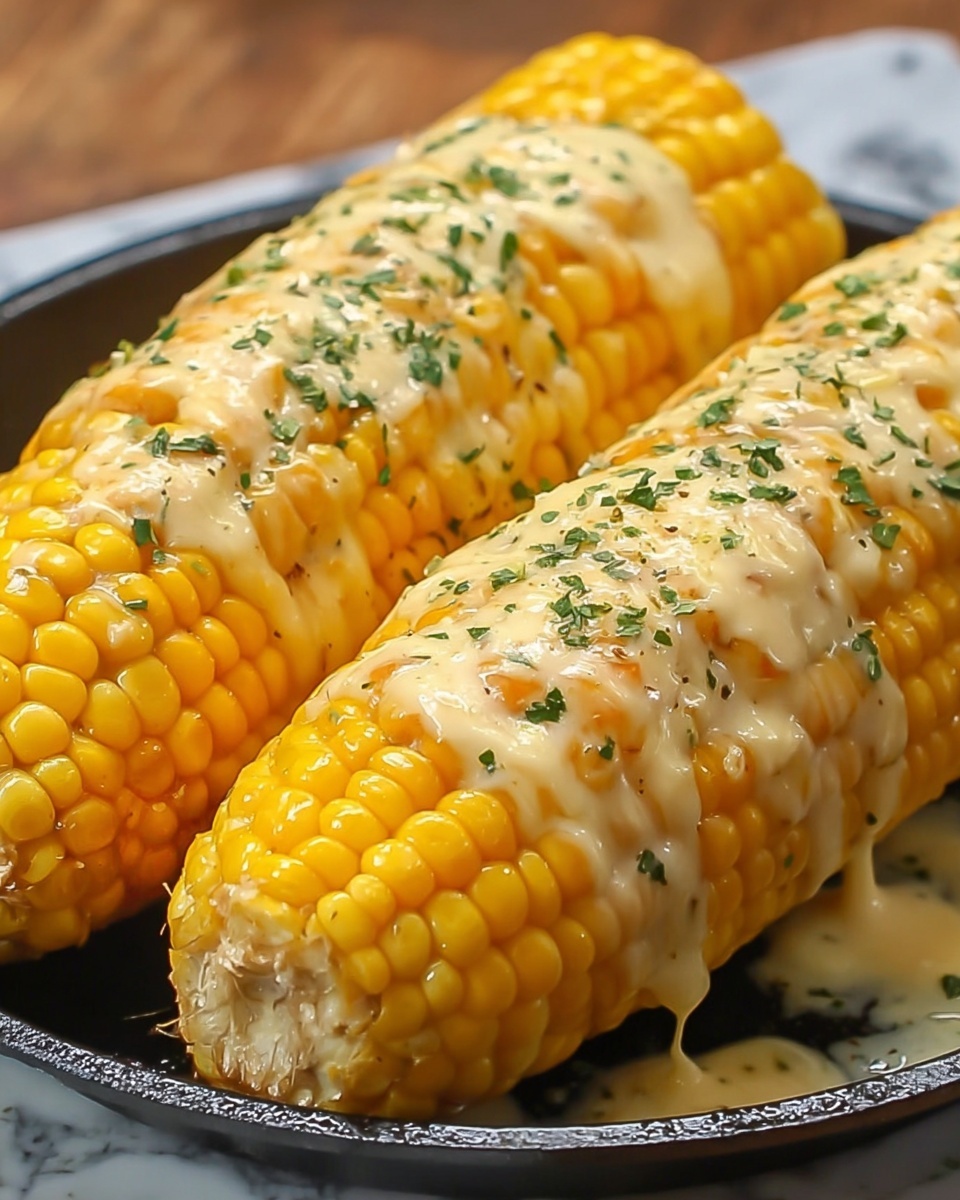
There is something truly irresistible about a perfectly cooked ear of corn loaded up with gooey, flavorful toppings, and this Cheesy Garlic Butter Corn on the Cob Recipe hits all the right notes. It’s a celebration of buttery richness, sharp garlic, and a blanket of melty cheese that elevates humble corn into a mouthwatering side dish everyone will ask for again and again. Whether you’re firing up the grill for a summer cookout or looking to add a comforting twist to weeknight dinners, this recipe is a must-try for anyone who loves bold, savory flavors with minimal fuss.
Ingredients You’ll Need
Gathering these simple yet essential ingredients is the first step toward juicy, flavorful corn on the cob that bursts with cheesy, garlicky goodness. Each item plays its own starring role in creating a perfect harmony of taste, texture, and color.
- 4 ears of corn, husked: Fresh corn is key for that sweet crunch and natural juiciness.
- 4 tablespoons unsalted butter, melted: Butter adds creaminess and carries the garlic flavor beautifully.
- 3 cloves garlic, minced: Garlic infuses the dish with a robust, aromatic punch.
- 1 cup grated Parmesan cheese: Parmesan brings sharp, nutty notes and enhances cheesiness.
- 1/2 cup shredded mozzarella cheese: Mozzarella adds gooey, melty texture that everyone loves.
- 1 tablespoon fresh parsley, chopped (optional): Parsley brightens the dish with a fresh, herbal touch and vibrant color.
- 1 teaspoon salt: Balances flavors and makes the corn pop.
- 1/2 teaspoon black pepper: Adds a subtle spicy depth.
- 1/4 teaspoon crushed red pepper flakes (optional): Introduces a kiss of heat for those who like a little kick.
How to Make Cheesy Garlic Butter Corn on the Cob Recipe
Step 1: Prep Your Corn
Start by husking the ears of corn, making sure to remove every bit of the silky strands so the cheese won’t get caught on them later. Rinse the corn under cool water and pat dry with paper towels to ensure the melted butter and seasonings stick perfectly.
Step 2: Make the Garlic Butter Mixture
In a small bowl, combine the melted butter with the minced garlic, salt, and black pepper. Whisk it together thoroughly so the garlic infuses evenly into the butter, creating that rich, savory base that will coat the corn beautifully.
Step 3: Cook the Corn
Bring a large pot of water to a boil and add a pinch of salt. Carefully add the husked corn and let it cook for about 6 to 8 minutes until the kernels are tender but still slightly crisp. Drain and place the corn on a baking sheet or grill pan for the next delicious step.
Step 4: Brush with Garlic Butter and Add Cheese
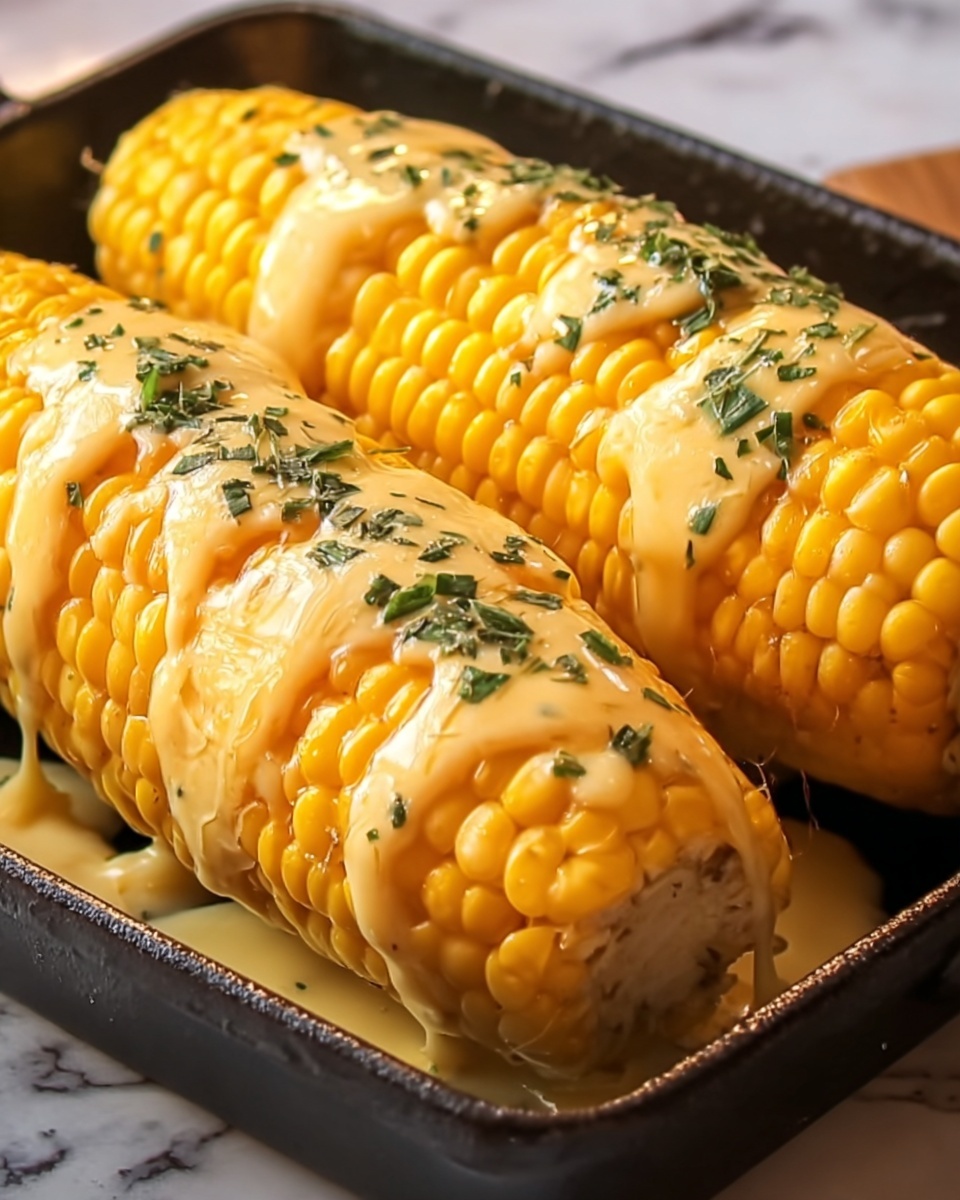
Brush each ear generously with your garlic butter mixture, making sure to get every nook and cranny covered. Then sprinkle the grated Parmesan and shredded mozzarella evenly over the corn, pressing gently so the cheese clings to the buttered kernels.
Step 5: Melt the Cheese
Pop the corn under a broiler for 2 to 3 minutes, or use a hot grill to melt the cheese until bubbly and golden. Keep an eye on it to avoid burning – you want perfectly gooey cheese with a hint of crispness on top.
Step 6: Garnish and Serve
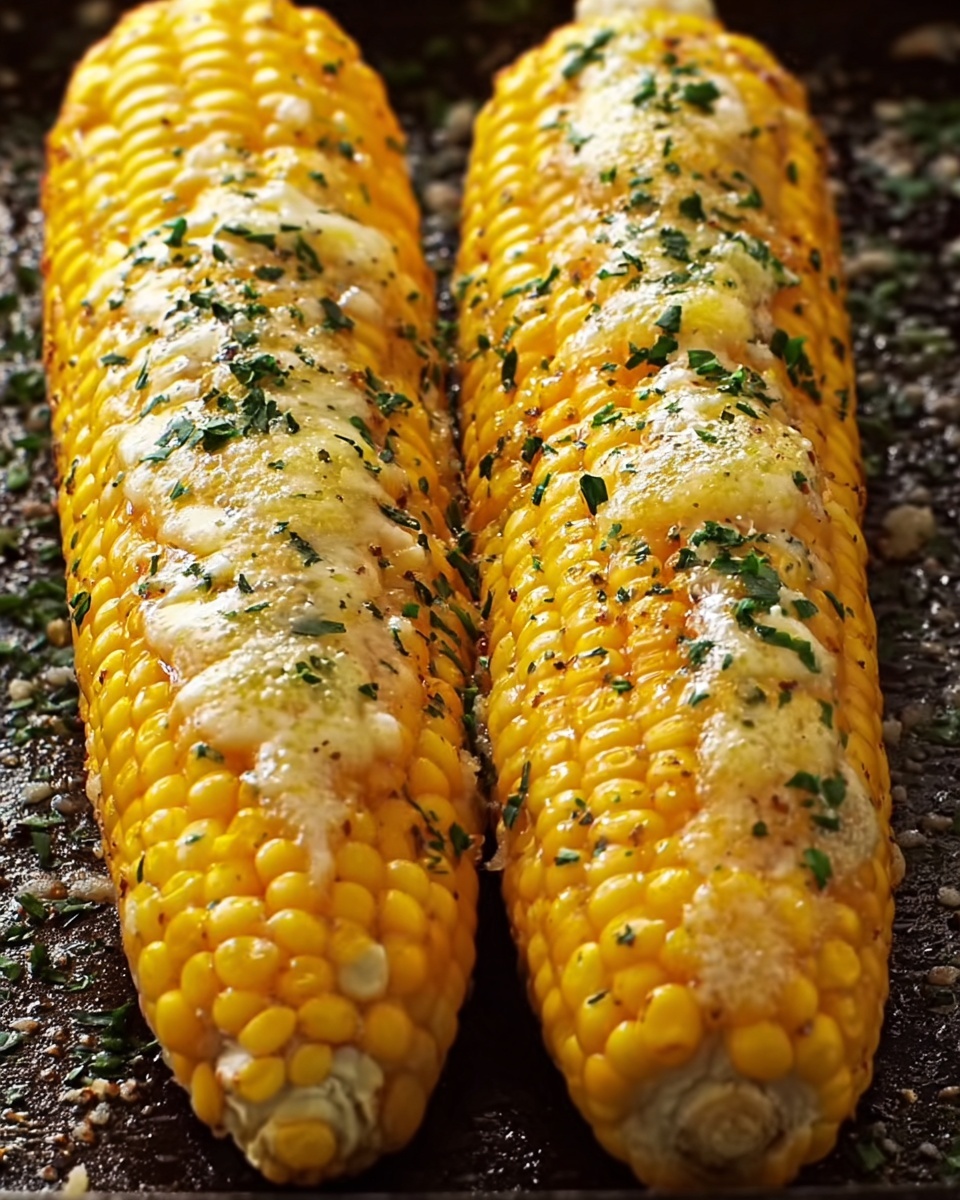
Finish with a sprinkle of crushed red pepper flakes if you like some heat, plus fresh parsley for a pop of color and fresh flavor. Serve immediately to enjoy all the magic of melty, buttery, garlicky cheese on corn straight from the cob.
How to Serve Cheesy Garlic Butter Corn on the Cob Recipe
Garnishes
The right garnishes can take this dish from delicious to unforgettable. Freshly chopped parsley adds a bright herbal note, while a light dusting of smoked paprika can introduce subtle warmth and color. For an extra treat, a squeeze of fresh lemon juice right before eating can balance the richness beautifully.
Side Dishes
This Cheesy Garlic Butter Corn on the Cob Recipe pairs amazingly with everything from grilled chicken or steak to lighter fare like fresh salads and roasted vegetables. Creamy coleslaw or a zesty tomato salad also complement the richness, rounding out your meal with a refreshing crunch.
Creative Ways to Present
Want to impress at your next get-together? Serve the corn on a rustic wooden board with a small ramekin of extra garlic butter for dipping. Skewering multiple mini ears and stacking them can create a fun, eye-catching presentation that invites guests to grab and go.
Make Ahead and Storage
Storing Leftovers
If you happen to have any leftovers (which might be rare!), wrap the corn tightly in foil or plastic wrap and refrigerate. It’s best enjoyed within 1 to 2 days to preserve the cheese’s flavor and texture.
Freezing
While freezing cheesy corn on the cob is possible, the texture of the corn and cheese may change upon thawing. If you want to freeze, wrap each ear carefully in plastic wrap and aluminum foil before placing them in a freezer bag and consume within 1 month for best results.
Reheating
Warm leftovers gently in the oven at 350°F (175°C), wrapped in foil to avoid drying out. About 10 minutes should do the trick. Avoid microwaving when possible, as the cheese might become unevenly melted and the corn rubbery.
FAQs
Can I use frozen corn instead of fresh for the Cheesy Garlic Butter Corn on the Cob Recipe?
Fresh corn definitely offers the best flavor and texture for this recipe, but if frozen is all you have, thaw it thoroughly and pat dry before proceeding. The result won’t be quite the same as fresh, but still delicious and cheesy!
Is this recipe gluten-free?
Yes, this Cheesy Garlic Butter Corn on the Cob Recipe is naturally gluten-free, as none of the ingredients contain gluten. Just be sure to check any pre-grated cheese for additives if you have a strict gluten intolerance.
Can I make this recipe vegan?
You can create a vegan version by substituting the butter with a plant-based alternative and using vegan cheeses that melt well. Fresh garlic and seasonings remain as flavorful, ensuring the dish still shines.
What type of cheese works best?
The combination of Parmesan and mozzarella strikes a perfect balance between sharp, nutty flavor and gooey meltiness. Feel free to experiment with cheddar or Monterey Jack for a different twist, but keep in mind the final texture might vary.
How can I adjust the recipe for spiciness?
To spice up the Cheesy Garlic Butter Corn on the Cob Recipe, add more crushed red pepper flakes or a dash of cayenne pepper. For a smoky kick, sprinkle some chili powder or smoked paprika along with the butter.
Final Thoughts
There’s truly something magical about taking simple corn on the cob and turning it into a cheesy, garlicky masterpiece. This Cheesy Garlic Butter Corn on the Cob Recipe is a guaranteed crowd-pleaser that brings both comfort and excitement to your plate with every buttery, melty bite. I hope you have as much fun making and savoring it as I do sharing it—go ahead, treat yourself and your loved ones to this unforgettable dish soon!
Print
Cheesy Garlic Butter Corn on the Cob Recipe
- Prep Time: 5 minutes
- Cook Time: 10 minutes
- Total Time: 15 minutes
- Yield: 4 servings
- Category: Side Dish
- Method: Boiling
- Cuisine: American
Description
This Cheesy Garlic Butter Corn on the Cob is a delicious and easy side dish combining sweet corn with a rich garlic butter sauce, topped with a blend of Parmesan and mozzarella cheeses. Perfect for summer barbecues or a cozy dinner, it delivers comforting flavors and a delightful cheesy finish.
Ingredients
Corn on the Cob
- 4 ears of corn, husked
Cheesy Garlic Butter Sauce
- 4 tablespoons unsalted butter, melted
- 3 cloves garlic, minced
- 1 cup grated Parmesan cheese
- 1/2 cup shredded mozzarella cheese
- 1 tablespoon fresh parsley, chopped (optional)
- 1 teaspoon salt
- 1/2 teaspoon black pepper
- 1/4 teaspoon crushed red pepper flakes (optional)
Instructions
- Prepare the Corn: Husk the ears of corn completely, removing all silk strands. Rinse them under cold water and pat dry.
- Make the Garlic Butter Sauce: In a small bowl, combine the melted unsalted butter with minced garlic, salt, black pepper, and crushed red pepper flakes if using. Stir well to incorporate all the flavors.
- Cook the Corn: Bring a large pot of water to a boil. Add the corn ears and cook for approximately 7-10 minutes until tender but still crisp. Drain the corn and let it cool slightly for handling.
- Coat the Corn: Brush each ear of corn generously with the garlic butter sauce, ensuring a thorough coating over all kernels.
- Add Cheese Topping: Sprinkle grated Parmesan and shredded mozzarella cheese evenly on top of the buttered corn. For best results, place the corn briefly under a broiler or in a hot oven set to 400°F (205°C) for about 2-3 minutes until the cheese melts and becomes slightly golden (optional step for melted cheese texture).
- Garnish and Serve: Sprinkle chopped fresh parsley over the cheesy corn for a fresh and vibrant finish. Serve immediately while warm for the best flavor experience.
Notes
- For a spicier kick, increase the amount of crushed red pepper flakes or include a dash of cayenne pepper.
- Using fresh grated Parmesan cheese yields better flavor compared to pre-grated versions.
- The optional broiling step helps melt the mozzarella, but if you prefer, serve with cheeses un-melted for a different texture.
- Butter can be substituted with olive oil for a dairy-free alternative, but cheese toppings would then need adjustment.
- Leftover corn can be stored in an airtight container in the refrigerator for up to 2 days and reheated gently.
