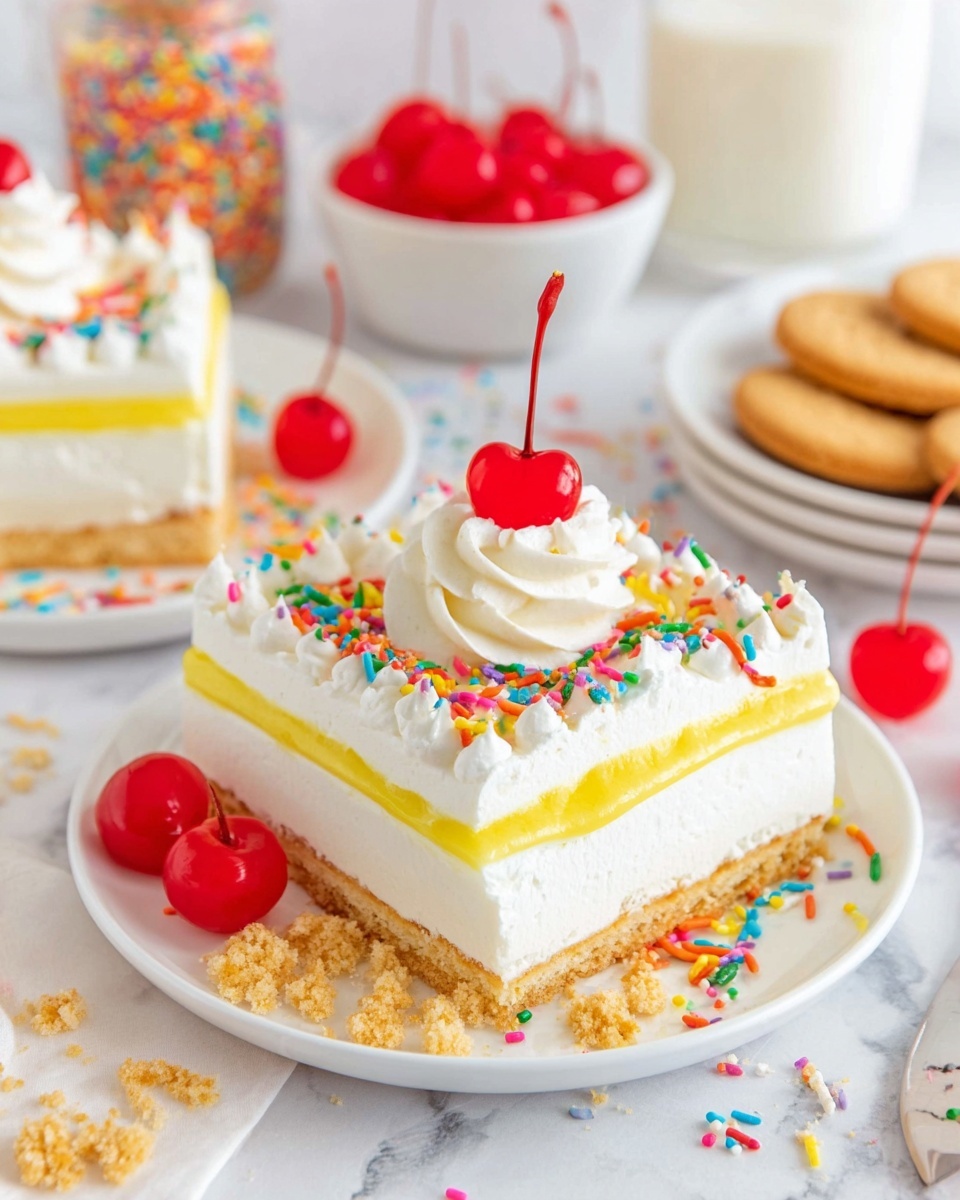
If you’re searching for a show-stopping dessert to make any celebration extra special, this Birthday Cake Lush Cake Recipe is your new best friend. This layered delight combines a buttery Oreo crust, a creamy, tangy cream cheese filling, and a luscious vanilla pudding topping sprinkled with bursts of rainbow sprinkles, capturing the spirit and flavors of a classic birthday cake in every bite. It’s wonderfully simple to make, wildly delicious, and guaranteed to bring smiles to the table every time.
Ingredients You’ll Need
Every ingredient in this Birthday Cake Lush Cake Recipe plays an important role, from building a sturdy base to creating rich, creamy layers that delight both the eyes and the palate. Using pantry staples and easy-to-find items means you can whip up this cake without a fuss, but still achieve a vibrant and indulgent dessert.
- 36 golden Oreos (finely crushed): Forms the buttery, slightly crunchy crust with a golden hue that contrasts beautifully with the creamy layers.
- ⅓ cup melted butter: Binds the Oreo crumbs together for a firm, yet tender crust foundation.
- 8 oz block of cream cheese (softened): Adds a tangy richness that balances the sweetness while providing a luscious texture.
- 1 cup powdered sugar: Sweetens the cream cheese filling to the perfect level without graininess.
- 16 oz frozen whipped topping, thawed, divided: Lightens the cream cheese and pudding mixtures with fluffy, airy creaminess.
- 1 cup yellow cake mix (heat treated): Brings that unmistakable birthday cake flavor and a tender crumb to the pudding layer.
- 3.4 oz package of vanilla instant pudding: Thickens and flavors the middle layer, melding perfectly with the cake mix.
- 1-½ cups milk: Essential for preparing the pudding layer with just the right consistency.
- Rainbow sprinkles: Adds a festive splash of color and fun to both the batter and topping.
How to Make Birthday Cake Lush Cake Recipe
Step 1: Prepare and Bake the Crust
Start by preheating the oven to 375 degrees and greasing a 9×13 baking dish with non-stick spray to prevent sticking. In a bowl, mix your finely crushed golden Oreos with melted butter until it resembles damp, wet sand. Press this mixture firmly and evenly into the dish’s base, pushing into every corner for a sturdy crust. Bake for 6 to 7 minutes to set the crust before allowing it to cool completely. This step ensures you get a crunchy, buttery foundation for your lush cake layers.
Step 2: Make the Cream Cheese Layer
While your crust cools, whip the cream cheese and powdered sugar together until smooth and creamy using an electric mixer. Gradually fold in half of your thawed whipped topping—this introduces a light fluffiness that balances the tangy cream cheese with sweet and airy softness. Set this dreamy filling aside; it will become the luscious middle layer that melts in your mouth.
Step 3: Prepare the Cake Mix Pudding Layer
Next, whisk together your yellow cake mix, vanilla instant pudding, and milk on low to medium speed until the mixture starts to thicken into a rich pudding. Stir in most of your rainbow sprinkles here, saving some for the topping. This layer combines that classic birthday cake flavor in a creamy form that’s absolutely irresistible.
Step 4: Assemble the Lush Cake
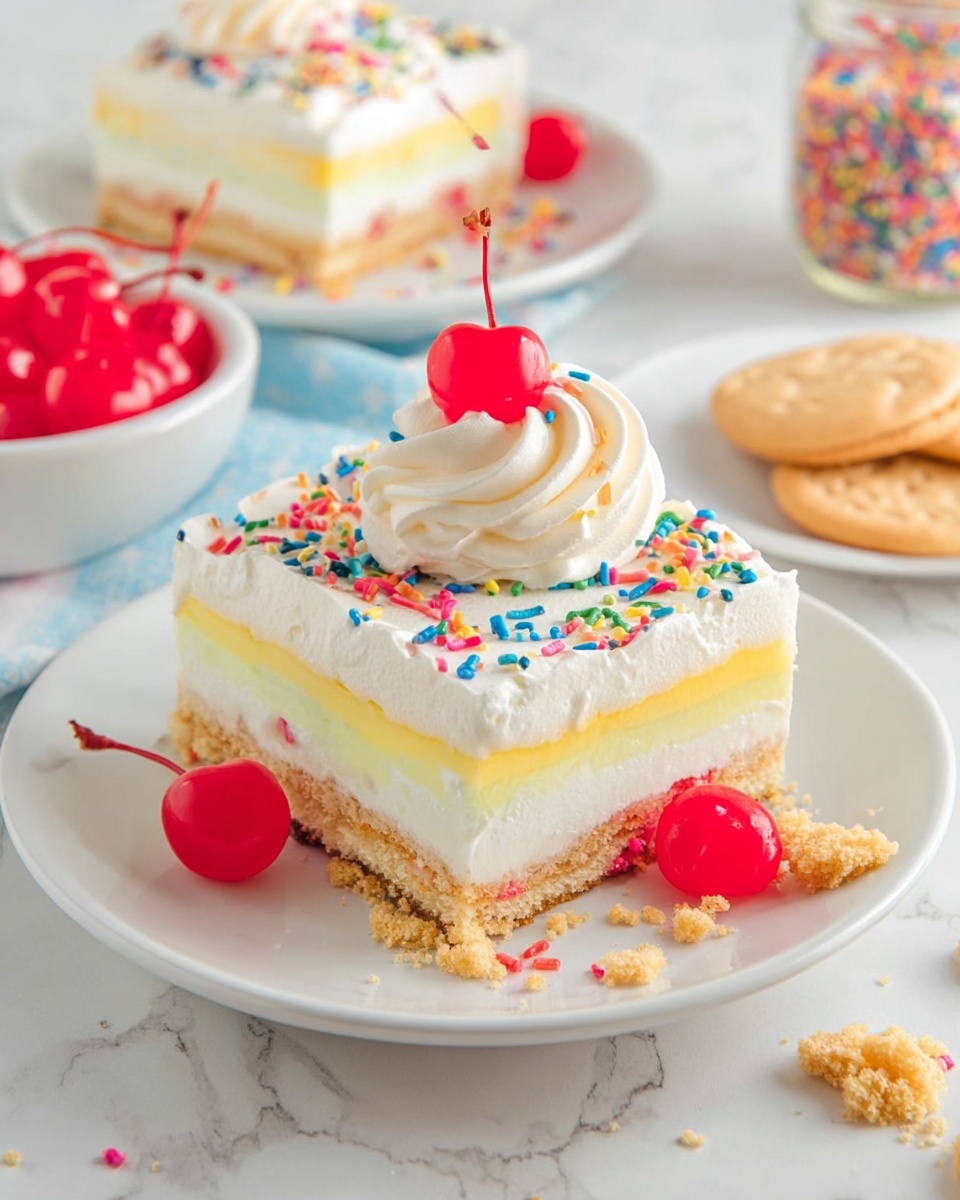
With your crust fully cooled, spread the cream cheese mixture evenly on top using a rubber spatula. Then, carefully pour and spread the cake mix pudding right over it, creating a smooth, even layer of sweet delight. Finally, spread the remaining whipped topping over the pudding, smoothing it out to form a velvety, pristine surface. Sprinkle with the reserved rainbow sprinkles for that cheerful pop of color and texture.
Step 5: Chill Before Serving
Cover the cake and refrigerate it for at least 4 hours or overnight to let all the layers set beautifully and for the flavors to meld. The chilling step transforms this cake from layers of ingredients into a sliceable, luscious treat.
How to Serve Birthday Cake Lush Cake Recipe
Garnishes
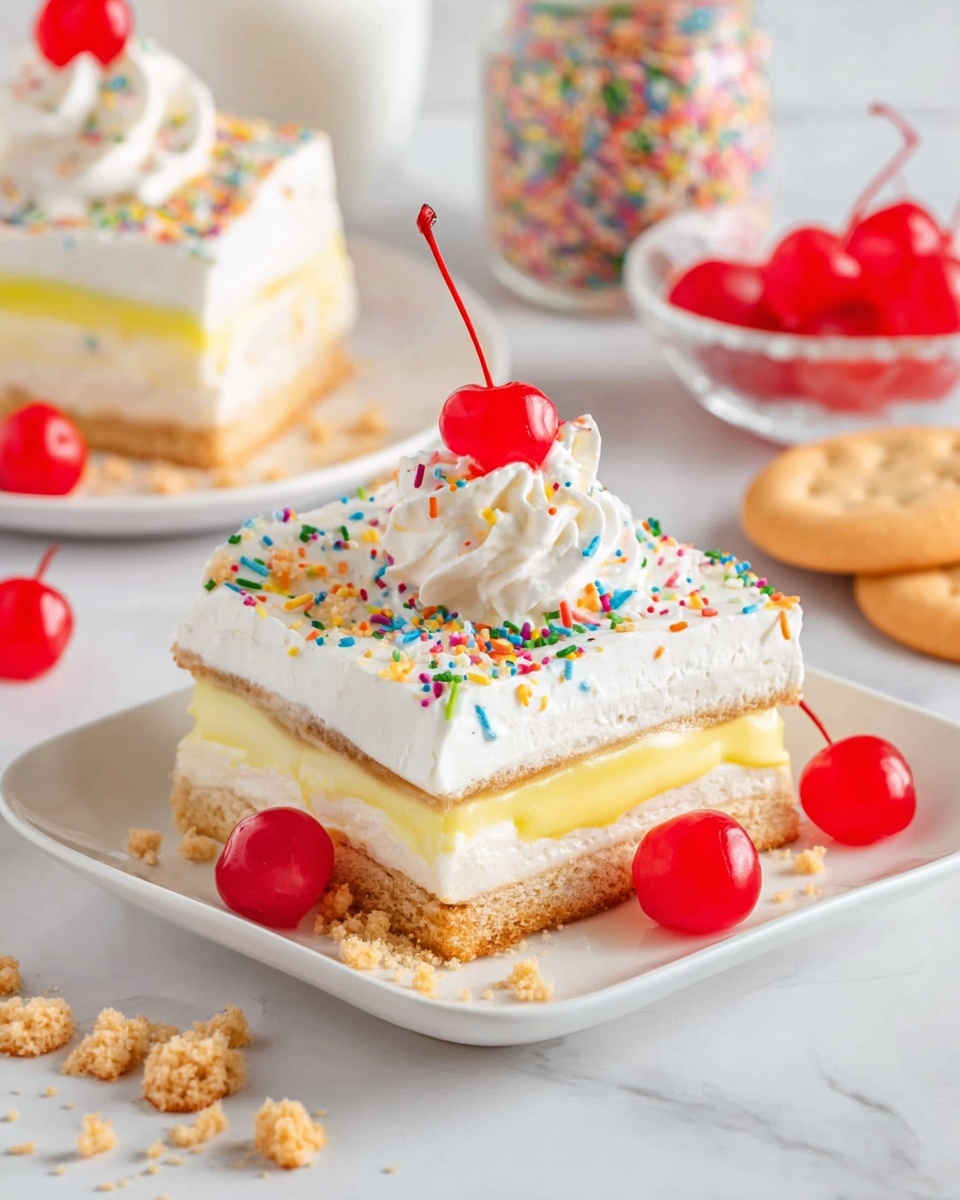
Rainbow sprinkles are the star garnish here, adding joyful bursts of color and a delicate crunch that evokes birthday party vibes. For a little extra flair, consider adding edible glitter or a dusting of powdered sugar right before serving to enhance the celebratory feel.
Side Dishes
This cake stands wonderfully on its own, but pairing it with a simple scoop of vanilla ice cream or a fruity compote can elevate the experience. Serve alongside fresh berries or a tangy raspberry sauce to complement the creamy, sweet layers with a fresh contrast.
Creative Ways to Present
For a party, cut the lush cake into fun shapes using cookie cutters, or serve it in clear parfait glasses layered individually for a whimsical dessert cup. You can even turn it into cupcakes by layering the fillings into cupcake liners and chilling them for personalized servings that grab attention.
Make Ahead and Storage
Storing Leftovers
Leftover Birthday Cake Lush Cake keeps beautifully refrigerated for up to 3 days. Cover tightly with plastic wrap or transfer to an airtight container to preserve moisture and keep those layers fresh and creamy.
Freezing
You can freeze this luscious dessert, wrapped well in plastic and foil, for up to 2 months. Thaw overnight in the refrigerator before serving to maintain the perfect texture without any sogginess or separation.
Reheating
Since this is a chilled, creamy cake, reheating is not recommended. Instead, enjoy it cold or at cool room temperature for the best flavor and texture experience.
FAQs
Can I use regular Oreos instead of golden ones?
Absolutely! Regular Oreos will add a darker, chocolatey twist to your crust. The flavor profile will be slightly different but still delicious and will pair wonderfully with the creamy layers.
Why do I need to heat treat the cake mix in this recipe?
Heat treating the cake mix ensures that any raw flour taste is eliminated and makes it safe and more enjoyable to consume in the pudding layer, which isn’t baked.
Can I make this recipe dairy-free or vegan?
To make it dairy-free, substitute the cream cheese and whipped topping with plant-based alternatives and use a dairy-free milk option. The yellow cake mix and pudding may need to be checked for dairy ingredients or replaced with suitable vegan versions.
What kind of whipped topping works best?
Frozen whipped topping brands like Cool Whip work great because they maintain their structure well when thawed. Make sure it’s fully thawed but still cold for easy folding into the layers.
Can I use homemade yellow cake instead of cake mix?
This recipe specifically relies on the dry cake mix to create the pudding layer’s texture. While you could experiment with homemade cake, it won’t provide the same consistency and ease as the boxed mix in this particular pudding-based step.
Final Thoughts
This Birthday Cake Lush Cake Recipe is truly a celebration on a plate, blending familiar flavors and fun textures into a dessert that everyone will adore. It’s easy to throw together, wonderfully forgiving, and a guaranteed crowd-pleaser at any event. Give it a try for your next party or special occasion—you might just find this lush cake becoming your go-to favorite that everyone asks for again and again.
Print
Birthday Cake Lush Cake Recipe
- Prep Time: 15 minutes
- Cook Time: 7 minutes
- Total Time: 4 hours 22 minutes (including chilling time)
- Yield: 12 servings
- Category: Dessert
- Method: Baking
- Cuisine: American
- Diet: Vegetarian
Description
This Birthday Cake Lush Cake is a delightful no-bake layered dessert combining a crunchy Oreo crust, creamy cheesecake layer, colorful cake pudding, and fluffy whipped topping. Perfect for celebrations, it’s adorned with rainbow sprinkles for a festive touch and requires minimal baking to heat treat the crust. Chill for a luscious, creamy treat that serves 12.
Ingredients
Crust
- 36 golden Oreos (finely crushed)
- ⅓ cup melted butter
Cream Cheese Layer
- 8 oz block cream cheese (softened at room temperature)
- 1 cup powdered sugar
- 8 oz frozen whipped topping, thawed
Pudding Cake Layer
- 1 cup yellow cake mix (heat treated)
- 3.4 oz package vanilla instant pudding mix
- 1 to 1½ cups milk
- Rainbow sprinkles (about ½ cup plus extra for garnish)
Topping
- 8 oz frozen whipped topping, thawed
Instructions
- Preheat and Prepare Pan: Preheat your oven to 375°F (190°C) and spray a 9×13-inch baking dish with non-stick cooking spray to prevent sticking.
- Make the Crust Mixture: In a small bowl, combine the finely crushed golden Oreos with melted butter. Mix thoroughly until the mixture resembles wet sand and holds together when pressed.
- Form and Bake the Crust: Press the Oreo crumb mixture evenly and firmly into the bottom of the prepared baking dish, ensuring it reaches the edges and corners. Bake in the preheated oven for 6-7 minutes to heat treat and set the crust, then allow it to cool completely before proceeding.
- Prepare Cream Cheese Layer: In a medium bowl, beat the softened cream cheese and powdered sugar together using an electric hand or stand mixer on medium speed for 1-2 minutes until fully blended and smooth.
- Add Whipped Topping to Cream Cheese: Fold in 8 oz of the thawed whipped topping to the cream cheese mixture and stir until well combined. Set this layer aside.
- Mix Pudding Cake Layer: In a separate bowl, blend the yellow cake mix, vanilla instant pudding mix, and 1 to 1½ cups milk on low to medium speed for about 2 minutes until the mixture slightly thickens.
- Add Sprinkles to Pudding Mixture: Stir in the rainbow sprinkles, reserving some for garnish, and mix until they are evenly distributed throughout the pudding mixture.
- Assemble Cream Cheese Layer: Spread the cooled Oreo crust with the cream cheese and whipped topping mixture evenly using a rubber spatula.
- Assemble Pudding Cake Layer: Pour and spread the pudding and cake mixture evenly over the cream cheese layer.
- Add Final Whipped Topping Layer: Spread the remaining 8 oz of whipped topping smoothly and evenly over the pudding cake layer to create a flat surface.
- Garnish and Chill: Sprinkle the top with the reserved rainbow sprinkles. Refrigerate the assembled cake for at least 4 hours or overnight to chill and set before serving.
Notes
- Be sure to fully cool the baked Oreo crust before adding layers to prevent melting the cream cheese mixture.
- Heat treating the cake mix by baking the crust prevents any risk of raw flour in the dessert.
- Use thawed whipped topping for best texture when mixing and spreading layers.
- For easier slicing, chill the cake overnight to firm up layers completely.
- This cake is best stored covered in the refrigerator and consumed within 3-4 days.

