
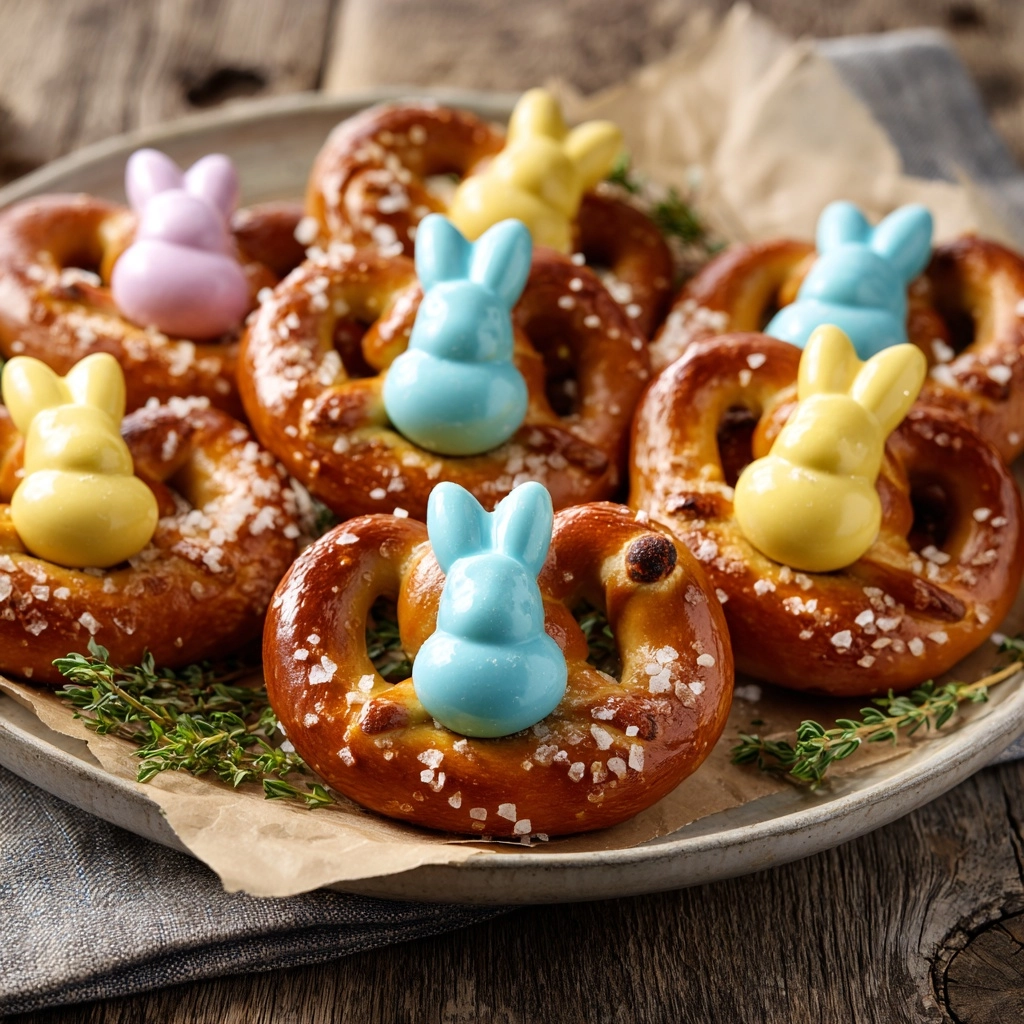
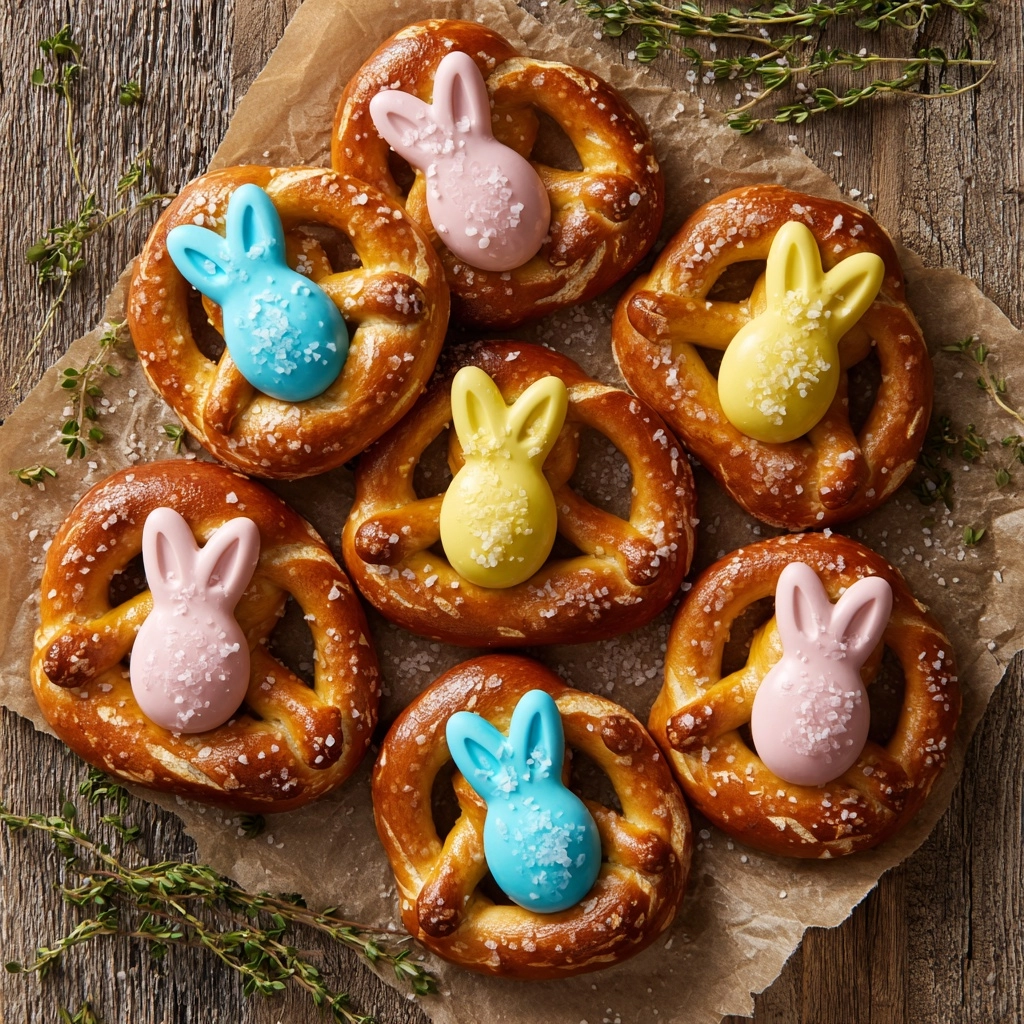
If you’re on the hunt for a treat that blends sweet, salty, and adorable into one unforgettable bite, Easter Bunny Pretzels are about to jump into your holiday favorites. Imagine tiny twists of crunchy pretzel, topped with creamy chocolate, and brought to life with marshmallow bunny ears, candy eyes, and a sprinkle of pastel magic. Whether you’re filling baskets or whipping up snacks for a spring gathering, these no-bake gems are fun to make, joyfully festive, and a guaranteed hit with kids and grownups alike.
Ingredients You’ll Need
-
Pretzel Bunnies:
- 24 mini twist pretzels
- 12 pink or white candy melts (or white chocolate wafers)
- 24 mini marshmallows, halved diagonally (for ears)
- pink sanding sugar or sprinkles
- 12 small candy eyes
- 6 pink mini M&M’s or candy-coated chocolates (halved for noses)
- ¼ cup white chocolate chips or candy melts (for “glue”)
How to Make Easter Bunny Pretzels
Step 1: Get Prepped
Line a baking sheet with parchment paper. This nonstick surface is your best friend for easy cleanup and also makes it simple to transfer your finished Easter Bunny Pretzels. Arrange the pretzels in a single layer so you have plenty of workspace for decorating.
Step 2: Create the Sweet Base
Place a candy melt or white chocolate wafer in the center of each pretzel. This will be the bunny’s “face” and the delicious glue that holds on all the cute decorations. Preheat your oven to 200°F (95°C).
Step 3: Soften the Melt
Slide the tray into the oven for 2 to 3 minutes—just until the candy melts are shiny and soft, but not melted completely. This step makes it easy to press on the ears and face features without everything sliding out of place.
Step 4: Add Bunny Ears and Pink Accents
Remove the warm pretzels from the oven and work quickly. Press two marshmallow halves (cut side down) onto the top of each softened melt to make those sweet perky bunny ears. While the marshmallows are still sticky, sprinkle on a little pink sanding sugar for a fun, “inner ear” effect.
Step 5: Build the Face
Pop on two candy eyes below the ears on each Easter Bunny Pretzel, then add half a pink mini M&M or candy-coated chocolate in the center for the nose. If any decorations are reluctant to stick, don’t worry—you’ll secure them next!
Step 6: Secure with Chocolate “Glue”
Melt your white chocolate chips (or a few extra candy melts) in a small bowl, using the microwave in 20-second bursts until smooth. Grab a toothpick or a tiny piping bag to dab a little melted chocolate behind any stubborn decorations. This “glue” holds everything firmly, so your bunny faces stay picture-perfect.
Step 7: Let Them Set
Allow your Easter Bunny Pretzels to cool completely at room temperature until the chocolate hardens and all the toppings are secure. Transfer to an airtight container and get ready to delight your family and friends!
How to Serve Easter Bunny Pretzels
Garnishes
A generous dusting of pastel sprinkles, extra pink sugar, or even a pinch of colored coconut flakes instantly makes these pretzels pop with Easter charm. For extra sparkle, try a quick drizzle of white or pink chocolate on top.
Side Dishes
Serve Easter Bunny Pretzels alongside a cheerful fruit platter, a crunchy mix of yogurt-covered raisins, or mini carrot sticks for a spring-themed snack tray that balances sweet with refreshing. They also pair beautifully with festive drinks like berry lemonade, pastel milkshakes, or hot cocoa for chilly spring mornings.
Creative Ways to Present
Nestle your finished treats in cupcake liners for an instant upgrade, or tuck them into clear treat bags tied with pastel ribbon for adorable party favors. Arrange them on a platter with edible grass or colorful paper shred for a centerpiece everyone will want to nibble!
Make Ahead and Storage
Storing Leftovers
Once the chocolate is fully set, place your Easter Bunny Pretzels in a single layer between sheets of parchment or wax paper in an airtight container. Store them at room temperature for up to a week—they’ll keep their crunch and cuteness with no effort.
Freezing
If you want to get a head start, you can freeze decorated pretzels! Just make sure they’re completely cool and set, then seal them in a freezer-safe container with parchment between layers. Thaw at room temperature in the container to avoid condensation.
Reheating
There’s no reheating needed for these no-bake delights! If you’d like to refresh them after storage, let them sit out at room temperature for a few minutes and they’ll be ready to devour. Avoid microwaving, as the decorations can melt or become gooey.
FAQs
Can I use different types of pretzels for Easter Bunny Pretzels?
Absolutely! While mini twist pretzels make cute and consistent bunny shapes, you could use pretzel rods (for longer bunnies) or mini squares in a pinch. Whatever you choose, just be sure the surface is wide enough for the decorations to fit.
Are Easter Bunny Pretzels safe for nut allergies?
These can easily be made nut-free by carefully checking your candy and chocolate brands—many varieties offer options that are free from nuts and processed in allergy-friendly facilities. Always double-check labels if serving to those with allergies.
How far ahead can I make these?
You can prepare Easter Bunny Pretzels up to five days ahead, keeping them stored in an airtight container at room temperature. This makes them perfect for busy schedules or prepping ahead for an Easter party.
Can kids help decorate Easter Bunny Pretzels?
Absolutely! Kids love adding the eyes, noses, and ears. An adult should handle the oven step and melted chocolate, but little hands can absolutely get in on the decorating action. It’s a wonderful edible craft for the whole family!
What if my decorations won’t stick?
If the candy or marshmallows start to slip or won’t stick, just use a dab of melted white chocolate or candy melts as an edible adhesive. It sets quickly and holds everything securely in place—plus, it adds more chocolate!
Final Thoughts
If you’re craving something sweet, silly, and sure to bring out smiles, give Easter Bunny Pretzels a try this spring. They’re a breeze to make, endlessly customizable, and almost too cute to eat (almost!). Gather your ingredients and hop to it—happy snacking!
Print
Easter Bunny Pretzels Recipe
- Prep Time: 20 minutes
- Cook Time: 3 minutes
- Total Time: 23 minutes
- Yield: 12 bunny pretzels
- Category: Snack, Dessert
- Method: No-Bake / Minimal Bake
- Cuisine: American
- Diet: Vegetarian
Description
These adorable Easter Bunny Pretzels are a fun and festive treat perfect for springtime celebrations. Made with a few simple ingredients, these cute snacks are sure to bring a smile to everyone’s face.
Ingredients
Pretzel Bunnies:
- 24 mini twist pretzels
- 12 pink or white candy melts (or white chocolate wafers)
- 24 mini marshmallows, halved diagonally (for ears)
- pink sanding sugar or sprinkles
- 12 small candy eyes
- 6 pink mini M&M’s or candy-coated chocolates (halved for noses)
- ¼ cup white chocolate chips or candy melts (for “glue”)
Instructions
- Prepare Pretzel Bunnies: Line a baking sheet with parchment paper. Place pretzels flat on the sheet. In the center of each pretzel, place a candy melt or white chocolate wafer.
- Warm Pretzels: Preheat oven to 200°F (95°C) and warm the pretzels in the oven for 2–3 minutes until the candy melts soften but maintain shape.
- Assemble Bunny Ears: Remove from the oven. Immediately press two marshmallow halves (cut side down) onto the top of the melt to form bunny ears. Sprinkle pink sanding sugar on the sticky surface for inner ears. Add candy eyes and half of a pink M&M as the nose.
- Decorate: Melt white chocolate chips, and use as glue to attach any decorations that don’t stick. Allow to cool until hardened. Store in an airtight container.
Notes
- Experiment with different colors and candies for unique bunny designs.
- Great for Easter baskets, party favors, or spring snack trays.
Nutrition
- Serving Size: 1 pretzel
- Calories: 90
- Sugar: 7g
- Sodium: 75mg
- Fat: 4g
- Saturated Fat: 2g
- Unsaturated Fat: 2g
- Trans Fat: 0g
- Carbohydrates: 13g
- Fiber: 0g
- Protein: 1g
- Cholesterol: 0mg
